Mmmm ... aroma of baking bread ... I finally got to this last night! This last month has been crazy - when the Daring Bakers Challenge details were sent out, I really thought 4 weeks is plenty of time to get going on some yummy bread making. Well, I was wrong! This month has just whizzed by - lots of cooking and baking has happened, but I just wasn't able to find the handful of hours needed to work on my potato bread. Until last evening - when I finally went to work for several hours, frantically kneading and rolling until my arm was ready to fall off :)
This was my first bakers challenge - I was obviously all freaked out about it, even though baking is one of those zen things for me - kind of restores calm amidst chaos :) I got increasingly excited as I pored through the recipe outlined by Tanna from My Kitchen in Half Cups - this recipe sounded perfect! I settled for baking a bunch of rolls and a small loaf, figured I'd make stuff that Vodka could eat :)
So, Tanna picked this tender potato bread recipe from Home Baking: The Artful Mix of Flour and Traditions from around the World by Jeffrey Alford and Naomi Duguid. I felt a little intimidated, especially with the idea of winging it in terms of how much flour I used to knead into the dough, but the idea of noshing on potato rolls totally kept me going :) Thanks, Tanna, for this awesome recipe - I feel like you picked the perfect Fall bread!
I loved how this recipe blended tradition with creative license - the actual dough recipe was pretty traditional, but we were allowed several variations that could totally redefine the end result:
- This bread needed to be savory and not sweet.
- Hand kneading only.
- No biga, sponge or starter.
- We could shape this dough anyway you would like.
- We could make this as a loaf, as rolls, as focaccia. Braid it, twist it whatever.
- We could season this bread in any way.
- We could even fill it, like a calzone!
Tender Potato Bread
Ingredients
4 medium yukon gold potatoes - cut into chunks
4 cups (950 ml) water (need to reserve 3 cups (750 ml) cooking water)
1 T plus 1 t salt
2 t active dry yeast6 ½ cups to 8 ½ cups unbleached all-purpose flour (1 kg to 1350 g)1 tablespoon unsalted butter, softened1 cup whole wheat flour (130 g)
Conversion Chart for yeast: Fresh yeast 1 oz/ 1 tablespoon = active dry yeast 0.4 oz/ 1.25 teaspoon = 0.33 oz / 1 teaspoon
Reference: Crust & Crumb by Peter Reinhart
Directions for making the dough by hand:
Put the potatoes and 4 cups water in a sauce pan and bring to boil.
Add 1 teaspoon salt and cook, half covered, until the potatoes are very tender.Drain the potatoes, SAVE THE POTATO WATER, and mash the potatoes well. Tanna suggested using a food mill for mashing the potatoes, I ended up using a potato masher - it worked pretty well, but I think I'm getting a food mill this weekend :)
Measure out 3 cups of the reserved potato water (add extra water if needed to make 3 cups). Place the water and mashed potatoes in the bowl you plan to mix the bread in. Let cool to lukewarm – stir well before testing the temperature – it should feel barely warm to your hand. You should be able to submerge you hand in the mix and not be uncomfortable.Mix & stir yeast into cooled water and mashed potatoes & water and let stand 5 minutes. Then mix in 2 cups of all-purpose flour and mix. Allow to rest several minutes.
Multiple ways of adding yeast:* Mix & stir yeast into cooled water and mashed potatoes & water and let stand 5 minutes. Then mix in 2 cups of all-purpose flour and mix. Allow to rest several minutes. (This is what I went with)
* Add yeast to 2 cups all-purpose flour and whisk. Add yeast and flour to the cooled mashed potatoes & water and mix well. Allow to rest/sit 5 minutes.
Sprinkle on the remaining 1 tablespoon salt and the softened butter; mix well.
Add the 1 cup whole wheat flour, stir briefly.
Add 2 cups of the unbleached all-purpose flour and stir until all the flour has been incorporated.
At this point, I had used 4 cups of the possible 8 ½ cups suggested by the recipe.Turn the dough out onto a generously floured surface and knead for about 10 minutes, incorporating flour as needed to prevent sticking. The dough was very sticky to begin with, but it kept taking up more flour from the kneading surface and became easier to handle.
I could not have functioned without my dough scraper here - I worked it to keep the floured surface clean and to push random doughlets back into the dough :)Tanna had warned that was meant to be a soft dough and we needed to be avoid overflouring here. I ended up using about 7 1/2 cups of flour - seemed liked I needed this since I used over 12 oz of potato.Place the dough in a large clean bowl or your rising container of choice, cover with plastic wrap or lid, and let rise about 2 hours or until doubled in volume.Turn the dough out onto a well-floured surface and knead gently several minutes. It will be moist and a little sticky.
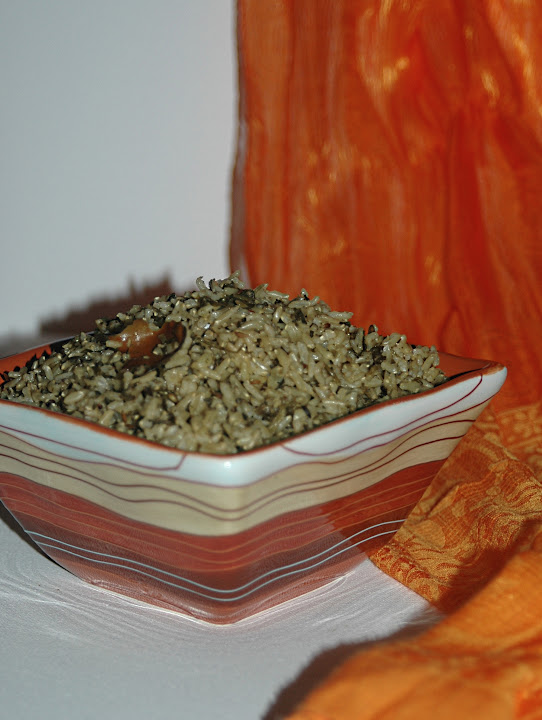
At this point, I added a couple of handfuls of chopped chives to the dough - figured a mild seasoning was a good idea and fresh chives seemed like a better alternative than dried rosemary.
I divvied up the dough into 2/3 and 1/3 chunks - the larger one for rolls and the smaller one for a loaf.Oven: Heat to 450 F.
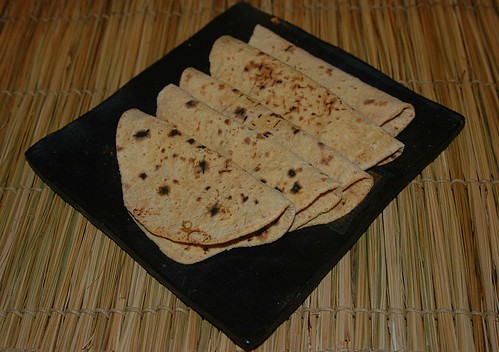
Forming the loaf:
Roll out the dough into a flat oval on a baking stone. Start rolling it from one end till it is rolled like a croissant. Smoothen the loaf before covering it with plastic wrap for about 35 minutes, till almost doubled in size.
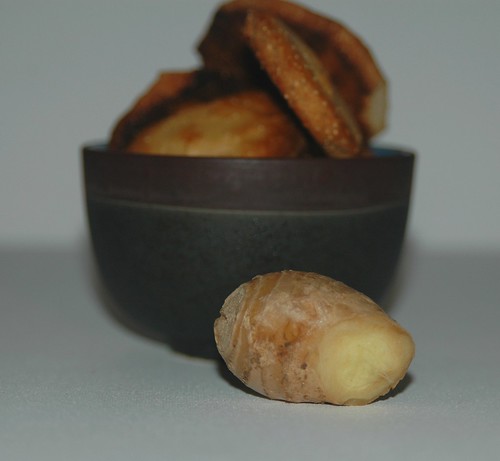
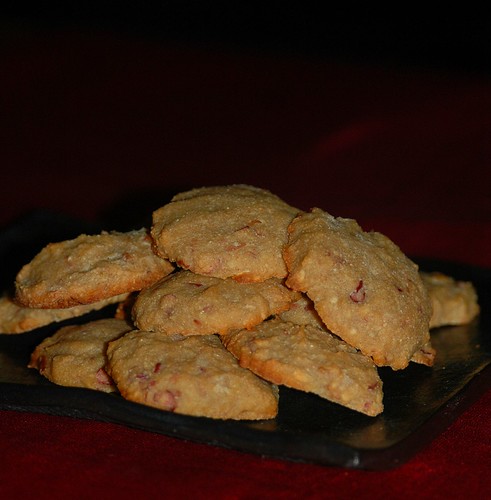
To make rolls:
Butter a 13 x 9 inch sheet cake pan or a shallow cake pan. Cut the dough into 12 equal pieces. Shape each into a ball under the palm of your floured hand and place on the baking sheet, leaving 1/2 inch between the balls. Cover with plastic wrap and let rise for about 35 minutes, until puffy and almost doubled. Baking:For the small loaf:
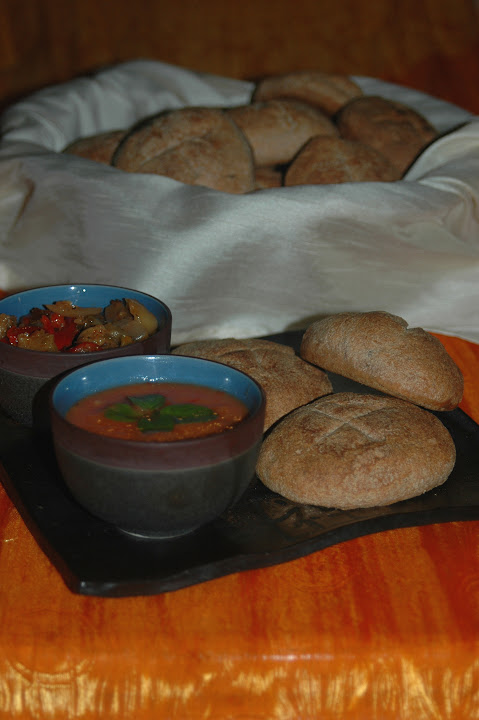
Remove the plastic wrap and make slashes with a knife on the top of the loaf before sticking it into the oven.
For the rolls:
Dust rolls with a little all-purpose flour or lightly brush the tops with a little melted butter or olive oil (the butter will give a golden/browned crust). Place the rolls next to the loaf in the oven.Bake rolls until golden, about 30 minutes.
Bake the small loaf for about 40 minutes.
Transfer the rolls to a rack when done to cool. When the loaf or loaves have baked for the specified time, remove from the pans and place back on the stone, tiles or baking sheet for another 5 to 10 minutes. The corners should be firm when pinched and the bread should sound hollow when tapped on the bottom.
Let breads cool on a rack for at least 30 minutes before slicing. Rolls can be served warm or at room temperature.
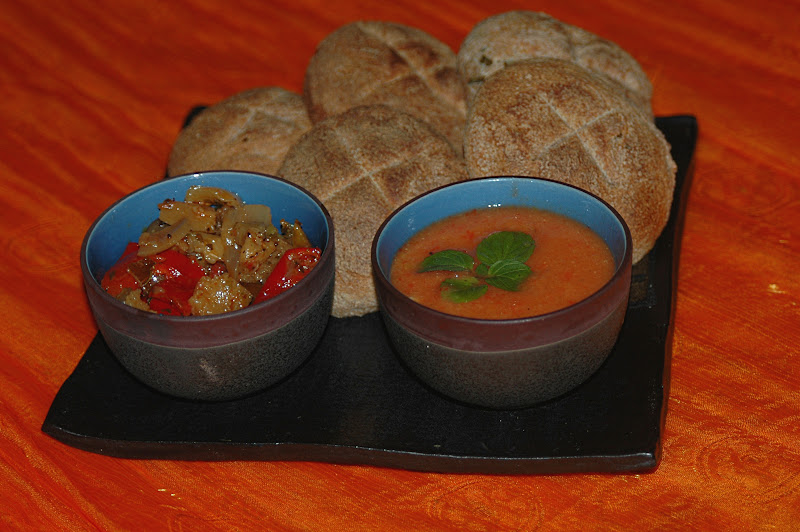
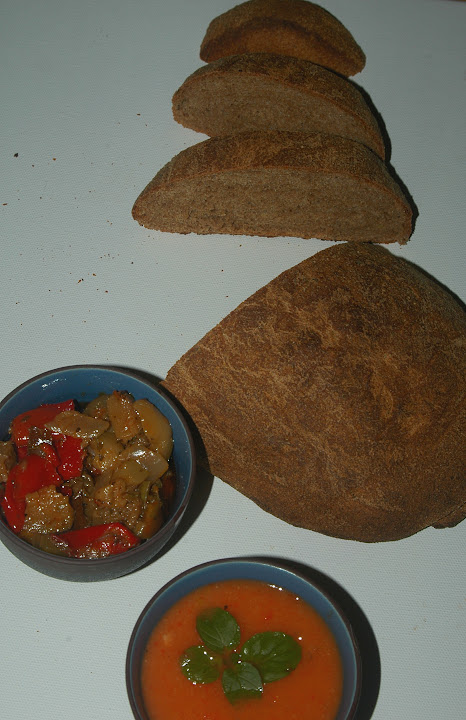 End Result:
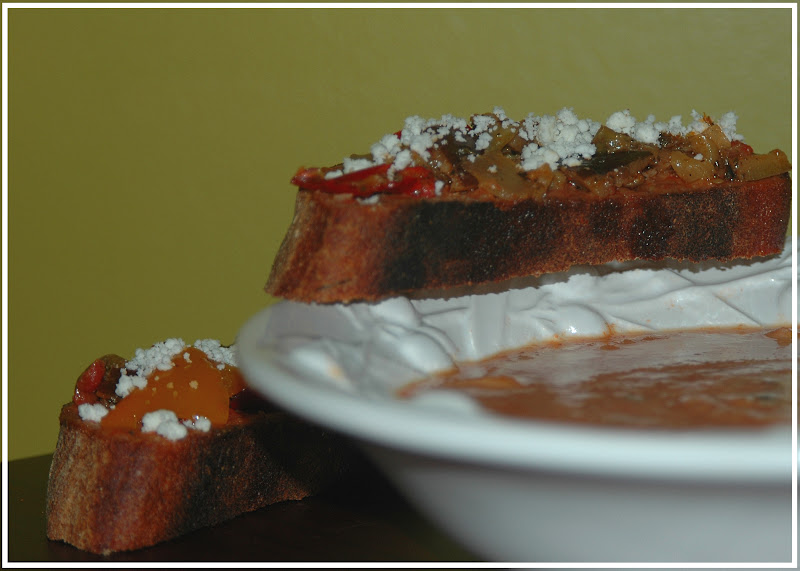
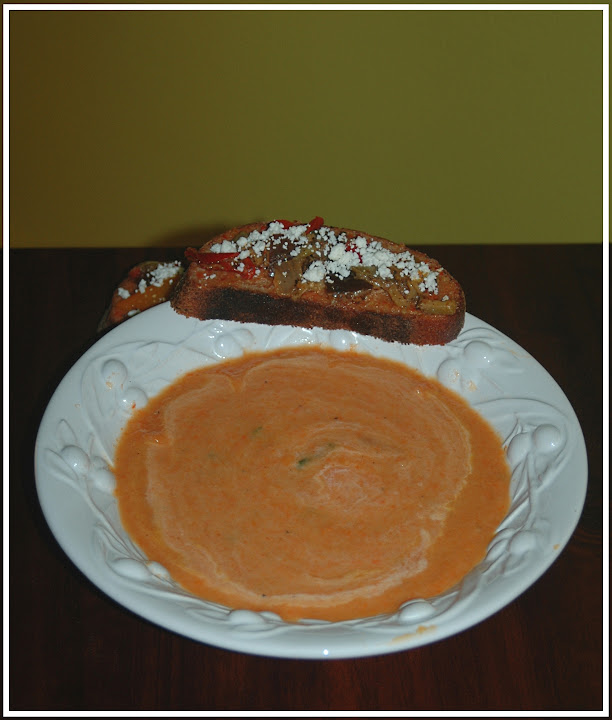
Wow! This was easily one of the yummiest bread recipes I've ever used. Personally, I preferred the rolls to the loaf which felt a little denser - thin slices topped with tapenade worked better for the loaf, while the rolls were just moist, tender, chewy and totally picking up flavors from the dips. Oh, the dips! That was a whole lot of fun - I wanted something beyond the usual olive oil+vinegar or herbed butter this time, so I did what I usually do - stare at all the ingredients around me till I stumble upon something I can use :) If that doesn't work, I usually start poking around all my cookbooks!
Well, this time, there was one forlorn pear-apple waiting to be eaten. Seemed like a light sweet-tart dip would be a fabulous complement for the starchy bread.
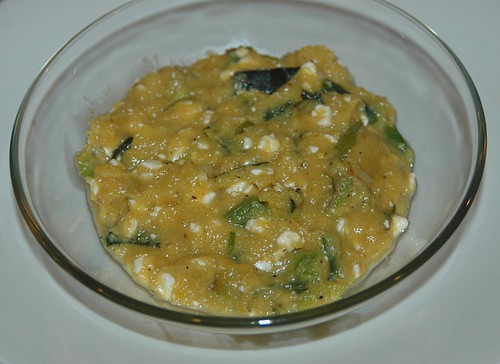
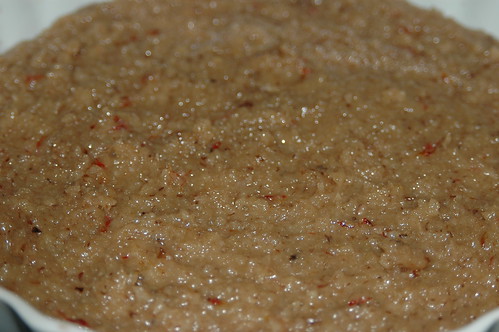
Pear and Pepper Chutney
Sweet, Tart and Fiery!
1 pear apple - chopped into chunks
1-2 pieces of marinated bell peppers
1 T red wine vinegar
1 T cider vinegar
2 cloves garlic
1 t brown sugar
a few drops of habanero sauce
a sprig of mint
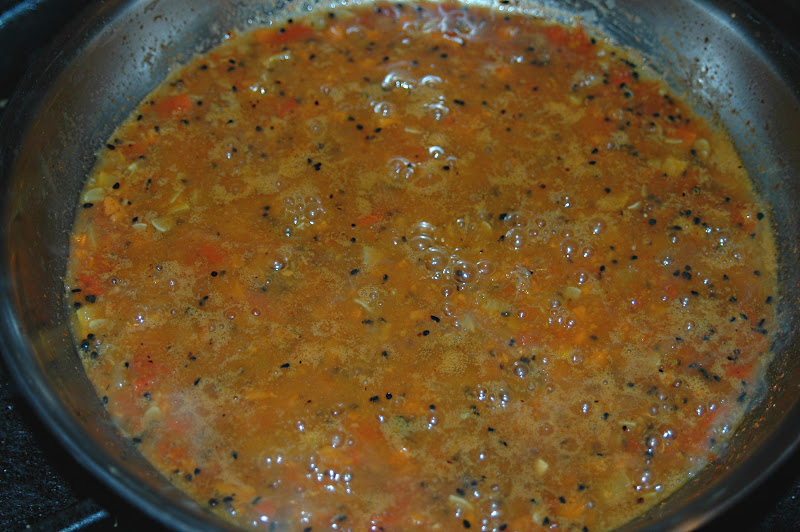
Heat the vinegars along with the sugar in a pan.
Once the sugar has dissolved, add the pear-apple, garlic and peppers and boil for about 4-5 minutes.
Once cooled, puree the mix and add the habanero sauce (as suits your palate :))
Garnish with fresh mint.
*drool*
 This was my first baking challenge and it was a total blast! I can't wait for the next one now :)
Tanna, thanks again for this recipe, for your guidelines and for organizing this. It was a real adventure and I can't wait to try this recipe again - and I'm going for the focaccia next time!
The Daring Bakers blogroll has a zillion other awesome versions of the potato bread - pretty amazing what folks think of even with a set recipe :)
 I think this post should go to Andrea for her Grow your Own event - growing those chives and mint was a good thing, the crop was abundant!