Showing posts with label nuts. Show all posts

Monday, April 28, 2008

Eat a cheesecake pop, will you?


When I first read about cheesecake pops being the DB challenge for April, it took me a while to figure out what these crazy things were. I had to read and re-read the recipe before understanding how these pops got done. They're made of cheesecake, but there's more to them. They look like lollipops, but that isn't what they are. They need to be frozen, but they are not icecream. They're a crazy olio of dessert techniques leading up to these really fun looking finger foods! Crazy, eh? There's a DB challenge for you :)

This month's challenge was organized by Elle (Feeding My Enthusiasm) and Deborah (Taste and Tell)- they picked these funky cheesecake pops from Sticky, Chewy, Messy, Gooey by Jill O'Connor. Seriously, this is the perfect title for a book that has a recipe for cheesecake pops! They're gooey all right, was quite a bit messy assembling them, sticky - a bit ... chewy - somewhat :) I've never baked anything from this book before, now I'm totally intrigued about what other quirky recipes it contains!

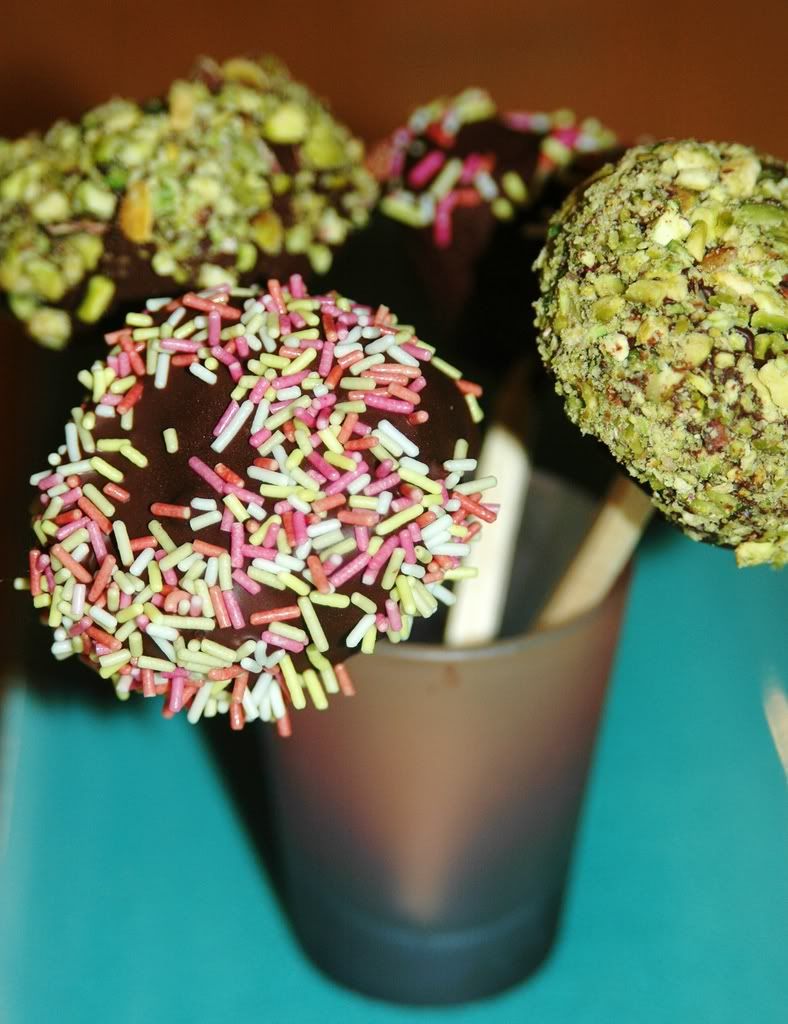
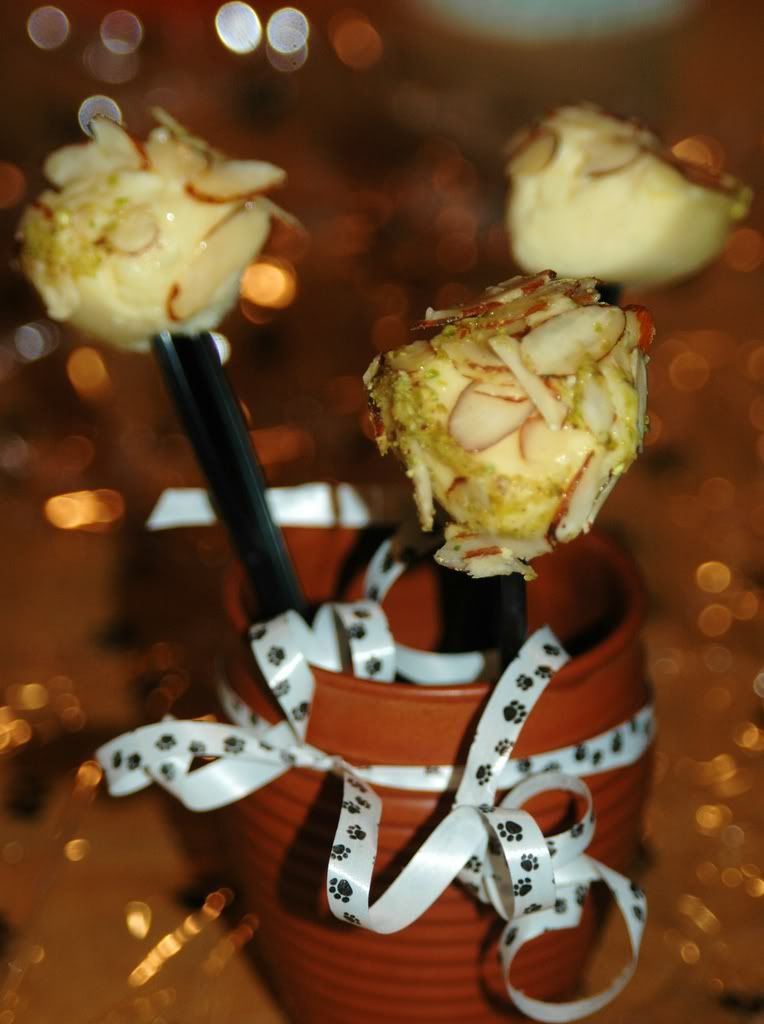
These cheesecake pops make for the perfect party food. And given that tomorrow is Vodka's b'day, I decided to tailor these for him. A few pops got the prescribed chocolate dunk, but a few others were set aside for Vodka - they got a yummy crust of sliced almonds in a vodka-honey sauce. That's the tradition - for the 9th year running - the pooch gets a Vodka-based dessert on his birthday :)

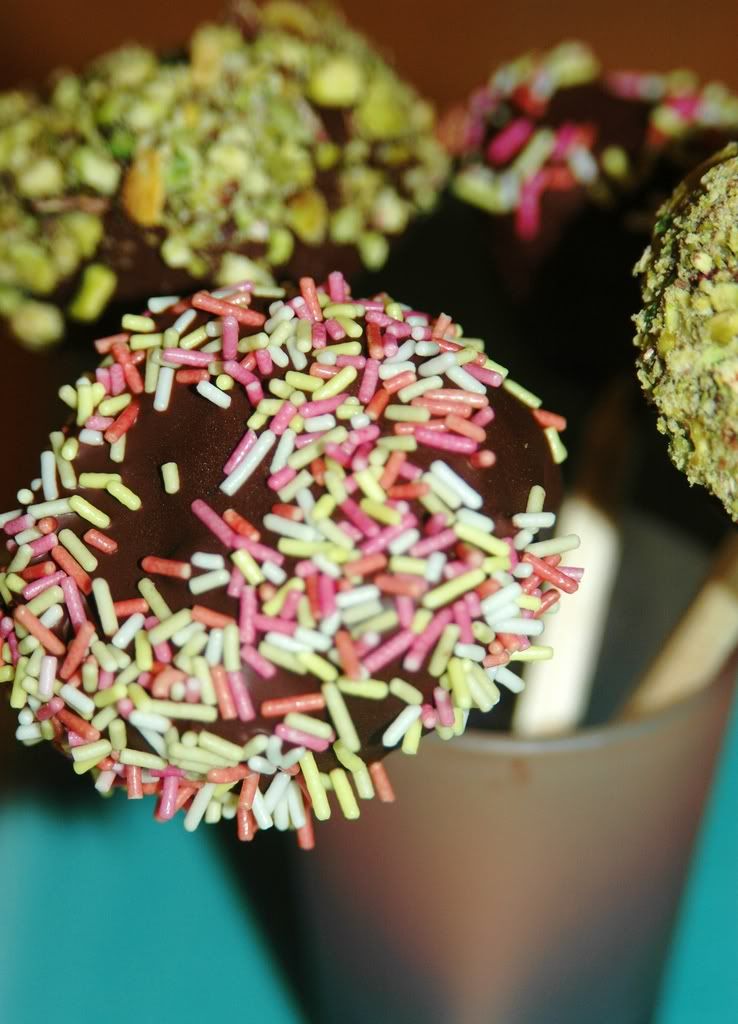
This was actually a really simple and straightforward recipe - a basic cheesecake baked using a water bath. There is plenty of flexibility in the dipping flavours and colours which was fun! I ended up going for the traditional cheesecake balls instead of any fancy geometric shapes, but the fun started with the dipping and decorations. The first few got dunked in semisweet chocolate and topped with sprinkles - very festive! And then Vodka's preferences took over - which made for a big hit!
****


Cheesecake Pops
(based on Jill O'Connor's recipe from Sticky, Chewy, Messy, Gooey)

Makes 30 – 40 Pops

5 8-oz. packages cream cheese at room temperature
2 cups sugar
¼ cup all-purpose flour
¼ teaspoon salt
5 large eggs
2 egg yolks
2 teaspoons pure va
nilla extract
¼ cup heavy cream
Boiling water as needed
Thirty to forty 8-inch lollipop sticks
1 pound chocolate, finely chopped – you can use all one kind or half and half of dark, milk, or white (Alternately, you can use 1 pound of flavored coatings, also known as summer coating, confectionary coating or wafer chocolate – candy supply stores carry colors, as well as the three kinds of chocolate.)
2 tablespoons vege
table shortening
(Note: White chocol
ate is harder to use this way, but not impossible)
Assorted decorations such as chopped nuts, colored jimmies, crushed peppermints, mini chocolate chips, sanding sugars, dragees) - Optional

Position oven rack in the middle of the oven and preheat to 325 degrees F. Set some water to boil.

In a large bowl, beat together the cream cheese, sugar, flour, and salt until smooth. If using a mixer, mix on low speed. Add the whole eggs and the egg yolks, one at a time, beating well (but still at low speed) after each addition. Beat in the vanilla and cream.

Grease a 10-inch cake pan (not a springform pan), and pour the batter into the cake pan. Place the pan in a larger roasting pan. Fill the roasting pan with the boiling water until it reaches halfway up the sides of the cake pan. Bake until the cheesecake is firm and slightly golden on top, 35 to 45 minutes.

Remove the cheesecake from the water bath and cool to room temperature. Cover the cheesecake with plastic wrap and refrigerate until very cold, at least 3 hours or up to overnight.

When the cheesecake is cold and very firm, scoop the cheesecake into 2-ounce balls and place on a parchment paper-lined baking sheet. Carefully insert a lollipop stick into each cheesecake ball. Freeze the cheesecake pops, uncovered, until very hard, at least 1 – 2 hours.

When the cheesecake pops are frozen and ready for dipping, prepare the chocolate. In the top of a double boiler, set over simmering water, or in a heatproof bowl set over a pot of simmering water, heat half the chocolate and half the shortening, stirring often, until chocolate is melted and chocolate and shortening are combined. Stir until completely smooth. Do not heat the chocolate too much or your chocolate will lose it’s shine after it has dried. Save the rest of the chocolate and shortening for later dipping, or use another type of chocolate for variety.

Alternately, you can microwave the same amount of chocolate coating pieces on high at 30 second intervals, stirring until smooth.

Quickly dip a frozen cheesecake pop in the melted chocolate, swirling quickly to coat it completely. Shake off any excess into the melted chocolate. If you like, you can now roll the pops quickly in optional decorations. You can also drizzle them with a contrasting color of melted chocolate (dark chocolate drizzled over milk chocolate or white chocolate over dark chocolate, etc.) Place the pop on a clean parchment paper-lined baking sheet to set. Repeat with remaining pops, melting more chocolate and shortening (or confectionary chocolate pieces) as needed.

Refrigerate the pops for up to 24 hours, until ready to serve.

****

Allowed Variations

Yes you can make some changes to this cheesecake as long as you promise to use the basic cheesecake recipe (although you can add a flavor to it if you like) and do keep it white (sorry, no chocolate or coffee or mocha), and keep the pops to the 2 ounce size.

The dipping flavors and colors are completely up to you.

If you want to use decorations, go for it. Same with drizzles and ribbons on the sticks. Or leave them plain after dipping them. You can even dip them in graham cracker crumbs and then the chocolate – to get more of the cheesecake feel to them.

You can cut the cheesecake into geometric shapes instead of making balls…triangles or squares or diamonds…just keep them about 2 ounces each. We can't wait to see what combinations our Daring Baker come up with…just make sure to use the basic cheesecake recipe, to make the pops 2 ounces or close to that in size, and to dip each pop in chocolate or confectionary coating and have it on a lollipop stick.

Opinion?

This isn't my typical kind of dessert, I'm not even a big cheesecake fan, but these things turned out pretty good! I was afraid the cheesecake was going to be super dense, but it was actually pretty light - probably courtesy of a couple of changes I made to the recipe - I used neufchatel cheese instead of regular cream cheese, I skipped the egg yolk and heavy cream in favour of a couple of tablespoons of silken tofu - these made for a much lighter cheesecake! Dipping the pops in chocolate was a cinch, rolling them in sprinkles and nuts was ... a piece of cake! :)


The best part of it all was that Vodka absolutely loved his treats and then sat around licking his chops for a while after! :)



Thanks, Elle & Deborah for this really really fun challenge. I had a blast and Vodka is thrilled to bits - nothing like making a pooch happy on his birthday!

And now it is time for me to stay up all night checking out all the other awesome DB posts!

Monday, April 14, 2008

Whole lotta nut love!


There's no such thing as too much of 'boarding! Really! Even when my ass hurts after two days of sliding, gliding, rolling down the mountain :) But follow that up with an insanely long run ... hmm ... the body starts whining a bit. And wants some serious TLC. And the mind just wants to some long overdue blogging!

And what could be be better than an insanely nutty comfort dessert? The minute we remembered that it was TNY, the reflex was to embark on making something simple, something sweet, something oozing earthy nut flavours!


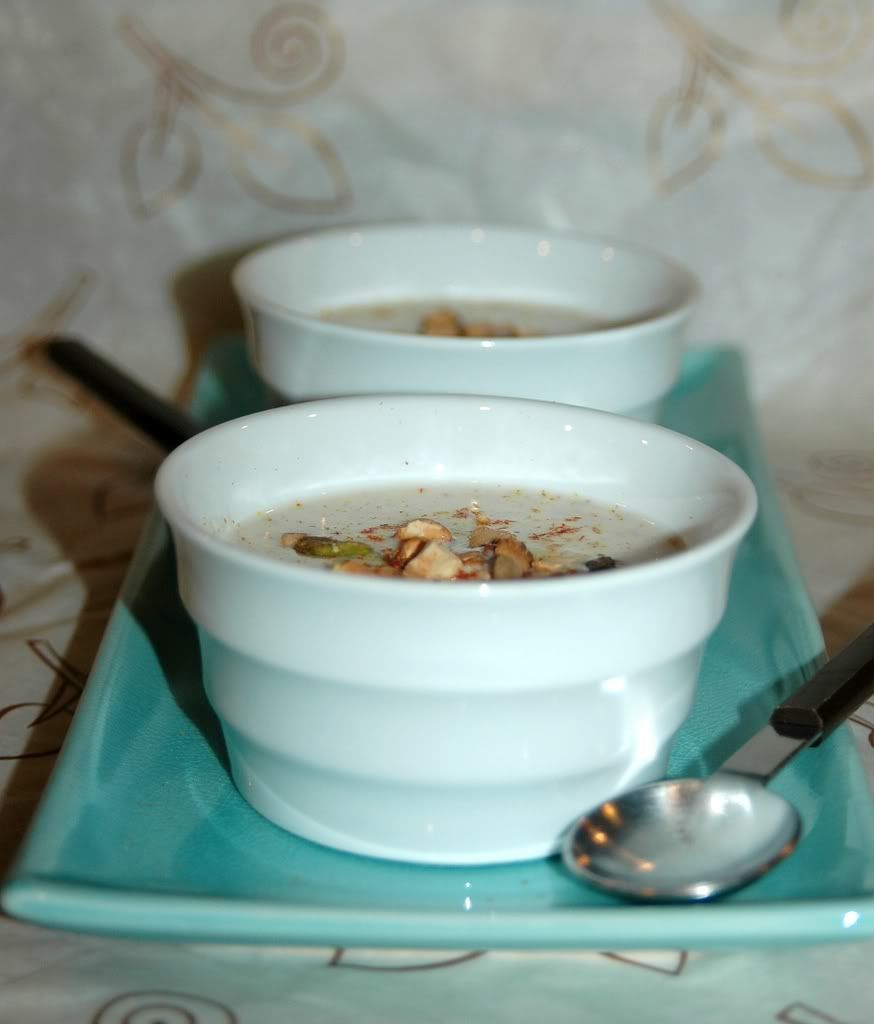
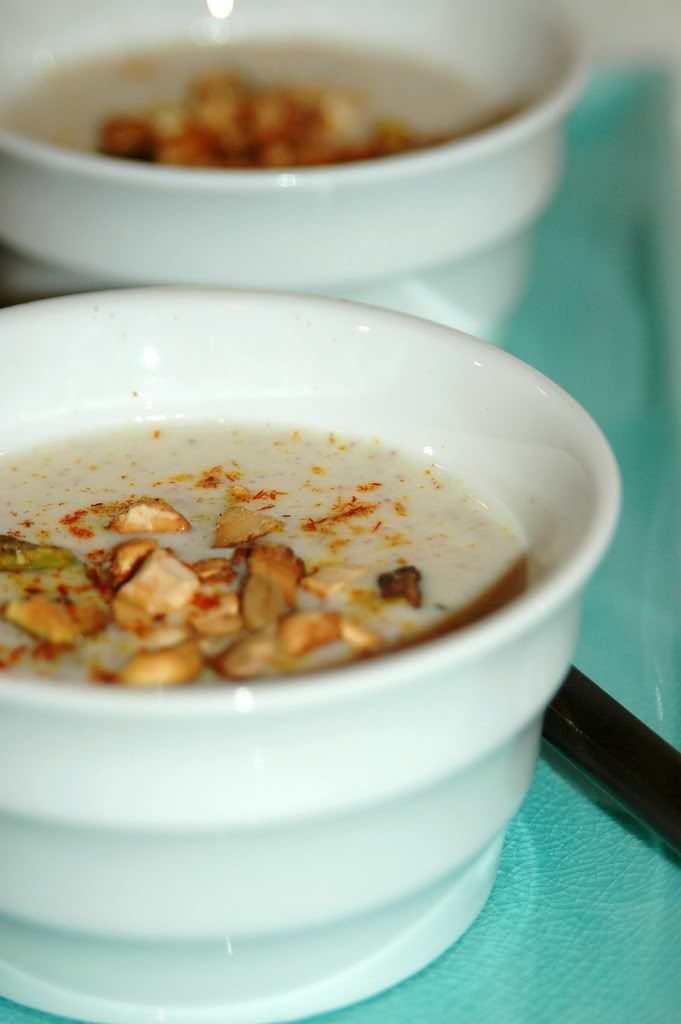
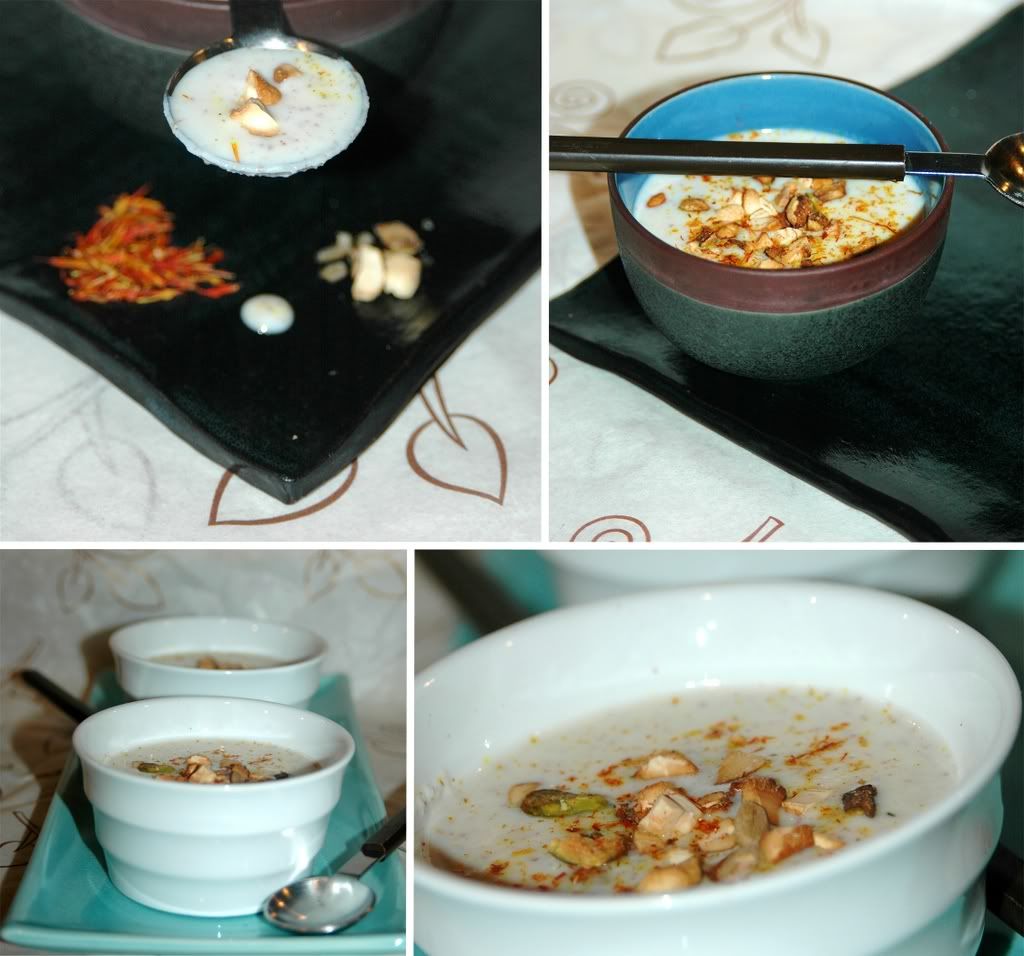
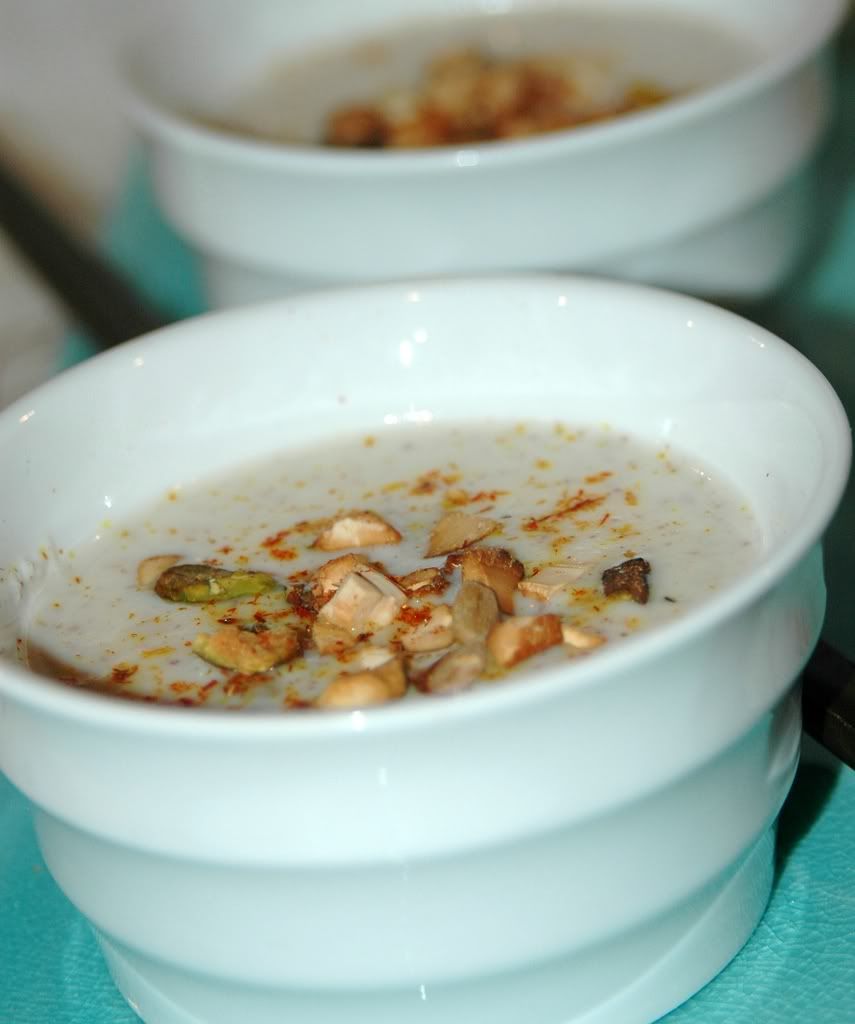
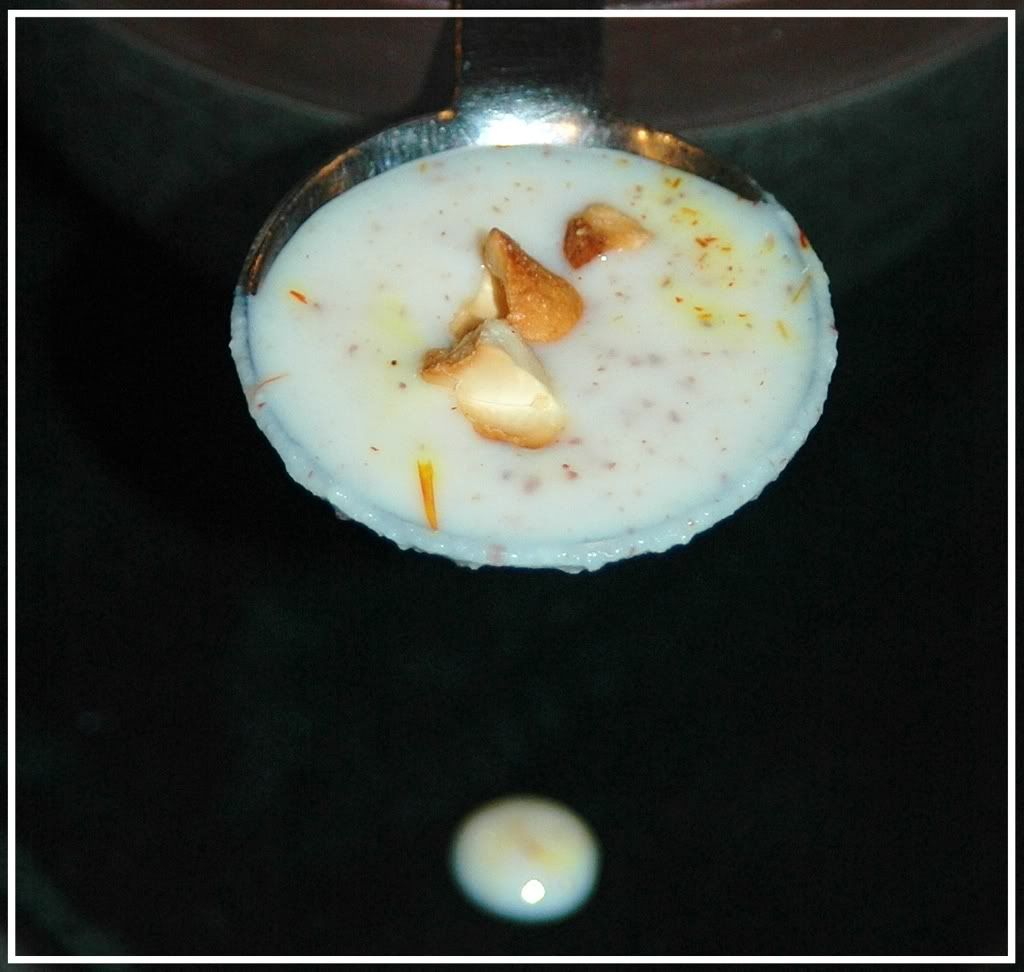
Our version of phirni does not have chunks of almonds, instead we ground up the almonds along with the milk. We also cut back on the rice and let the almonds define the flavour and consistency of the pudding. And, obviously, topping the pudding with a variety of other nuts could only be more goodness! :)


Badam Phirni (Almond Pudding)
Nuts topped with ... nuts!

Servings: 4 ramekins

3/4 cup almonds
3 cups nonfat milk
1 T rice
1/2 cup demerara sugar
1 T pistachios - crushed
1 T cashews - broken into bits
1 t charoli seeds
1 t crushed green cardamom

Soak the rice in hot water for 1 hour before grinding it to a fine paste.
Soak the almonds in hot water for about 10-12 minutes.
Peel the almonds and grind them into a fine paste with 1/2 cup of milk.
Heat the rest of the milk in a saucepan along with the ground rice.
Add the almond paste and stir constantly, bringing the mixture to a slow boil.
Let the milk thicken - this takes about 15+ minutes.
Add the sugar and cardamom and continue stirring over low heat.
In the meantime, toast the pistachios, cashews and charoli seeds.


Opinion?

Think we like this version of our badam pudding better than the traditional phirni! The soft creamy badam consistency is *so* good. And if we're in the mood for a thicker version of payasam, this is what we'd settle for! Plus, this is a certified favourite with Vodka, he licked the bowl clean in record time :)

Happy New Year to the multitudes celebrating it - I didn't quite realize how many people celebrate the New Year today - tamils, malayalees, bengalis, punjabis, sinhalese, thais, the list goes on!

Added bonus: Today is
N'Ko Alphabet Day! :)


Other nutty dessert recipes:

Brazilian Chocolate Bananas
Orange Almond Chocolate Cake
Date Candy
Nut Barfi
Sugarcane-Banana cake in cashew-pistachio milk

Friday, January 4, 2008

Pomegranate Chocolate Pots

Several days ago, I wanted to work this recipe for the really fun Royal Foodie Joust that Jenn organizes every month. Such an entertaining event - the whole idea of picking a trio of ingredients for each month. Some of the combinations are insanely imaginative and the results often sound fabulous - nothing like stretching the boundaries, huh? :)

So, I made this dessert over a week ago, but never got around to posting it and sending it to Jenn. But it turned out pretty good, so might as well talk about it, huh?
The ingredients for December were pomegranate, pistachio and mint. They seemed like pretty good candidates for pandering to my sweet tooth.


I poked around an all-time favourite - The Ultimate Desserts Cookbook and stumbled upon this Chocolate Chestnut Pots recipe that I ended up reworking to suit my needs.

I never met a chocolate I didn't like.
Deanna Troi in Star Trek: The Next Generation

Anyway, I think this whole recipe thing was just my excuse to work with chocolate. *drool* Chocolate makes me happy and excited and hyper and I often skip around town once I eat some. *so* good! And yes, I can be a bit of a chocolate snob - I definitely prefer dark or extra-dark or bittersweet, I check for fair trade logos on the chocolate, I check the cocoa butter content and I double-check the emulsifiers. Can't help it, I like cocoa :)

As I started working this recipe, I flipped out a bit about the butter and eggs that this recipe seemed to want. After all, I wanted to go on this mini detox kick for a while :) So, I ended up skipping the egg yolks and using Earth Balance instead of butter - so much for someone who craves "real" cocoa butter in her chocolate :)


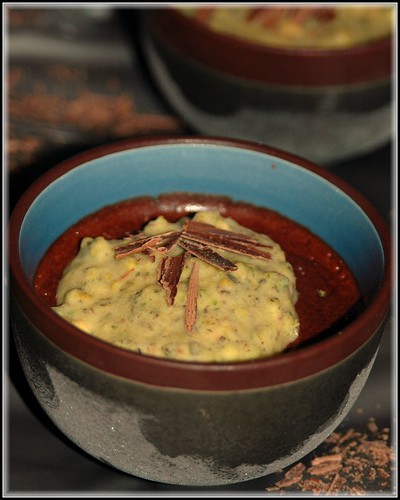
Pomegranate Chocolate pots with Pistachio-Mint Cream
I could drown in a pot of chocolate :)

Servings: 6


10 oz dark chocolate (bar)

4 T Madeira or Muscat

Arils of 1 pomegranate

2 T earth balance (or butter)
2 eggs - whites only


Pomegranate Juice
Grind up the pomegranate arils and strain it to get the juice out (P.S.: Freshly squeezed pomegranate juice tastes awesome!) You will need about 1.25 cups of juice for this recipe.


Egg Whites
Beat the egg whites till they form stiff peaks and set them aside.


Chocolate Pots


In a heavy-bottomed saucepan, melt the chocolate on low.
Once it starts to soften, add the madeira by the spoon, stirring constantly.
Continue stirring till the chocolate has melted completely.
Take the chocolate mixture off the heat.
Now add the margarine or butter 1 T at a time till completely melted and blended into the chocolate mixture.
Now add the pomegranate juice, 1/4 cup at a time, stirring it in slowly.
Add the beaten egg whites, a spoonful at a time, folding it in gently.
Now pour the chocolate mixture into ramekins or small cups and let them cool before topping with the cream.

Pistachio Mint Cream


2 T whipping cream or creme fraiche

10-12 pistachios

5-6 mint leaves

Grind up the pistachios and mint in a pestle.

Beat the cream till stiff and whipped.

Fold in the pistachio mixture gently till blended with the whipped cream.

NOTE:
The one mistake I made was here - I continued beating the cream after adding the pistachios and mint. This just made the cream clot up and get hard. Instead, I should've just folded the nuts and mint into the whipped cream and let it stay soft, yet fluffy.

Top the chocolate pots with the cream and set in the refrigerator for atleast 2 hours.

Another NOTE:
Remember to take the chocpots out of the fridge about 20 minutes before eating.


Good?
*drool*! The only thing that could've been better was the cream - I'll work on that next time :)


Am shipping this off to Deepa for Jihva for Ingredients (Indira's brainchild) - the current theme is chocolate.

Wednesday, December 19, 2007

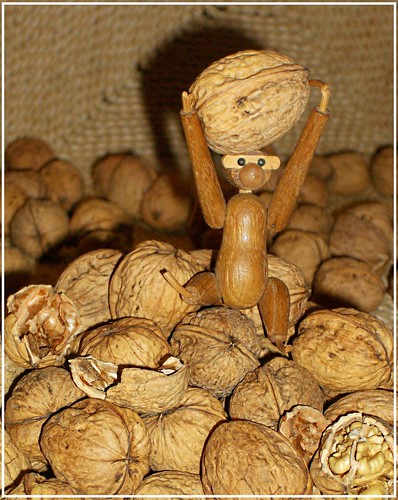
Hey Monkey! Show me your nuts!

Nuts, nuts, nuts! One of my favorite food groups - yes, it qualifies as a separate food group in my pyramid :)

Bee'n'Jai made me super happy with their Click theme for this month. I started fantasizing about pictures of this bowl of unending chestnuts on my counter. Or maybe peanuts? Peanuts rock! Plus, they're visually so damn appealing! Hmm ... how about cashews? Wonder if I could find fresh cashews anywhere. Or maybe pistachios? *so* good! Hazelnuts? Pecans? Almonds? Pine nuts? The list goes on!!!

Yeeesh! Mired in indecision!


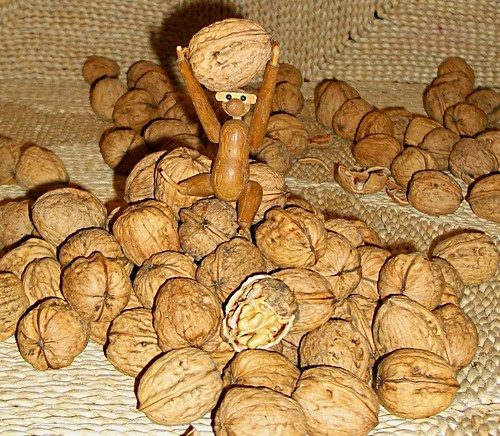
Wait! Walnuts! Daria brought back mountains of walnuts from her ranch near Paso Robles in California. And we totally lucked out on hanging out at her place surrounded by bags and bags of walnuts - if I remember right, she mentioned one varietal was the Hartley, and maybe the other one was the Franquette - both looked quite similar to us, but she soon pointed out an obvious difference - only one of them could stand upright, the other toppled right over! Fun botany lesson of the day :)


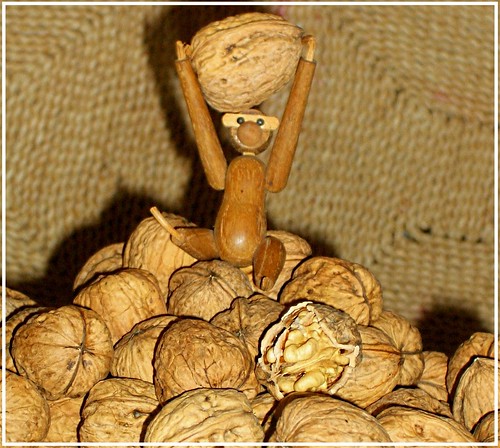
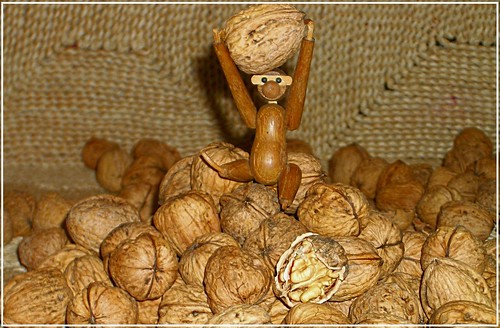
I had a camera on hand. And carte blanche to do what I wanted in Daria's kitchen! :) And then I found Mr.Monkey and he made for these insanely funny pictures! Now all I have to do is pick one and send it off for Click. So, if you have opinions, please holler.


Camera used: my faithful Pentax Optio S4i - my favorite travel camera.


'k, time to make a choice, this is the pic that goes off to Jai'n'Bee for Click:

Thursday, November 15, 2007

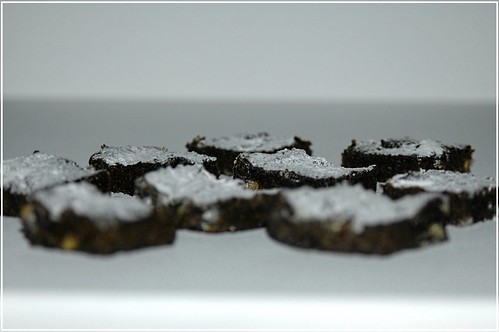
Date candy - a la Panforte


Panforte is a nut-filled Italian confection - kind of a cross between dessert and candy. It is traditionally served post-dinner with a cup of espresso. The one taste I had of this in Milan a few years ago is still strongly entrenched in my mind - a whole sea of flavors - raisins, chocolate, honey, orange, nuts, the works!

Dates are so versatile - luscious by themselves, even better in most desserts, they even go really well with spicy and tart flavors! And fresh dates are simply delicious - another fabulous travel memory is of eating dates off the tree in Egypt. *so* good!


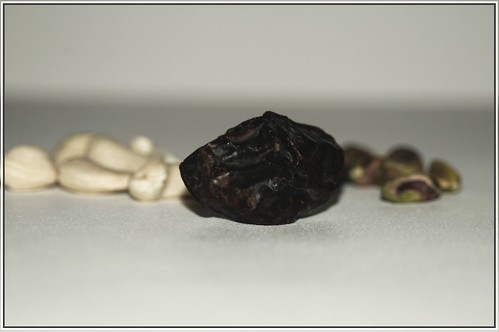
The idea here was to come up with a recipe for some kind of date candy - an homage to Panforte of sorts. And maybe go with some different nuts - pistachios and cashews instead of hazelnuts and filberts. I also decided to skip the cocoa and let the dates define the flavor of the dessert.


Date'n' Nut Candy
An homage to Panforte

Servings: makes about 12 1.5" squares

8 dates - pitted
1/2 cup cashews - coarsely chopped

1/3 cup pistachios - coarsely chopped
10-12 almonds
1/2 cup whole wheat flour

1/2 t cinnamon

1/4 t cayenne pepper

3 T honey

Juice of 1 orange

2 T lemon-ginger juice


1 T confectioners' sugar


Preheat the oven to 350 F.

Toast almonds in oven for 10 minutes, remove and chop them into small pieces.

Boil the dates in about 3/4 cup of water till they soften. Drain and save the water.
Mash the dates along with the chopped nuts, flour, cinnamon and cayenne.
Toss this mix into the saved water and cook on simmer, stirring constantly.
Add the orange juice and honey and stir for 2-3 minutes until the honey is fully mixed in.
Take off the stove and add the lemon-ginger juice.
Pour into a greased pan and bake for 50-55 minutes.
Cool for 10-12 minutes before removing the candy from the pan.

Ok, I then ended up dusting some confectioners' sugar on the candy - not a big fan of super-refined sugar anymore, but figured I'd use my leftovers. It was saved from being too sweet courtesy of the cayenne.


These go off to Chandrika @ Akshayapatra for A Fruit A Month, the focus this month is dates.

Monday, November 12, 2007

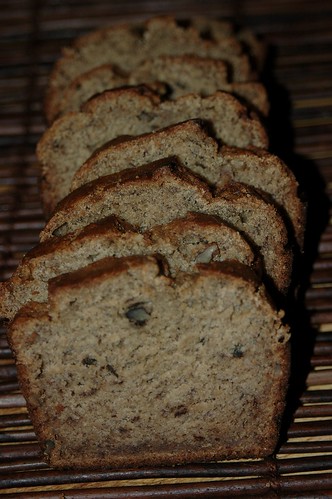
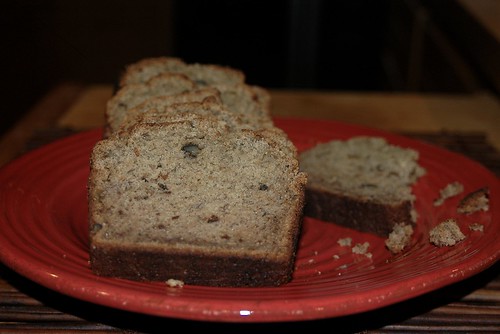
Questing for the perfect Banana Bread ...

I'm on the eternal quest for the perfect AND healthy banana nut bread recipe - the bread I baked for LisaBee's bachelorette party was pretty good, but I'm trying to make it even moister without having to use loads of butter, in fact I want *very* little butter. But I want it moist. And reasonably light. And flavorful. And nutty. Lofty aspirations, eh? :)

Well, this attempt was definitely a step in the right direction! In fact, this might be it! I might have to retire on this quest and move onto a different one :) The fun thing is that I've totally gotten back into baking - not sure if it was because of the plethora of frozen overripe bananas sitting in my fridge or my messing up of the last Pioneer Organics order that resulted in about 20 apples that I need to use up or just the fact that turning on the oven makes the house warmer :) Whatever be the reason, I'm loving it. And this time, I'm definitely loving the result!

Banana Nut Spice Bread
Light on the fat, NOT on the flavor!

2 cups whole wheat pastry flour (another PCC discovery!)

1/2 cup of brown sugar
3 T honey
2 cups of super ripe mashed bananas (yes, I went overboard with the bananas, but it totally worked!)

2 T vegetable oil
2/3 cup buttermilk

1 t vanilla extract

1 t salt
1 T baking soda

2 large eggs (or egg substitute :))

1/2 t cinnamon

1/4 t nutmeg

1/2 cup chopped walnuts

Preheat the oven to 350 F and grease a 9x5 loaf pan.

Beat the oil, sugar, baking soda, salt cinnamon, nutmeg and vanilla in a bowl until smooth.

Beat in the eggs one at a time (or, like in this case, the egg substitute - 1/4 cup at a time).
Next come the bananas and honey. By now, the mixture should be smooth and creamy.
Now start adding the flour, about 1/2 cup at a time, folding it in till blended.
Finally toss in the nuts and mix.

Now pour the batter into the greased pan and let it sit for about 10 minutes. I picked up this hint from one of my fave books on baking Whole Grain Baking that my sis turned me onto. Letting the batter sit seems to result in a much moister, fluffier bread - that makes me happy! :)

Ok, now stick the pan in the oven for 45 minutes. Lay a piece of foil over the pan and let it bake for another 10 minutes.
Now do the usual does-the-toothpick-come-clean? thing - Not done yet? Don't panic! It might take a few more minutes in the oven to get the inside completely done :)

Once done, let the cake cool in the pan for 10-12 minutes before tipping it onto a cooling rack.

Slice it. Taste it.


Wooo Hooo Hoooo!!!! This is good, really good! I feel like I've finally hit that balance I wanted - I had tried this with several substitutes - apple sauce made it too dry, sour cream made it too heavy, but this buttermilk thing seems to have worked great, even with the egg substitute! And the cinnamon+nutmeg was the perfect amount of spice to complement the banana+honey flavors!

Ok, I'm shipping this off to Baking History's Bread Baking Day #04 as my submission for 'Bread and Spices' :)

breadbakingday4.jpg