Showing posts with label rice. Show all posts

Saturday, March 15, 2008

Mélange - Appetizers

Over the last couple of weeks, we made a variety of appetizers that turned out to be insanely simple and totally delightful. Delicious enough that every time I looked at the pictures, I went "Ahhh!" and then balked at the idea of writing a post about each of these :)



So, the idea of this Mélange series was born. We often end up making an assortment of nibbles/dips/desserts, usually for a party, but these usually don't get written about. This consolidated post seems like a good idea for bunching together some of these long overdue posts.

So, without much further ado, I'll start babbling about several nibbles that were insanely easy to assemble and totally kicked ass!

***

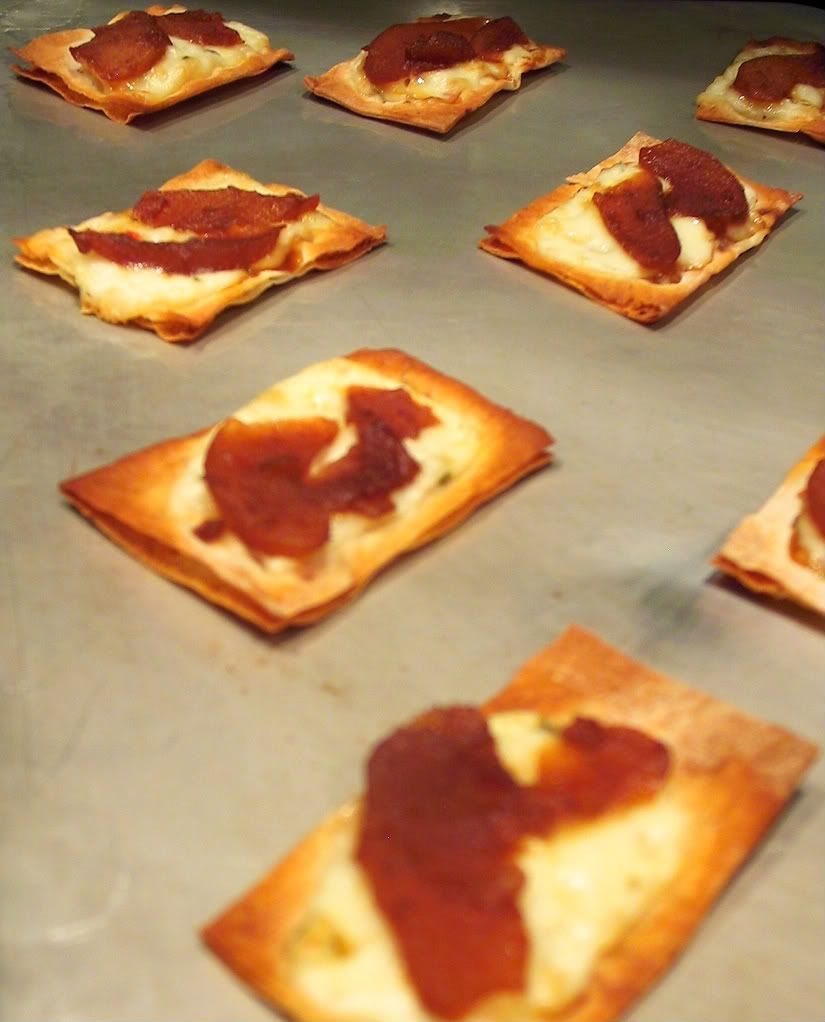
Lavash topped with Brie and Pear Chutney

Lavash is a soft thin yeast bread of Armenian origin - really simple flavours derived from a combination of flour, water and salt. It makes for fabulous wraps and rolls, and even with dips. And last week, we discovered that it makes for a crispy baked base with a variety of toppings.


Servings: 12 pieces

1 sheet of lavash bread
Several thin slices of brie
Pear preserve (recipe follows)

Fire up the oven to 350 F.
Cut up the lavash sheet into 12 pieces - these can often be torn by hand into small pieces.
Top each piece of bread with a slice of brie and a dollop of pear preserve.
Bake for 3-4 minutes till the brie is melted and the edges of the bread are crispy.

Pear Preserve

Servings: fills a pint-sized canning jar

2 pears - peeled, cored and sliced
1/2 cup brown sugar
1 cup water
1/2 lemon - sliced
1 stick of cinnamon
3 cloves
1 green cardamom

Heat the water in a saucepan and melt the sugar in it.
Add the pears and lemon slices along with the spices.
Simmer till the pears just start to get tender and the syrup thickens around the pear slices.
Pour the pears and the syrup into a canning jar, let it cool before sealing the jar.



Opinion?

The first time we made this snack, we used our friend Daria's pear chutney and some pepper jack cheese over lavash bread. The pear chutney was fabulous, but the jack cheese wasn't quite right. The next time around, we went with some brie and my version of the pear preserve. The combination worked much better, but I still like Daria's version of the pear chutney better - especially because it had sat around enough for the flavours to totally blend - insanely delicious!

***

This goes to Raaga at Chef At Work for AFAM-March (brainchild of Maheshwari from Beyond the Usual) - the current theme is Pears. Thanks, Raaga - for organizing this edition.

***

Eggplant Bruschetta with marinated vegetables

This recipe was born when we wanted to make some bruschetta-style nibbles, but had no bread to work with! But we did have a giant eggplant - obviously we often mistake one of these for a giant loaf of bread, right? :) Weeellll, not really, but we could go for a lo-cal bruschetta if we found a way to use these!
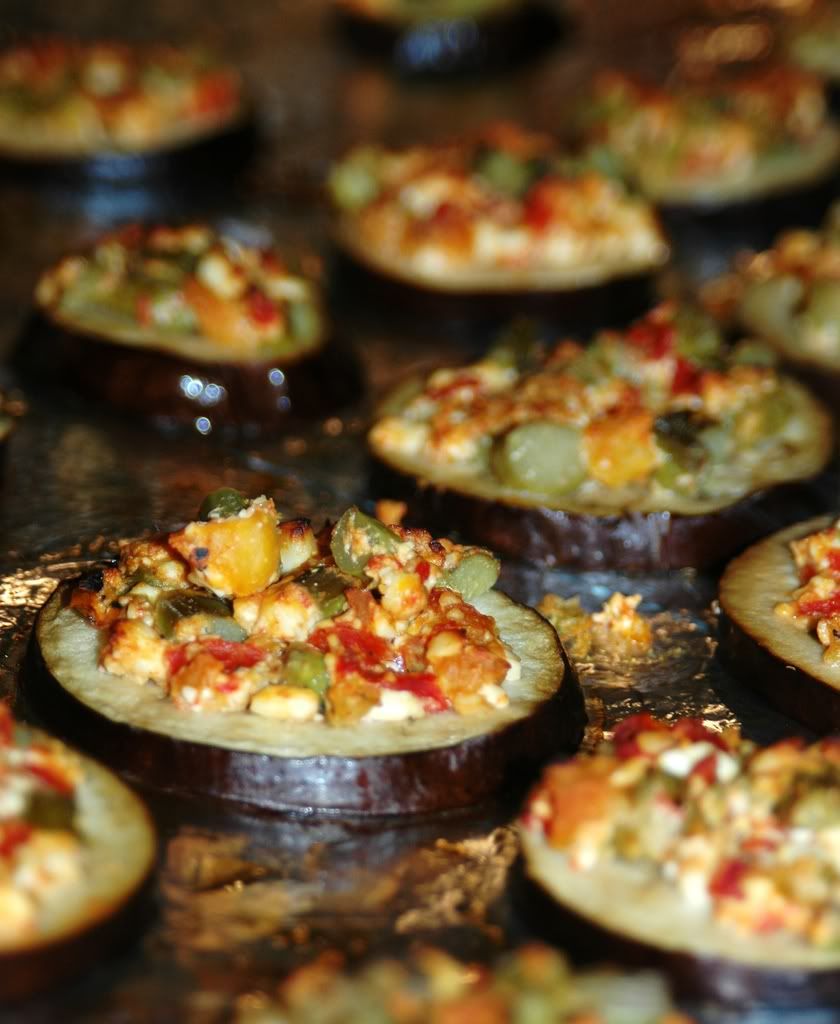


Servings: 15-20 pieces

1 large eggplant
8 oz Reduced fat feta cheese - crumbled
10 stalks of pickled asparagus
1 marinated red bell pepper
1 marinated yellow bell pepper
freshly ground pepper
2 T apple cider vinegar
1 T olive oil

Fire up the oven to 400 F.

Slice the eggplant into 1/3" thick slices and place then on a greased baking tray.
Brush the eggplant slices with a mixture of the olive oil and vinegar.
Cut the asparagus into 1/2" pieces and mix it with the crumbled feta cheese in a bowl.
Chop the bell peppers into small pieces and throw them into the mixing bowl.
Season with the pepper (and salt if needed).
Top each of the eggplant slices with a generous dollop of the veggie mixture.
Bake for 6-8 minutes till the eggplant is cooked (but still firm) and the cheese is melted.
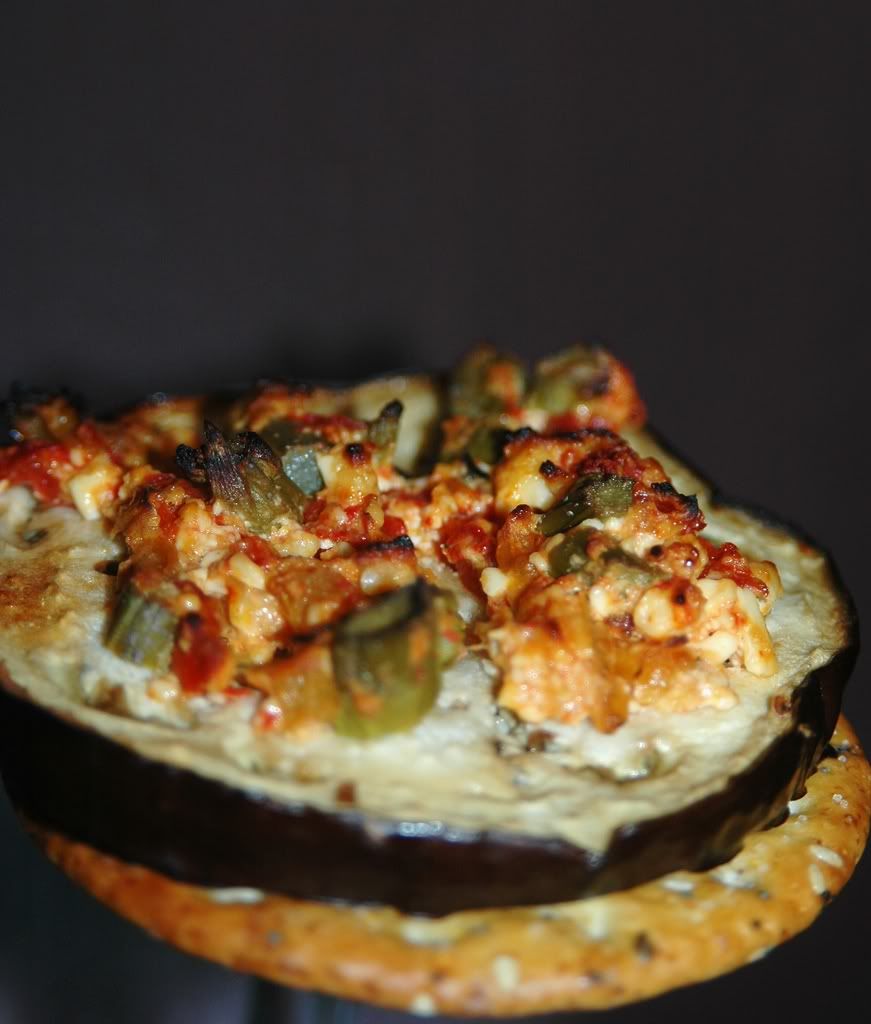


Opinion?

Eggplants rock. Seriously. I'm often leery of Mr.Big Eggplant, but this was a perfect use for it. The tartness of the marinated vegetables and the juices of the eggplant blended quite nicely with the cheese flavour. And these slices disappeared in *no* time at all :)


***

Nombu Adais

We do not celebrate nombu (another of those days where the guys get all the attention while the girls slave their asses off), but that does not stop us from working any recipes associated with nombu. Especially the salty nombu adai kind :) We attempted a variation here by skipping the coconut and garnish, instead adding some curly parsley. And we topped each adai with a few drops of thick european yogurt.
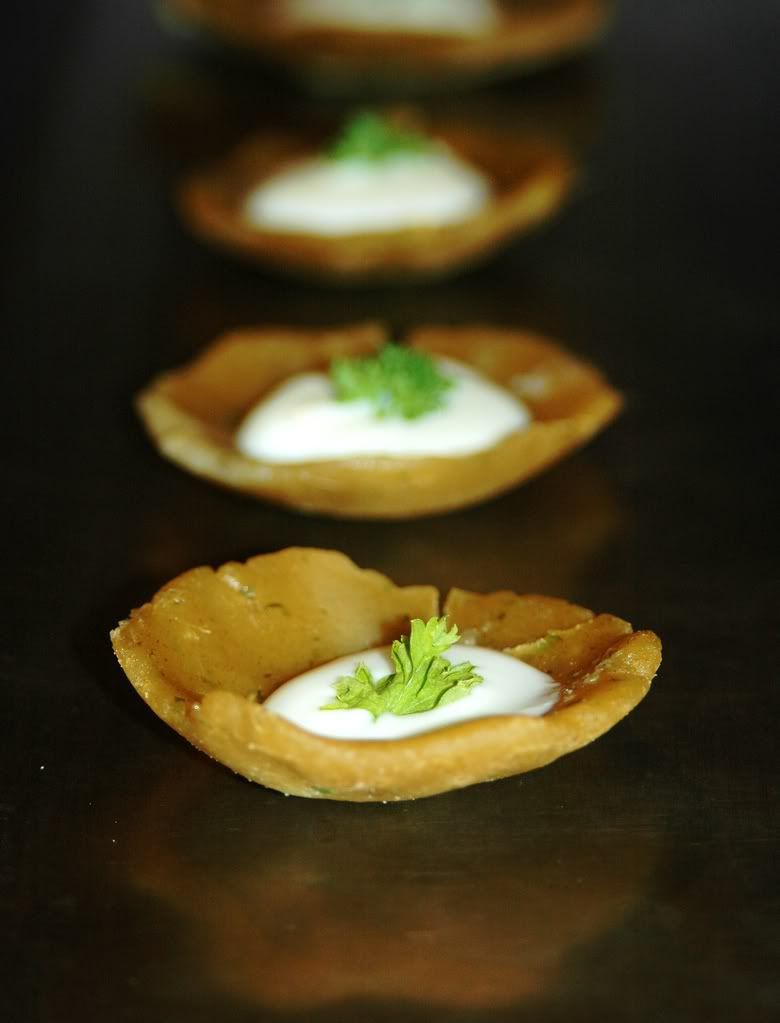

Servings: 16

1 cup rice flour
1 cup water
1/2 t ghee (clarified butter)
3 green chillies
1" ginger
1/2 cup packed curly parsley
1 t hing (asafoetida)
salt for seasoning

Roast the rice flour for 5-6 minutes till it start smelling, but before it starts turning brown.
Add water, 1 T at a time to the flour, mixing thoroughly to avoid any lumps.
Grind the green chillies, ginger and parsley into a coarse paste.
Add this paste along with the hing, salt and ghee to the flour mixture, gently kneading the dough till the seasonings are all mixed in.
Grease a set of idli plates with oil spray.
Take a small handful of the dough and flatten it to fit into one of the idli moulds.
Repeat this till all the plates are filled with adais.
Steam for 6-8 minutes till the adais are cooked.
Serve topped with some yogurt and a sprig of parsley.
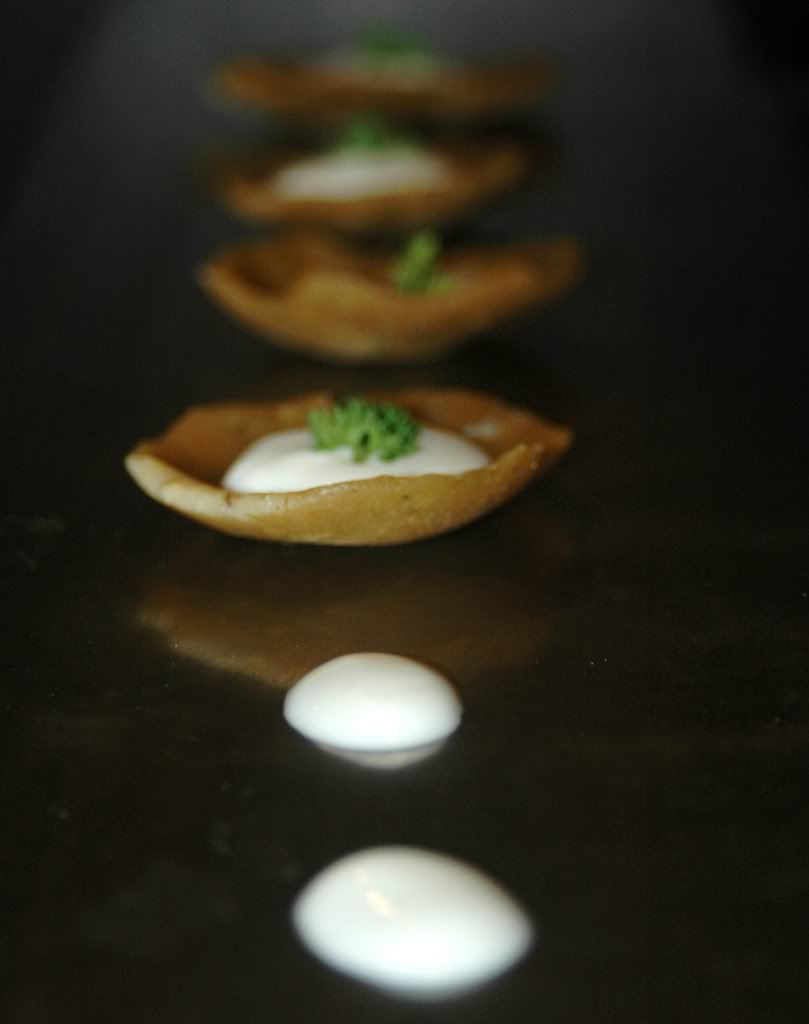

Opinion?

These rocked! They were way better than we expected them to turn out. And we're becoming more obsessed with parsley by the day! Guess we added more green chillies than we realized, these adais had some serious zing to them. And given that we haven't really done much with rice lately, we were a bit worried that these adais might feel heavy on the palate. Nope! Surprisingly, they seemed light and flavourful - a happy healthy snack.

Sunday, November 25, 2007

Yams - curried, not candied

Sra threw out this crazy challenge a few weeks ago - Grindless Gravies!! With a zillion conditions to boot! :) I think I spent more time thinking about it than I finally spent cooking! Very clever, Sra - this event has made for more conversation than any others recently :)

So, no ready-made gravies - obviously! And no premade/frozen gravies - clever! And no lentils or yogurt-based gravies - yes, that would make it too easy! :) This was actually getting more interesting by the minute :) As I was poking around several cookbooks, I stumbled upon one of my favorites - Vij's Elegant Inspired Indian Cuisine. And then I stumbled upon Suganya's rendition of a vegetable dish from this book. Hmm ... I could rework this to be more gravy-based and use completely different vegetables that were more in season. I finally went with yams and corn - both part of the Thanksgiving theme and available in plenty at PCC.


Curried Yams with Corn and Tomatoes

No grinding required :)

Servings: 2

2 medium-sized yams - sliced into thin half-moons
1.5 cups of corn kernels

3 roma tomatoes - finely chopped

1 yellow squash - chopped
3 leaves of bokchoy - chopped
1 t mustard seeds
1 t cumin seeds
1 t kalonji seeds

1 T coriander powder
1 T cayenne pepper powder
1 t sesame oil
salt


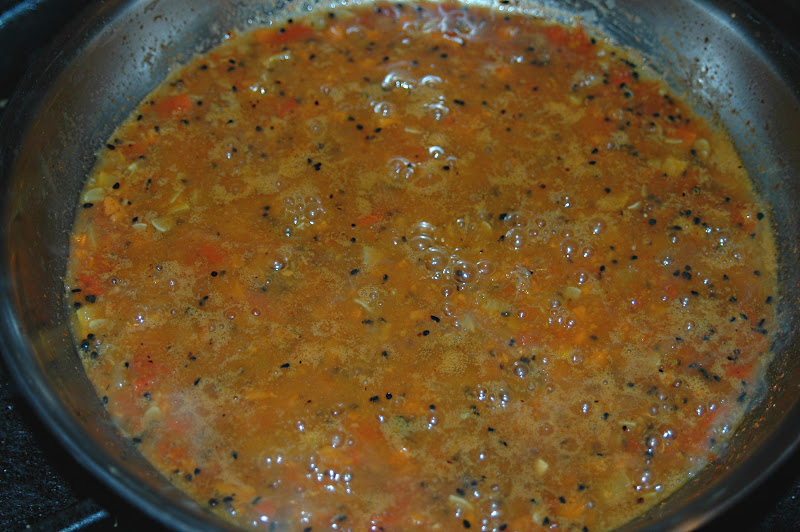
Heat the oil in a wok and toss in the mustard seeds.

Once they splutter, add the cumin and kalonji seeds and stir for a minute.

Now add the tomatoes, squash and a handful of the yam pieces along with the powder spices and salt.

Saute until the veggies are softened and pulpy.

Add about 1 cup of water and gently mash the mixture.
Cook for about 5-6 minutes with occasional stirring.

Now toss in the corn and remaining yams and simmer for another 4-5 minutes.
Yams actually cook really easily (a lot faster than potatoes), so careful about overcooking these - the idea here was the preserve some chunky yams in the tomato-squash-yam gravy.


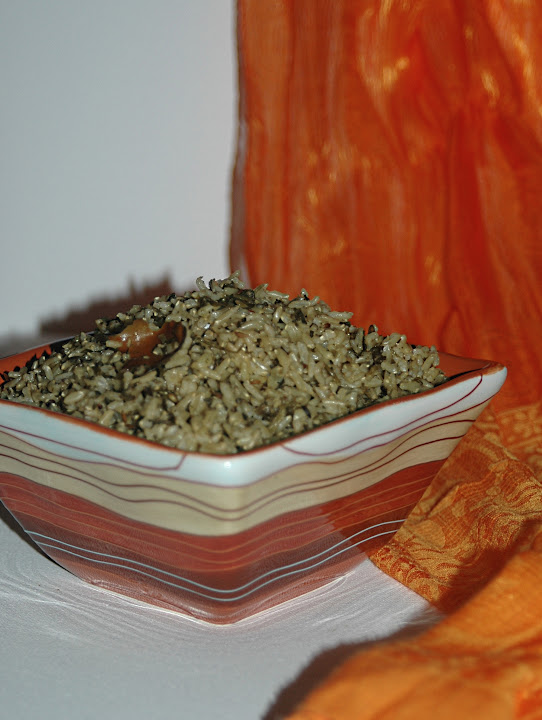
Ok, so, what could we eat with this Sra-dish? :) We had a bag of frozen methi that we wanted to use up - first time ever that we were going to use that! I have such a hard time using any frozen greens, especially methi - it is so earthy, I can't imagine the flavors would be preserved through a freeze-thaw. Well, it wasn't! But the methi pulav turned out pretty good - very nutty and chewy actually because of the brown basmati rice. The end result was pretty decent.


Nutty Methi Pulav

No grinding here either!


Servings: 4

2 cups of brown basmati rice
2 cups of thawed methi leaves

4 red chillies

1 T cumin seeds
1 T garam masala (I use a homemade version, but pretty much any store-bought masala should do too)

1 t olive oil
salt


Wash the rice and dry it in a plate for about 10 minutes.
Heat the olive oil in a saucepan and saute the cumin and red chillies in it.
Add the rice and saute for about 2-3 minutes, constantly stirring.

Now add the methi leaves along with 4 cups of water.
Toss in the salt and garam masala and stir for 1-2 minutes.
Cook covered on low till the water is absorbed and the rice is fully cooked.
(If the rice does not seem completely cooked, add another 1/2 cup of water, stir and simmer for another 3-4 minutes)


We really liked the combination of this rice with the chunky yam curry - I think the only thing that could've made it better would've been a raita. Or maybe a yogurt-based gravy? But Sra wouldn't want that! :D

'k, Sra, have fun with this one! :)

Sunday, November 11, 2007

The roughest Deepavali ever


Earlier this week, we had plans for a Deepavali dinner, maybe some lights, no fireworks (not a big fan of those anymore), a shot at cultural immersion of sorts ... I go back and forth on these festival days, the nostalgia aspect of celebration is pretty high since we celebrated every festival and puja growing up. However, I'm not too big on any conservative or overly (note the highly subjective usage :)) traditional notions behind festivals - a classic example being Karadiyar Nombu - when women pray for the well-being of the men in the family ... hmm, not be a bad idea, but it does bug me that there are no puja days when the men honor the women!

Back to Deepavali 2007 and what became of it ... wednesday evening involved a reasonably non-threatening visit to the vet -
Vodka's had this weird-looking hotspot on his side that was bugging me enough to warrant a trip to Redwood. Well, after a long physical, several needle aspirations and a short wait, he was diagnosed with a mast cell tumor. And he was scheduled for surgery yesterday. I staggered out of the clinic, my head swimming with worst-case scenarios and illogical fears. Well, things seem a little better now - he's out of surgery (looking like he's been through a battle!) and recovering, the next week is going to be long and tedious - as we await the results of the biopsy. *bleh*

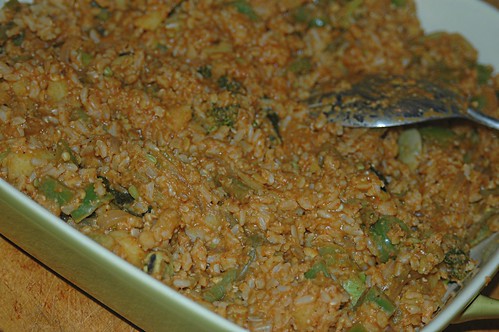
Anyway, all this made for a toned down Deepavali - but it did involve food, some of which Vodka sampled :) I was craving something comforting, yet festive - Bisi Bele Huli Anna - roughly translates to hot lentils with tamarind and rice, I believe. There are a zillion recipes for BBB out there, I mostly worked with what my mum told me - one of the big differences about her recipe is the 1.25:1 ratio of rice:lentils - I really like this proportion - makes the BBB a lot more chunky and earthy. The other thing I usually do is bake the BBB at 275 F for about 30-40 minutes -this gets the flavors to soak in quite a bit. Given my sleep-deprived state, I'm probably going to skip posting the details of the recipe since there are a zillion awesome versions out there, like here, here and here and more.


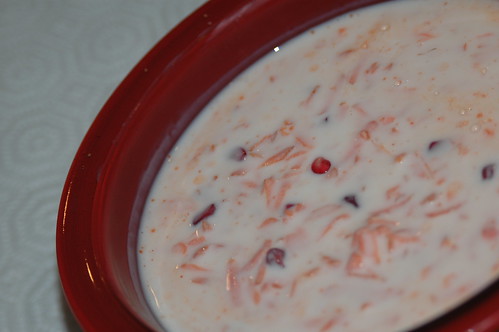
Often, a raita brings out the BBB flavors better than anything else - so that's what we went with. A simple carrot and pomegranate raita - very refreshing.


Well, Deepavali warrants a dessert - that was my excuse for trying out a variation of this walnut barfi recipe that my friend Yamini emailed me about the other day.


Nut Barfi

3/4 cup walnuts
1/2 cup cashews

2/3 cup brown sugar

3 T butter

a few strands of saffron

1/4 cup of milk


Soak the walnuts and cashews in hot water for about 20 minutes.
Drain them and grind into a coarse paste, adding milk as needed to make the paste.
Toss this into a saucepan along with the saffron and stir on low heat for 1-2 minutes before adding the butter. This recipe apparently calls for a whole stick of butter, but I couldn't quite get myself to use that, so I opted for less butter but more stirring to get the barfi to set.
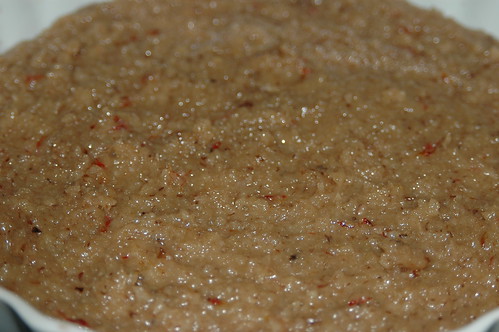
After about 20 minutes of stirring, I ended up pouring this into a pan hoping it would cool and harden. Well, it didn't :( Tasted great, but was all gooey. I finally ended up sticking it in the oven at 300 F for about 30 minutes, I think that was a bit much - about 20 minutes should've been good enough.

Tasted pretty good, but I definitely need to fine-tune the stirring/baking/etc times.


Happy Deepavali!

Friday, November 2, 2007

Assortment of vegetarian delights!

Still catching up on stuff we made over the last couple of weeks here, but some of these were so good, I absolutely have to talk about it :) Which calls for this condensed roundup!


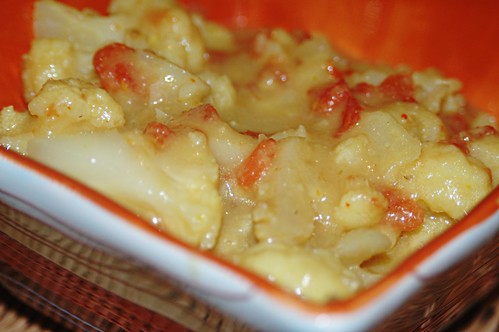
I was poking around India's 500 best recipes and stumbled upon this cauliflower stew that looked really interesting. And quite simple to make. Like most south indian stews, it asked for a coconut base, but I opted for a lighter sauce and used a combination of light coconut milk and dehydrated coconut powder instead - worked better than I expected since the coconut was only the ancillary flavor and let the cauliflower dominate the dish. Yay! Speaking of cauliflowers, I *love* separating the florettes! Even more with cauliflowers than broccoli. So cathartic, and I always go through this crazy decision process - How big should the pieces be? Should I cut the florettes up? Slice them or split them? So many choices! :)

Ok, back to the stew - I love the simplicity of this recipe - the main flavors just come from ginger, garlic and green chillies, with tamarind for adding tartness. When I first stumbled upon this recipe, I wasn't quite convinced about the flavors. No coriander or cumin or fenugreek or cinnamon or cardamom or anise or any other spice? Weird!! Well, I ate my words (and plenty of the stew!) The simplicity was definitely the essence - and it tasted and smelled fabulous! :)

Cauliflower Coconut Stew

Servings: 4

1 large cauliflower - florettes separated/cut into small pieces
2 small roma tomatoes - chopped

1 smallish vidalia onion - chopped
3 cloves garlic

2 green chillies

1" ginger

1 t turmeric
1 T safflower oil

1.5 cups light coconut milk

1 cup water

1 t brown sugar

1 t tamarind pulp soaked in a 3T of warm water

salt

Grind the onions, ginger, garlic and green chillies into a coarse paste in a food processor
.
Heat the oil and fry this paste with the turmeric till the aroma gets really strong, but avoid browning it.
Add the cauliflower and toss till the pieces are coated with the paste.
Now add the coconut milk, water, sugar and salt and simmer for about 10-12 minutes.
Toss in the tamarind and chopped tomatoes - cook for about 3-4 minutes before taking off the stove.

This worked great with some naan from Trader Joe's - I really meant to make some, but got too hungry :)


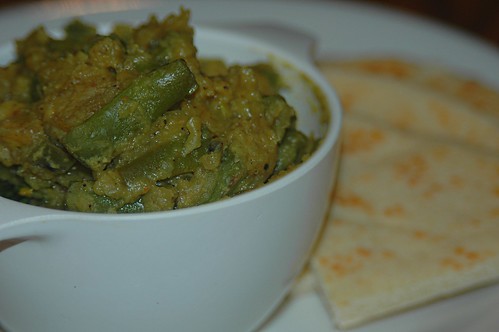
Next in the roundup was this pretty different daal - with beans and squash! I was a little apprehensive about trying it, but I really wanted to use up the last of the butternut squash I had sitting in the fridge, so I decided to throw it in with some green beans and make a daal. The main inspiration for this combination is the killer green beans and kabocha squash dish at one of our favorite restaurants in Seattle - Monsoon. Absolutely divine :)

Green Beans and Butternut Squash Daal

Servings: 4

1/2 lb fresh green beans
1/2 butternut squash
1/2 cup each of tuar daal, masoor daal and channa daal
4 cloves garlic - smashed
1 t sesame oil
1 T cumin seeds
1 T red chilli powder
1 t sumac powder
kosher salt
2 T lemon juice
a handful of chopped cilantro

Mix the daals and cook in 3+ cups of water till softened.
Peel and cut the squash into small chunks - this was a pain since butternut squash has a rigid skin and is hard to peel and cut - but we opted to do this instead of baking it since we wanted to preservce the chunks and not soften it completely.
Heat the oil in a wok and brown the cumin and garlic in it. Add the beans and squash chunks along with 1/3 cup of water and cook covered on low for 8-10 minutes.
Add the seasonings and salt and cook for another 5-7 minutes till the veggies are done.
Season with the lemon juice and cilantro.

This went well with mediterranean flatbread as well as the yummy pulao that follows :)


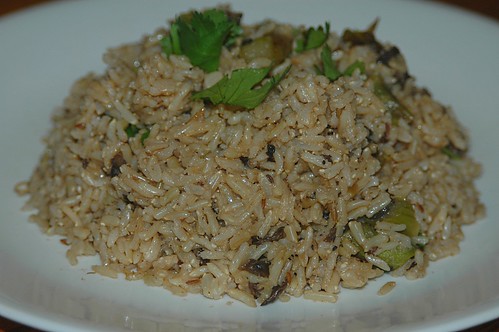
Ok, so we had a hankering for a rice dish. And we had a ton of crimini mushrooms waiting to be eaten. A long time ago, long before I fell in love with mushrooms, I tried this mushroom pulao and was pleasantly surprised at how tasty it was - and now that I'm all about most mushrooms (still not a big button and unmarinated portabello fan), we figured it was time to try out the mushroom pulao that I could smell in my head :)

Mushroom and Asparagus Pulao

Servings: 6

2 cups of crimini mushrooms - finely sliced
12 stalks of asparagus - chopped into 1" pieces
4 garlic cloves - sliced
2 cups of brown basmati rice

1 T olive oil
1 t cumin seeds
2 cardamom pods
1 2" cinnamon stick
1 T cayenne pepper
salt

Wash the rice and soak it in water for about 30 minutes.
Heat the oil in a wok and add all the spices plus the garlic and salt.
Add the mushrooms and asparagus and saute for about 4-5 minutes.
Strain the basmati rice through a colander before adding it into the wok.
Stir gently to mix things up, without breaking the grains of rice (since they are softened by soaking in water)
Add 3 cups of water and bring to a boil before lowering the heat. Cover and cook for about 15-20 minutes.
Before serving, stir up the rice gently with a fork to mix the spices up once more.

Perfect! The rice was light and fluffy, the mushrooms aromatic, the end result was immensely satisfying! :)

Saturday, October 6, 2007

The best fajitas *ever*!

I've always been obsessed with cooking and eating and even dreaming about food (probably reasonably obvious from the frequency of this blog!). But I've been noticing an interesting phenomenon - the last couple of weeks have been simply fabulous in terms of diversity of foods I've tried out as well as how well they've turned out! True gastronomic bliss :) And I'm attributing it primarily to this whole food blog obsession. Writing, taking pictures, reading all the awesome blogs out there, getting to know about fellow food bloggers and their cooking styles, this is truly rewarding!

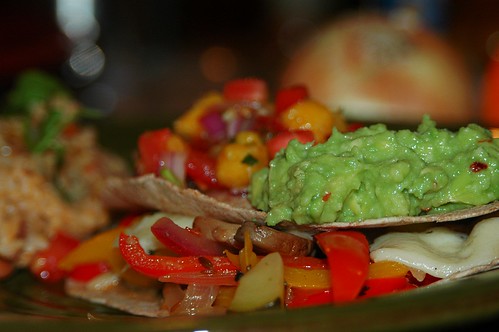
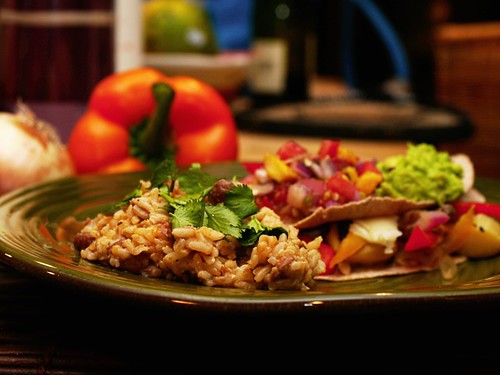
And on that note, I'll have to start writing about the best fajitas I've *ever* eaten. Maybe I should be more specific? Best veggies fajitas I've ever eaten. Whatever! I've only eaten veggie fajitas, though the plan is to attempt some kind of seafood fajitas one of these days :) Have I mentioned how awesome
Celia Brooks Brown's cookbooks are? And how obsessed I am with her 'New Vegetarian' cookbook? A few days ago, after we made the Teriyaki Tofu dish, we continued browsing this book for more drool-worthy recipes - trust me, there are several of them here! But this one particularly stood out - veggie fajitas with haloumi cheese and a bunch of marinated veggies. We only morphed it a little bit - substituting the haloumi with kasseri and crimini mushrooms instead of button mushrooms. Oh, and we spiced up the marinade and doubled the garlic (obviously!) :)

The Best Veggie Fajitas *ever*

Servings: 4

8 whole wheat tortillas
1/2 red onion
1/2 vidalia onion
1 red bell pepper
1 yellow bell pepper
1 zucchini
10-12 crimini mushrooms (sliced)
8 oz kasseri cheese - sliced long

Marinade
=========
5 cloves of garlic
1 T sea salt
1 huge handful of cilantro - chopped
1 T red pepper flakes
3 T olive oil
juice from 4 lemons
1 T ginger juice

Grind up the garlic with the sea salt in a pestle till the smell of garlic overwhelms you :) Mix the rest of the marinade ingredients with this in a large bowl. Toss the veggies in the marinade, cover the bowl and stick it in the fridge for about 30 minutes. After the veggies are marinated, toss them in a wok and cook partially covered till the juices are absorbed and the veggies are cooked - about 15-20 minutes.

In the meantime, wrap the tortillas in foil and stick them in the oven at 325 F for about 15 minutes. Stick the sliced cheese in the toaster for about a minute. Once melted, we mopped off the grease from the top and then shredded the cheese into 1" pieces.

To assemble the fajita, just load up a bunch of the veggies into the tortilla along with a few pieces of cheese and fold over.


Obviously, we needed a few sides to go with the best fajitas *ever* :) We had an avocado which went into making a basic guacamole:

Guacamole

1 avocado - mashed up
1 T lime juice
1 t kosher salt
1 t red pepper flakes

Just mix 'em all up! :)

Our next side was a happy, happy salsa:

Tomato-onion-mango salsa

1 red onion - chopped
3 medium tomatoes - chopped
1/2 ripe mango - chopped
1 jalapeno
10 mint leaves
1 t salt

Grind up the jalapeno+mint and toss the mixture with the tomatoes, onions and mango. Add the salt and mix.

Hmm ... we obviously needed a rice to go with all of this, guess that means we're making one more side! :)

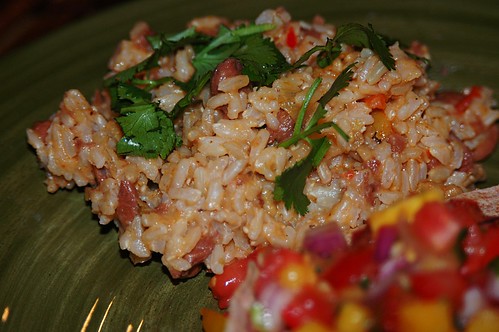
Brown rice with olive tapenade and pinto beans

2 cups brown rice (long grain)
1 can pinto beans
15 green olives
1/2 tomato
2 cloves garlic
1 t vinegar
1 t olive oil
2 t cayenne pepper
salt
Chopped cilantro

Cook the rice in 4.5 cups of water. In the meantime, grind the olives, tomato and garlic into a coarse paste. Mix this with the vinegar, olive oil, cayenne and salt to make a tapenade. Toss the cooked rice with the pinto beans and tapenade. Garnish with cilantro. Yum!


Mmmm ... this meal has cilantro + mint = double herb delight! Plus oodles of yummy vegetables! Gots to be an entry for Kalyn's fabulous Weekend Herb Blogging two year anniversary event! :)

Wednesday, September 26, 2007

Rice Mixup, mon?!


Indian rice dishes are among the best out there, what with pulao and biriyani and bisibela and vangi bath, the list just goes on! But then there are the fiery latin and caribbean flavors that arouse all the senses - the paellas and beans'n'rice and arroz con something or the other!

Last night was definitely a rice night, after poking around Didi Emmons' book, we stumbled upon this yummy looking Jamaican rice mixup recipe that we morphed to work with what we had. Instead of using regular long-grain rice, we use this nutty rice and lentils mix that I found at PCC a few weeks ago. With 3 kinds of wild and brown rice as well as red lentils, it ends up bursting with flavor and blends really well with strong spices like cumin and coriander. All the stores seem to be teeming with squashes right now, so we settled for this Delicata squash - even as I cut it, it seemed to be redolent of sweet potato rather than squash. Well, wikipedia seems to think the same! :) We went with onions and spinach, but skipped the usual black beans since our rice mix already had lentils.


Jamaican Rice Mixup

1/2 large red onion - minced
5 cloves garlic

1" ginger
1 jalapeno
1 delicata squash - peeled and diced
20-25 leaves of baby spinach - cut into long shreds

1.5 cups of wild/brown rice + red lentils

chives for seasoning

salt'n'pepper


Spices:

1 t coriander powder
1 t allspice powder
1 t saffron


Cook the rice in 2.5 cups of water. In the meantime, saute the onions in 1 T of olive oil. Grind up the ginger, garlic and green chillies and throw them in. Once the onions are translucent, add the squash along with 1/2 cup of water. Add the spices and simmer covered till the squash is cooked. Add the cooked rice along with the spinach. Stir in the salt and pepper and cook for 1-2 minutes longer.


Garnish? Chives fresh from the veggie patch :)


I was hankering for a side for this and wasn't quite sure what would go with it. We finally settled on a raita. Since this rice had strong flavors like indian food, the raita ended up being the perfect complement. And it took all of 5 minutes! One grated carrot and a spoon of mango pickle stirred into 2 cups of buttermilk. Done! :)