Showing posts with label chocolate. Show all posts

Monday, April 28, 2008

Eat a cheesecake pop, will you?


When I first read about cheesecake pops being the DB challenge for April, it took me a while to figure out what these crazy things were. I had to read and re-read the recipe before understanding how these pops got done. They're made of cheesecake, but there's more to them. They look like lollipops, but that isn't what they are. They need to be frozen, but they are not icecream. They're a crazy olio of dessert techniques leading up to these really fun looking finger foods! Crazy, eh? There's a DB challenge for you :)

This month's challenge was organized by Elle (Feeding My Enthusiasm) and Deborah (Taste and Tell)- they picked these funky cheesecake pops from Sticky, Chewy, Messy, Gooey by Jill O'Connor. Seriously, this is the perfect title for a book that has a recipe for cheesecake pops! They're gooey all right, was quite a bit messy assembling them, sticky - a bit ... chewy - somewhat :) I've never baked anything from this book before, now I'm totally intrigued about what other quirky recipes it contains!

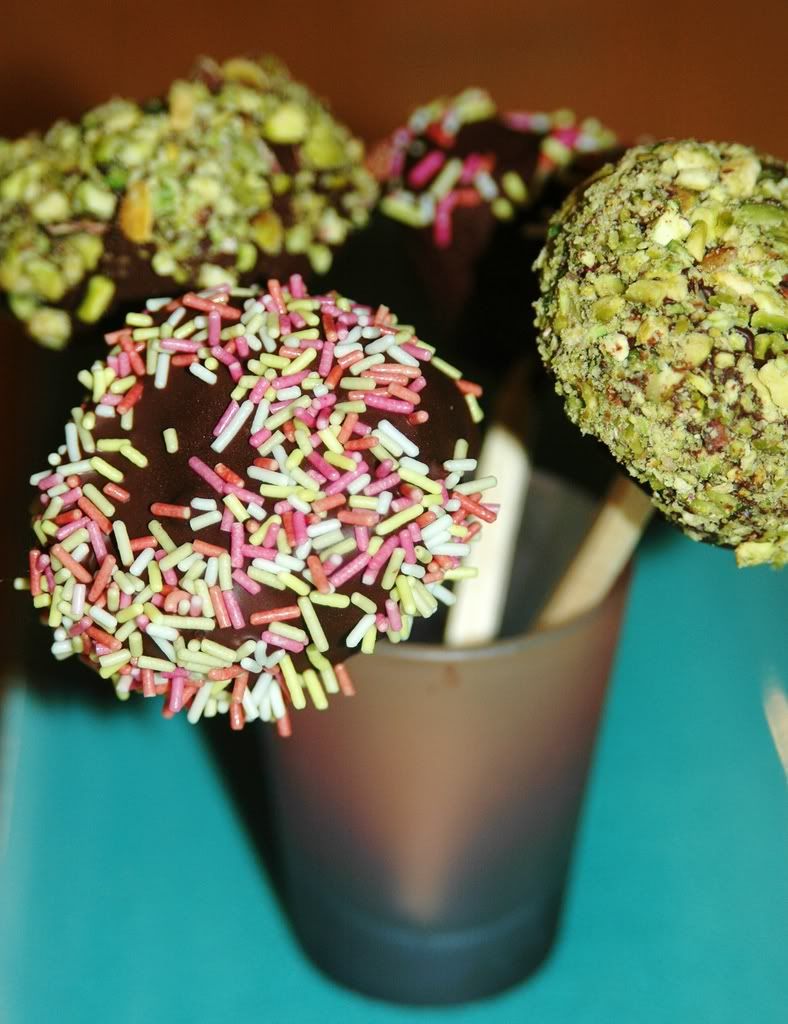
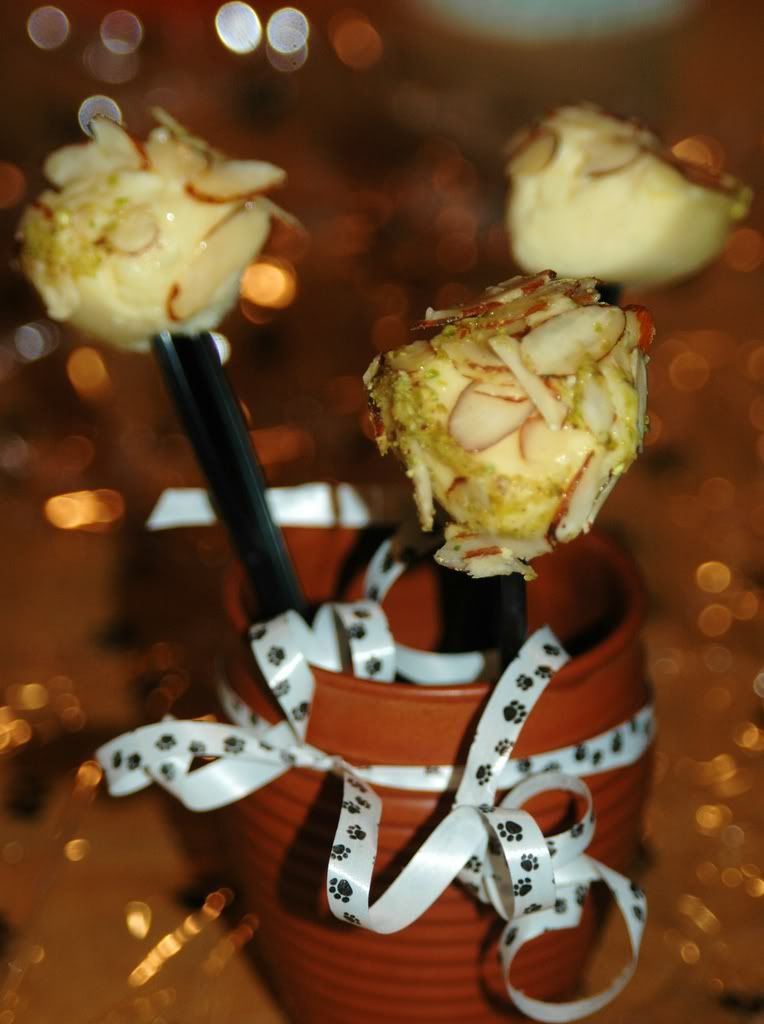
These cheesecake pops make for the perfect party food. And given that tomorrow is Vodka's b'day, I decided to tailor these for him. A few pops got the prescribed chocolate dunk, but a few others were set aside for Vodka - they got a yummy crust of sliced almonds in a vodka-honey sauce. That's the tradition - for the 9th year running - the pooch gets a Vodka-based dessert on his birthday :)

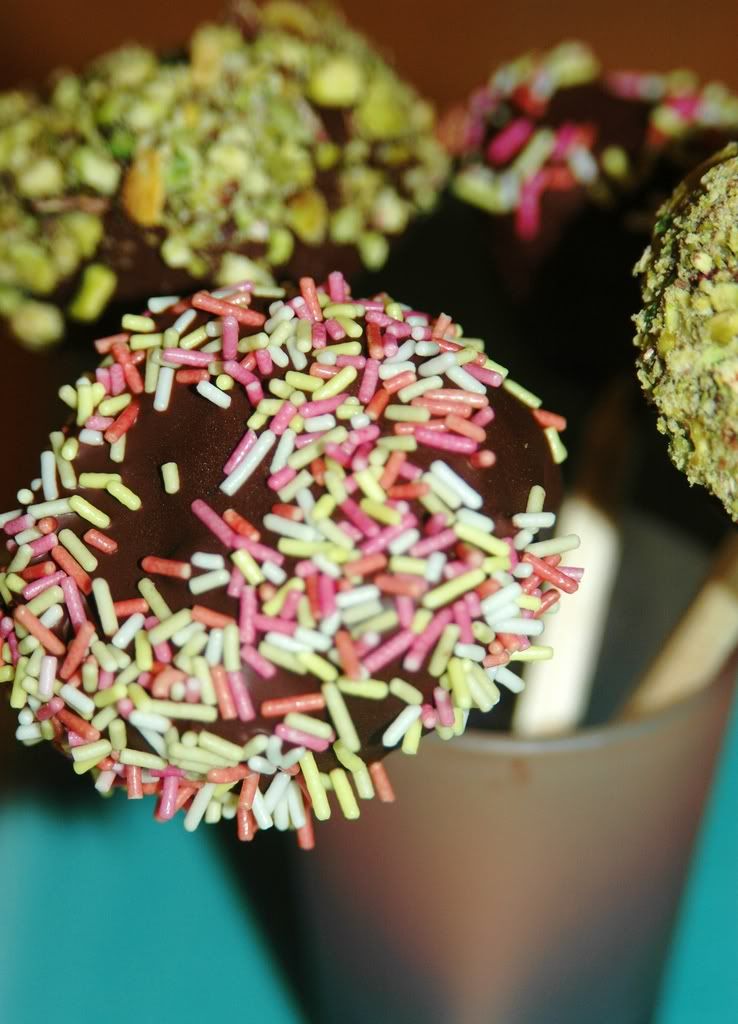
This was actually a really simple and straightforward recipe - a basic cheesecake baked using a water bath. There is plenty of flexibility in the dipping flavours and colours which was fun! I ended up going for the traditional cheesecake balls instead of any fancy geometric shapes, but the fun started with the dipping and decorations. The first few got dunked in semisweet chocolate and topped with sprinkles - very festive! And then Vodka's preferences took over - which made for a big hit!
****


Cheesecake Pops
(based on Jill O'Connor's recipe from Sticky, Chewy, Messy, Gooey)

Makes 30 – 40 Pops

5 8-oz. packages cream cheese at room temperature
2 cups sugar
¼ cup all-purpose flour
¼ teaspoon salt
5 large eggs
2 egg yolks
2 teaspoons pure va
nilla extract
¼ cup heavy cream
Boiling water as needed
Thirty to forty 8-inch lollipop sticks
1 pound chocolate, finely chopped – you can use all one kind or half and half of dark, milk, or white (Alternately, you can use 1 pound of flavored coatings, also known as summer coating, confectionary coating or wafer chocolate – candy supply stores carry colors, as well as the three kinds of chocolate.)
2 tablespoons vege
table shortening
(Note: White chocol
ate is harder to use this way, but not impossible)
Assorted decorations such as chopped nuts, colored jimmies, crushed peppermints, mini chocolate chips, sanding sugars, dragees) - Optional

Position oven rack in the middle of the oven and preheat to 325 degrees F. Set some water to boil.

In a large bowl, beat together the cream cheese, sugar, flour, and salt until smooth. If using a mixer, mix on low speed. Add the whole eggs and the egg yolks, one at a time, beating well (but still at low speed) after each addition. Beat in the vanilla and cream.

Grease a 10-inch cake pan (not a springform pan), and pour the batter into the cake pan. Place the pan in a larger roasting pan. Fill the roasting pan with the boiling water until it reaches halfway up the sides of the cake pan. Bake until the cheesecake is firm and slightly golden on top, 35 to 45 minutes.

Remove the cheesecake from the water bath and cool to room temperature. Cover the cheesecake with plastic wrap and refrigerate until very cold, at least 3 hours or up to overnight.

When the cheesecake is cold and very firm, scoop the cheesecake into 2-ounce balls and place on a parchment paper-lined baking sheet. Carefully insert a lollipop stick into each cheesecake ball. Freeze the cheesecake pops, uncovered, until very hard, at least 1 – 2 hours.

When the cheesecake pops are frozen and ready for dipping, prepare the chocolate. In the top of a double boiler, set over simmering water, or in a heatproof bowl set over a pot of simmering water, heat half the chocolate and half the shortening, stirring often, until chocolate is melted and chocolate and shortening are combined. Stir until completely smooth. Do not heat the chocolate too much or your chocolate will lose it’s shine after it has dried. Save the rest of the chocolate and shortening for later dipping, or use another type of chocolate for variety.

Alternately, you can microwave the same amount of chocolate coating pieces on high at 30 second intervals, stirring until smooth.

Quickly dip a frozen cheesecake pop in the melted chocolate, swirling quickly to coat it completely. Shake off any excess into the melted chocolate. If you like, you can now roll the pops quickly in optional decorations. You can also drizzle them with a contrasting color of melted chocolate (dark chocolate drizzled over milk chocolate or white chocolate over dark chocolate, etc.) Place the pop on a clean parchment paper-lined baking sheet to set. Repeat with remaining pops, melting more chocolate and shortening (or confectionary chocolate pieces) as needed.

Refrigerate the pops for up to 24 hours, until ready to serve.

****

Allowed Variations

Yes you can make some changes to this cheesecake as long as you promise to use the basic cheesecake recipe (although you can add a flavor to it if you like) and do keep it white (sorry, no chocolate or coffee or mocha), and keep the pops to the 2 ounce size.

The dipping flavors and colors are completely up to you.

If you want to use decorations, go for it. Same with drizzles and ribbons on the sticks. Or leave them plain after dipping them. You can even dip them in graham cracker crumbs and then the chocolate – to get more of the cheesecake feel to them.

You can cut the cheesecake into geometric shapes instead of making balls…triangles or squares or diamonds…just keep them about 2 ounces each. We can't wait to see what combinations our Daring Baker come up with…just make sure to use the basic cheesecake recipe, to make the pops 2 ounces or close to that in size, and to dip each pop in chocolate or confectionary coating and have it on a lollipop stick.

Opinion?

This isn't my typical kind of dessert, I'm not even a big cheesecake fan, but these things turned out pretty good! I was afraid the cheesecake was going to be super dense, but it was actually pretty light - probably courtesy of a couple of changes I made to the recipe - I used neufchatel cheese instead of regular cream cheese, I skipped the egg yolk and heavy cream in favour of a couple of tablespoons of silken tofu - these made for a much lighter cheesecake! Dipping the pops in chocolate was a cinch, rolling them in sprinkles and nuts was ... a piece of cake! :)


The best part of it all was that Vodka absolutely loved his treats and then sat around licking his chops for a while after! :)
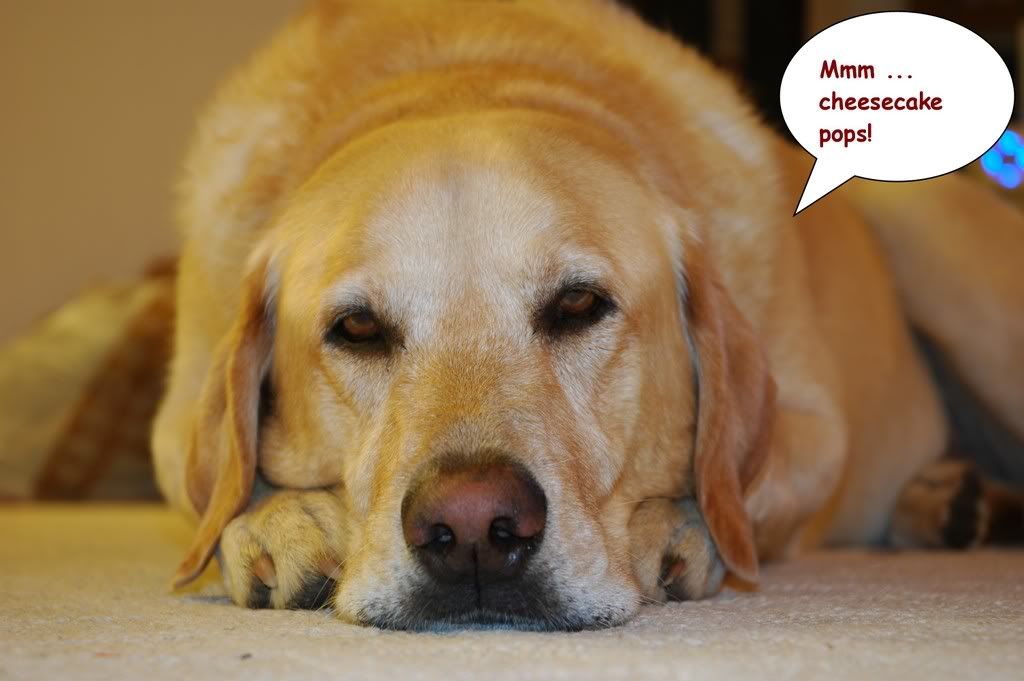


Thanks, Elle & Deborah for this really really fun challenge. I had a blast and Vodka is thrilled to bits - nothing like making a pooch happy on his birthday!

And now it is time for me to stay up all night checking out all the other awesome DB posts!

Tuesday, April 1, 2008

Dare to bake a mini cake? :)


Ok, it is time to stop being so damn tardy. No more last minute bakeoffs. No more late posts.

I'm s.e.r.i.o.u.s.

I'll admit that I was initially disappointed when I found March's DB Challenge to be a party cake. Hmm ... I was craving savoury. *grumble* *grumble*. And then the baker kicked in :) Yay! A party cake! And tomorrow is Monte's b'day. Perfect. Wait ... more than perfect! That even gives me an excuse for this delayed post!

Morven picked Dorie Greenspan's Perfect Party Cake from her insanely droolworthy book Baking: From My Home To Yours. If you haven't checked out this book, now is the time to get it. Dorie's recipes are really well written out and she had a fabulous collection in this book.

The really neat thing about Morven's pick was that it gave us a lot of liberty in playing with the flavour and filling of the cake. Sweet! All I needed to do was channel my zen to inflate my cake and then I could totally party with it! Dorie suggested a raspberry filling, but I had this stash of wild boreal blueberries sitting in my fridge, so I decided to use that instead. Also, I went in for a mini-cake - I didn't have tiny "cakelet" pans, so I baked a regular layer cake and used a wide cup for cutting out the mini cakes. Worked pretty well!

I decided to take the plunge and veer away from the buttercream and coconut toppings. Instead, for the filling, I went with a lightly sweetened and buttered bluberry filling. And for the topping, I went in for a "fake" bitter chocolate ganache. Ok, no cringing allowed here - I made a ganache with chocolate and silken tofu and chilled it before slathering it all over the cakes. It turned out surprisingly good, the 72% dark totally rocked here. And I have no qualms indulging in this "tofanache" if I feel like going light!

This recipe was insanely easier than expected. Then again, with Dorie behind it, I shouldn't have been surprised! Thanks Morven, for the fine pick :)

***


***

The Perfect Party Cake
(adapted from Dorie Greenspan's Baking: From My Home To Yours)

For the Cake

2 1/4 cups cake flour
1 tablespoon baking powder
½ teaspoon salt
1 ¼ cups whole milk or buttermilk (I prefer buttermilk with the lemon)
4 large egg whites
1 ½ cups sugar
2 teaspoons grated lemon zest
1 stick (8 tablespoons or 4 ounces) unsalted butter, at room temperature
½ teaspoon pure lemon extract

For the Buttercream

1 cup sugar
4 large egg whites
3 sticks (12 ounces) unsalted butter, at room temperature
¼ cup fresh lemon juice (from 2 large lemons)
1 teaspoon pure vanilla extract

For Finishing

2/3 cup seedless raspberry preserves stirred vigorously or warmed gently until spreadable

About 1 ½ cups sweetened shredded coconut

Getting Ready

Centre a rack in the oven and preheat the oven to 350 degrees F. Butter two 9 x 2 inch round cake pans and line the bottom of each pan with a round of buttered parchment or wax paper. Put the pans on a baking sheet.


To Make the Cake

Sift together the flour, baking powder and salt.
Whisk together the milk and egg whites in a medium bowl.
Put the sugar and lemon zest in a mixer bowl or another large bowl and rub them together with your fingers until the sugar is moist and fragrant.
Add the butter and working with the paddle or whisk attachment, or with a hand mixer, beat at medium speed for a full 3 minutes, until the butter and sugar are very light.
Beat in the extract, then add one third of the flour mixture, still beating on medium speed.
Beat in half of the milk-egg mixture, then beat in half of the remaining dry ingredients until incorporated.
Add the rest of the milk and eggs beating until the batter is homogeneous, then add the last of the dry ingredients.
Finally, give the batter a good 2- minute beating to ensure that it is thoroughly mixed and well aerated.
Divide the batter between the two pans and smooth the tops with a rubber spatula.
Bake for 30-35 minutes, or until the cakes are well risen and springy to the touch – a thin knife inserted into the centers should come out clean
Transfer the cakes to cooling racks and cool for about 5 minutes, then run a knife around the sides of the cakes, unfold them and peel off the paper liners.
Invert and cool to room temperature, right side up (the cooled cake layers can be wrapped airtight and stored at room temperature overnight or frozen for up to two months).

To Make the Buttercream

Put the sugar and egg whites in a mixer bowl or another large heatproof bowl, fit the bowl over a plan of simmering water and whisk constantly, keeping the mixture over the heat, until it feels hot to the touch, about 3 minutes.
The sugar should be dissolved, and the mixture will look like shiny marshmallow cream.
Remove the bowl from the heat.
Working with the whisk attachment or with a hand mixer, beat the meringue on medium speed until it is cool, about 5 minutes.
Switch to the paddle attachment if you have one, and add the butter a stick at a time, beating until smooth.
Once all the butter is in, beat in the buttercream on medium-high speed until it is thick and very smooth, 6-10 minutes.
During this time the buttercream may curdle or separate – just keep beating and it will come together again.
On medium speed, gradually beat in the lemon juice, waiting until each addition is absorbed before adding more, and then the vanilla.
You should have a shiny smooth, velvety, pristine white buttercream. Press a piece of plastic against the surface of the buttercream and set aside briefly.

To Assemble the Cake

Using a sharp serrated knife and a gentle sawing motion, slice each layer horizontally in half.

Put one layer cut side up on a cardboard cake round or a cake plate protected by strips of wax or parchment paper.
Spread it with one third of the preserves.
Cover the jam evenly with about one quarter of the buttercream.
Top with another layer, spread with preserves and buttercream and then do the same with a third layer (you’ll have used all the jam and have buttercream leftover).
Place the last layer cut side down on top of the cake and use the remaining buttercream to frost the sides and top.
Press the coconut into the frosting, patting it gently all over the sides and top.

Serving

The cake is ready to serve as soon as it is assembled, but I think it’s best to let it sit and set for a couple of hours in a cool room – not the refrigerator. Whether you wait or slice and enjoy it immediately, the cake should be served at room temperature; it loses all its subtlety when it’s cold. Depending on your audience you can serve the cake with just about anything from milk to sweet or bubbly wine.


Storing

The cake is best the day it is made, but you can refrigerate it, well covered, for up to two days. Bring it to room temperature before serving. If you want to freeze the cake, slide it into the freezer to set, then wrap it really well – it will keep for up to 2 months in the freezer; defrost it, still wrapped overnight in the refrigerator.


Playing Around

Since lemon is such a friendly flavour, feel free to make changes in the preserves: other red preserves – cherry or strawberry – look especially nice, but you can even use plum or blueberry jam.


Fresh Berry Cake

If you will be serving the cake the day it is made, cover each layer of buttercream with fresh berries – use whole raspberries, sliced or halved strawberries or whole blackberries, and match the preserves to the fruit. You can replace the coconut on top of the cake with a crown of berries, or use both coconut and berries. You can also replace the buttercream between the layers with fairly firmly whipped sweetened cream and then either frost the cake with buttercream (the contrast between the lighter whipped cream and the firmer buttercream is nice) or finish it with more whipped cream. If you use whipped cream, you’ll have to store the cake the in the refrigerator – let it sit for about 20 minutes at room temperature before serving.


***
Additional Notes

If you want to bake mini-cakes, either use smaller cake pans or bake a regular 9" layer cake and cut out smaller cakes from it using cake rings or a sharp-rimmed cup.

***

Opinion?

The cake rose perfectly. I can only credit that to my sis (the real baker) who insisted that I pound the cake pan a zillion times till all the air bubbles are released, which I did, to Vodka's utter consternation! Slicing the cake to make layers was ... a piece of cake! The lemon flavours (I skipped the extract and went with lemon juice and zest) were outstanding. The boreal berries were divine, like always - they're much smaller than regular blueberries, not as sweet, but have a fabulous earthy flavour that makes for a fine topping on most desserts. And the "tofanache" made me quite happy. It isn't meant for everything - there are times when nothing but the real ganache would suffice, but in this case, it did a pretty good job.

***


Is this going to be a repeat?

I would totally bake this cake again - maybe I'll even use some buttercream next time around! Besides, I have a ton of leftovers from the cake that I can't wait to work with - that's often the fun part, isn't it?

Thanks Morven, for this insanely fun pick and even more for letting us exercise our creative license. Picking and choosing fillings and toppings was a party in itself!

And now I'm off to finally spend some time checking out all the other fabulous Daring Bakers' creations!

Saturday, February 23, 2008

Taste & Create VI - Chocolate Tofu Pudding!

This whole idea of trying out recipes from fellow bloggers is really fun - I've been indulging in this a lot more lately, sometimes trying to follow the recipe as closely as possible, other times I add my twist - as is what I often do with most recipes :) Either way, it is always really exciting to try something suggested by a fellow blogger, see how it turns out and be able to talk about our successes and misadventures.

So, when Chris suggested that I should check out Taste & Create started by Nicole, I was intrigued. This event basically pairs up food bloggers who proceed to try out a recipe (any recipe) from each other's blogs. The first time I checked out the list of bloggers who were interested in trying this out, I realized there were *tons* of folks out there who I had never visited. Obviously, we all reach a saturation point in terms of how many blogs we can check out, how many posts we can read, how many comments we can submit, even how many recipes we can try out! But the whole random pairing aspect of this event seems pretty neat - the way I look at it, I might be hooked up with a blogger whose food tastes vary vastly from mine, but an event like this could entice me to expand my horizons and try out something I wouldn't have stumbled upon otherwise. Or maybe I would just find a totally new twist to something I've made many times over!

Well, the latter is what happened in my first Taste & Create experience. I was partnered with Katie who blogs at Other People's Food - sounds like her blog is tailor made for the Taste & Create experience :) Katie seems to be awfully versatile at picking really interesting recipes from fellow bloggers and trying them out - something I've been attempting to do a lot more of lately. Thanks Katie, for being an awesome blog-discoverer :)


As I was being sorely tempted by all the delicious fish recipes on Katie's site, I stumbled on this post about chocolate tofu pudding. Chocolate + tofu? Sounds a bit insane! The recipe calls for using silken tofu - something I've started experimenting with in soups and sauces, it even works as a great option for making a light version of a flaky pastry shell - more about that in the week to come.

So, I went ahead and tried out Katie's recipe - I ended up using molasses instead of maple syrup and stuck with dark chocolate chips instead of a combination of semi-sweet and dark. Simple, elegant, easy.


Chocolate Tofu Pudding
Silken chocolate? Can it get any better?!

Servings: 2

1/2 container of silken tofu (200 gms)
2/3 cup of dark chocolate chips (Guittard is divine, Ghirardelli works too)
1 t molasses (I used this instead of maple syrup)
1 t vanilla extract

Heat the chocolate in a double boiler till completely melted.
Stir in the molasses and vanilla extract till smooth.
I noticed that the molasses increased the thickness of the chocolate dramatically and it took a ton of effort to keep stirring it to keep it smooth! Totally unexpected side effect :)
Beat the silken tofu to a smooth paste and stir it into the chocolate mixture.
I noticed that the tofu still seemed a bit chunky after stirring it into the chocolate, so I ended up running the mixture through a blender again before pouring it out into ramekins.
Chill for atleast an hour.

Whoa! The pudding ended up being super thick and creamy! I'm assuming the molasses had a lot to do with this. Sweet! :)

Serving suggestion:

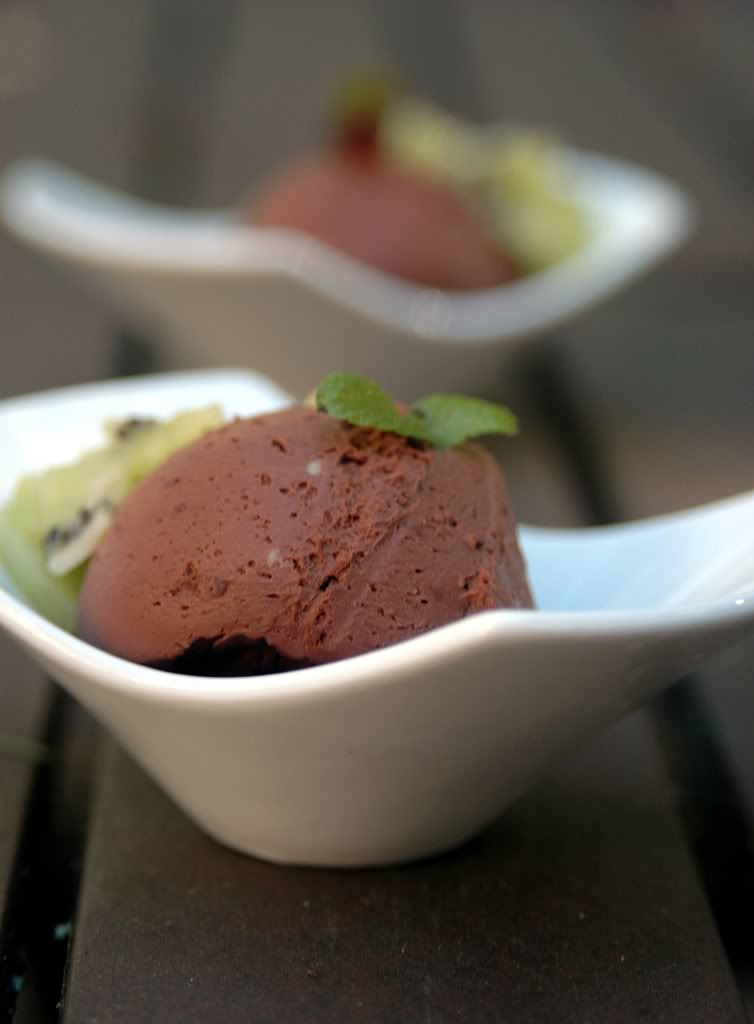
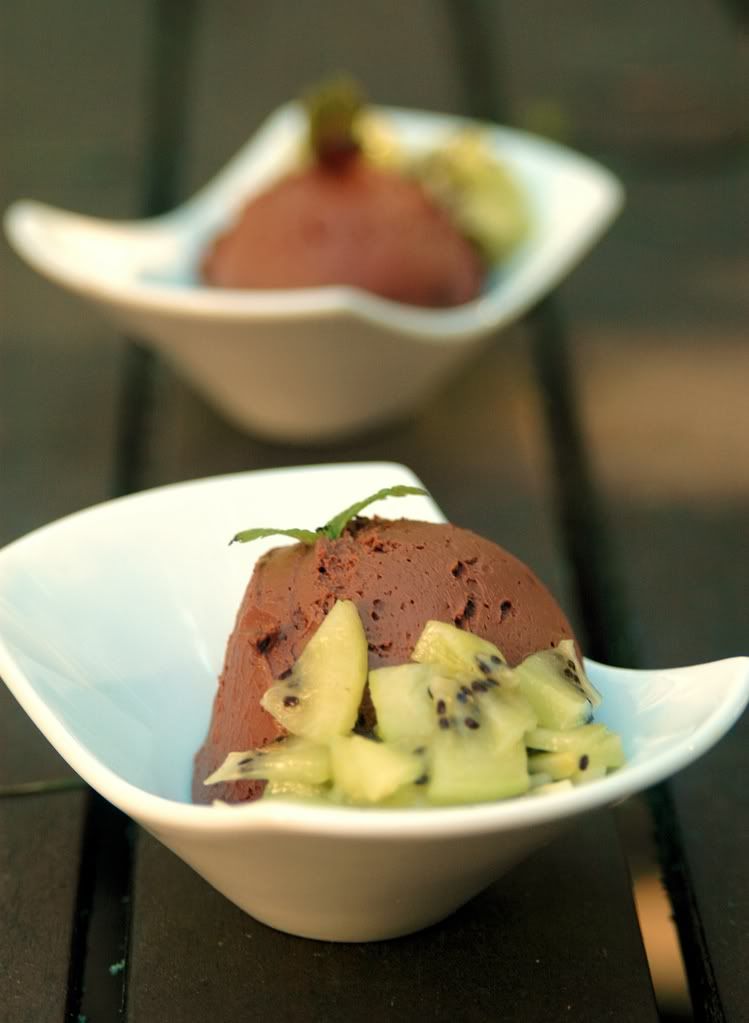
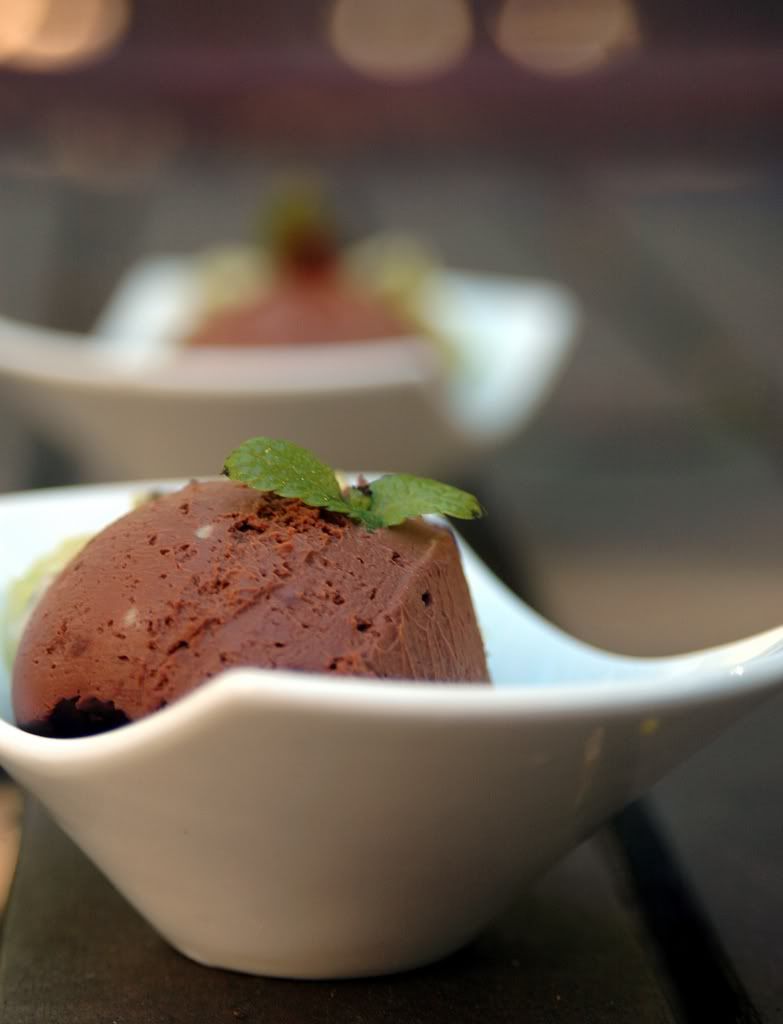
Ladle a scoop or two of the pudding into a bowl along with a side of chopped kiwis. Garnish with a sprig of orange mint.


Opinion?

Oh.My.God.

This was fabulous! Creamy, smooth and fabulously decadent! And to think that I added no fat other than what the chocolate had - this whole silken tofu + molasses mojo makes me super happy! I can't wait to play around more with these.

Thanks Katie & Nicole for a really fun Taste & Create experience!

Monday, February 11, 2008

Chocolate Love!


Mmm ... Death by Chocolate ... that sounds delectable :)

Chocolate is one of things that I've had dreams about. And woken up feeling super happy. And sometimes hungry :)


So, when Culinate announced this event, I started skipping around. It actually took me about 4 days to decide which of a zillion chocolate recipes I wanted to use. And then it took procrastinating till the last day before I baked one of my chocolate fantasies. Sad, but I really am this last-minute junkie!


Anyway, friday was the last day for submissions for DbC, but the Obama rally took precedence over sending in a timely submission. Guess I'll write about these anyway :)


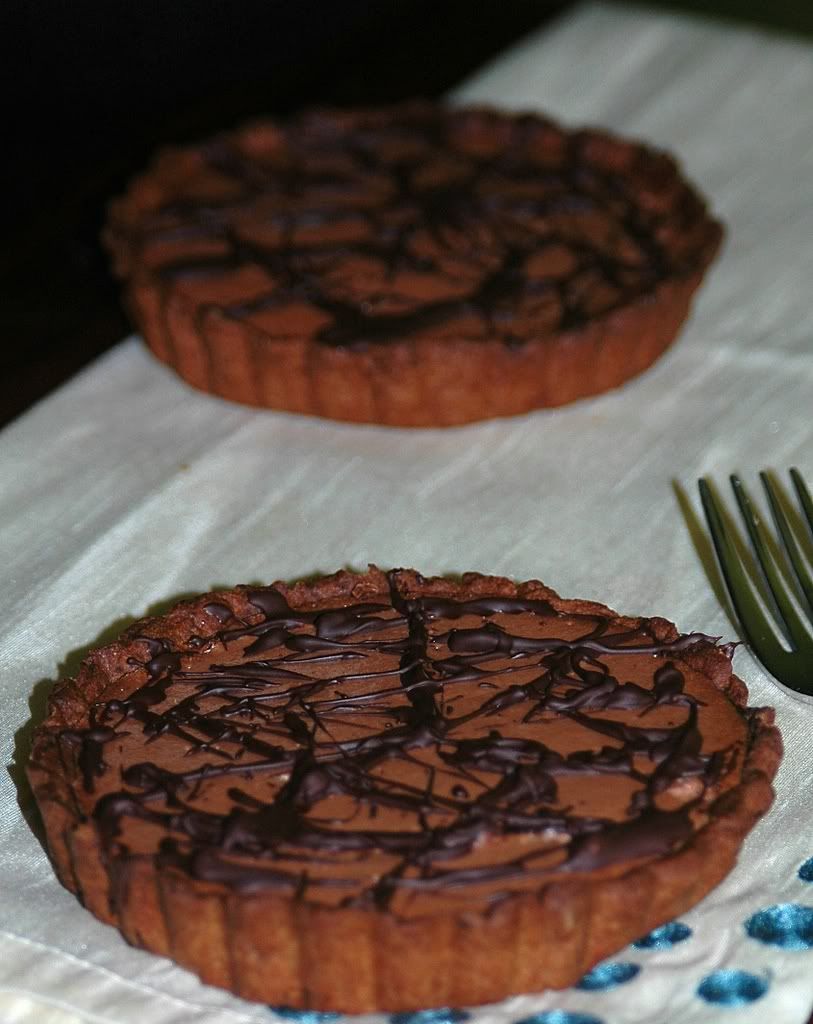
After dithering between various recipes like an intensely decadent gateau, a fabulous ganache cake topped with chocolate curls, bitter chocolate mousse, mocha pots and more ... I finally settled for baking these delicious chocolate mousse tartlets. I adapted a recipe from one of my favourite dessert books - The Ultimate Dessert Cookbook.

The original recipe called for white chocolate - for a cocoa freak like me, that is tantamount to sacrilege! But I finally gave in and mixed some white chocolate with 72% chocolate to create a mild creamy version - this turned out *good*!
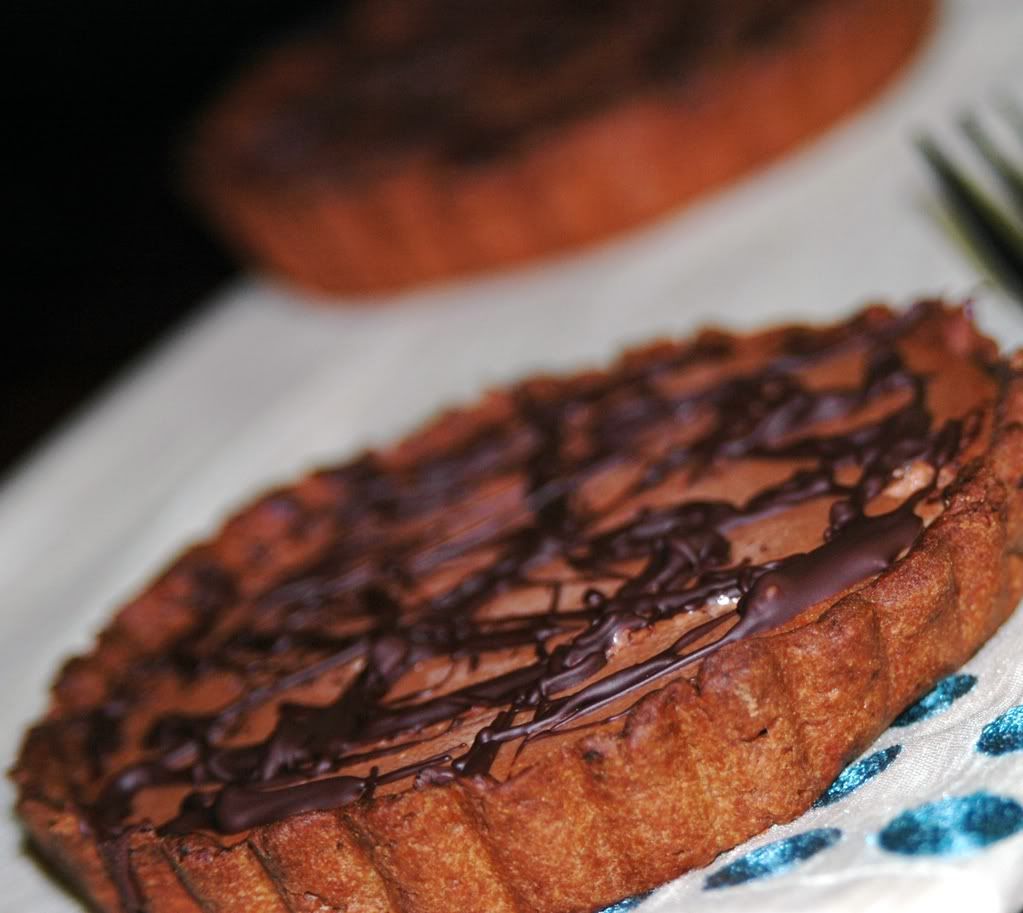
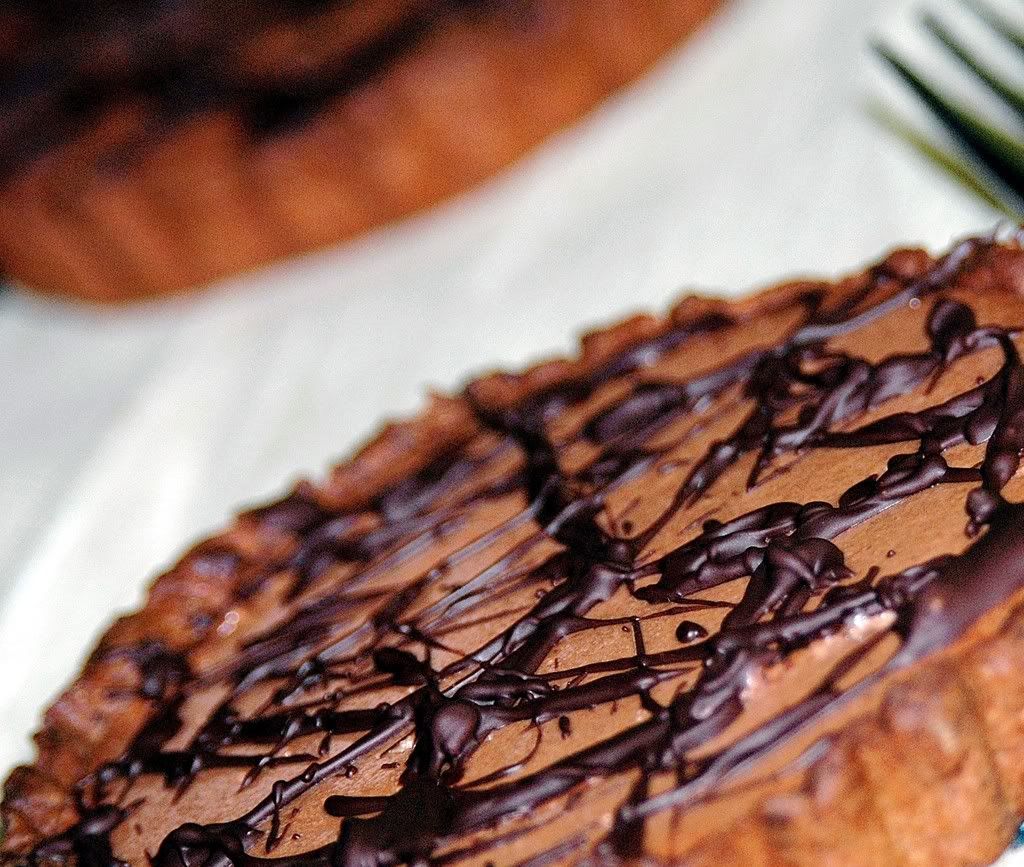
Also, I really wanted to add some zing to the tartlets, so I went with a dark chocolate drizzle mixed with some cayenne, nutmeg, cinnamon and vanilla - *like* it :)


Chocolate Mousse Tartlets with Greek yogurt
With a diablo touch :)

Servings: 6

Crust

1.5 cups pastry flour
2 T cocoa powder

2 T icing sugar
1/4 cup of butter

2 T whipped spread (I use Earth Balance)


Filling

2 oz white chocolate (squares or broken)

4 oz dark chocolate (squares or broken)

1/2 cup of nonfat milk

2 t pectin or agar (you could use gelatine too)

2 T caster sugar
1 t vanilla essence

2 eggs separated

1 generous cup of greek style yogurt (I used nonfat)

Drizzle


melted chocolate

1 t cayenne powder
1/4 t nutmeg powder

1/4 t cinnamon


Making the tartlet shells

Preheat the oven to 375 F.

Sift the flour, cocoa and icing sugar into a bowl.

Place the butter and whipped spread in a pan along with 4 T of water and heat gently until just melted.

Once cooled, stir in the flour to make a firm dough.

Chill the dough for atleast 30 minutes, preferably an hour.
Roll out the pastry and line 6 10 cm tartlet pans (I used the loose-based flan tins).
Prick the base of each tart shell with a fork before lining with parchment paper and weighing down with baking beans.
Bake for 10 minutes.

Remove the beans and parchment and bake for 15 more minutes till the pastry is firm.

Let the tartlet shells cool in the tins.

Making the filling


Melt the chocolate (white and dark) in a heatproof bowl over hot water.
In the meantime, pour the milk into a saucepan and heat on low.
Add the pectin slowly,stirring constantly until dissolved completely.

Remove the milk mixture from heat and stir in the chocolate.
Whisk the sugar, vanilla and egg yolks in a large bowl.
Add the chocolate mixture and beat till blended.

Now, beat in the greek yogurt till evenly mixed.
Whisk the egg whites in a clean bowl till stiff (peaks should form and stay in place).

Fold the egg whites into the chocolate mixture gently till mixed completely.
Divide the chocolate mixture across all the pastry shells and chill to set.
Add the cinnamon, nutmeg and cayenne to the melted chocolate and drizzle it over the tartlets to decorate.


Opinion?

*love* it! Obviously, I need to get more opinions here, since I'm a certified chocolate freak :) But I think this turned out great! And I love the cayenne touch - it leaves a gentle after-spice on the tongue - spicy chocolate after taste, spicy chocolate after breath!!!


Mmm ... think I'll just curl up on the couch with my current read and dig into a yummy chocolate mousse tartlet - life can't get much better than that! :)

Wait, chocolate is an aphrodisia
c!

'In most countries chocolate is associated with romance, and with good reason, it was thought by the Aztec's to have aphrodisiac qualities, invigorating men and making women less inhibited. So when it was first introduced to Europe, it's small wonder that chocolate quickly became the ideal gift for a man to bestow on a loved one.'

Obviously, there was no dearth of info about chocolate and its ostensible turn-on strength :) Read more here and here and here ... or maybe you know all this already!

So, guess if chocolate has any aphrodisiac properties at all, it is probably well-contained in these tartlets that have 71% cocoa in them! I used the Valrhona Le Noir Amer in my tartlets (yes, I'm a serious chocolate snob) - the flavours truly seemed to stick around forever!

And as much as I don't care for V'day and think of it as this consumer-driven day of red, I can't pass up on a food event! So, this goes off to Pooja's My Creative Ideas for her Theme of the week - Valentine's day. This definitely celebrates the love for chocolate - that counts, right? :)

Hold please! I can even send this off to The Mini Pie Revolution - these are sweet tarts! Yay!

Monday, January 21, 2008

Brazilian Chocolate Bananas


A few nights ago, I was craving chocolate, maybe with some fruit, something sweet, something easy to make ... and I stumbled upon this recipe for brazilian coffee bananas in one of my favourite books The Ultimate Dessert Cookbook by Rosemary Wilkinson. And it was even tagged quick and easy - can't beat that!


Wait ... almost 10 pm - do I *ever* need coffee at 10 pm? I'm the person who drinks a mocha at 10 am and bounces off the walls the rest of the day! The last thing I needed was espresso at night! But I did want my dessert - truly, madly, deeply. So, I went with chocolate instead and used one of Becky's magic truffles - *so* good! Yesss, I was a bit bouncy, dark chocolate and all! But still, so much better than espresso, right? :)


This dessert was sinfully rich and took all of 5 minutes to make. Can't quite beat that!


Brazilian Chocolate Bananas
Zippy decadence!

Servings: 1

2 small overripe bananas
1 small dark chocolate truffle

1/2 cup nonfat greek yogurt

3 toasted peeled almonds

Peel and cut the bananas into thin slices.

Set aside 3-4 slices for the topping.
Mash the remaining banana pieces with a fork till thick and pulpy.

Melt the chocolate truffle in a saucepan (or stick it in the microwave for a minute).
Mix the molten chocolate with the mashed bananas.
Spoon some of the banana mixture into a serving dish, top it with some yogurt and repeat this layering till the bananas and yogurt are used up. Swirl the last layer of yogurt before topping it with the sliced bananas and almonds.

Any good? Any good?

*drool*! So tasty, so easy, so happy!


Variations?

* Well, if you want the bananas to be richer, it might be a good idea to add some liqueur - maybe amaretto? Or even some brandy.
* If you want to go with the original coffee version, replace the chocolate with 1 t of coffee granules or powder mixed with 1 t of muscovado sugar in a little hot water - stir this into the mashed bananas instead of the chocolate.

Tuesday, January 8, 2008

Truffles from heaven

Ok, all I did was take the pictures! :)


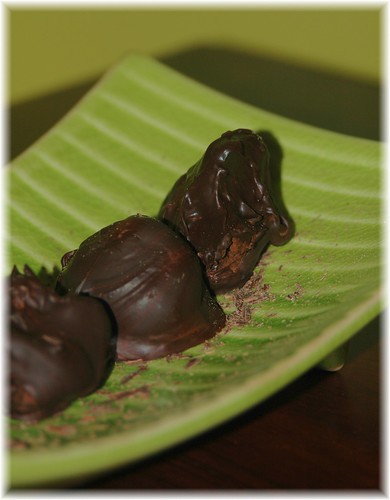
Becky churned out these fabulous truffles today - she made some milk chocolate ones as well as the ohh-so decadent darkies. They are like pure velvet - incredibly decadent and silky, and the flavours are just explosive. Hmm ... I could wax eloquent about these all night, given the cocoa high I'm on!


I don't even have a recipe, maybe I'll bug Becky for it, but I'd rather she just made these for me on a regular basis :)

Friday, January 4, 2008

Pomegranate Chocolate Pots

Several days ago, I wanted to work this recipe for the really fun Royal Foodie Joust that Jenn organizes every month. Such an entertaining event - the whole idea of picking a trio of ingredients for each month. Some of the combinations are insanely imaginative and the results often sound fabulous - nothing like stretching the boundaries, huh? :)

So, I made this dessert over a week ago, but never got around to posting it and sending it to Jenn. But it turned out pretty good, so might as well talk about it, huh?
The ingredients for December were pomegranate, pistachio and mint. They seemed like pretty good candidates for pandering to my sweet tooth.


I poked around an all-time favourite - The Ultimate Desserts Cookbook and stumbled upon this Chocolate Chestnut Pots recipe that I ended up reworking to suit my needs.

I never met a chocolate I didn't like.
Deanna Troi in Star Trek: The Next Generation

Anyway, I think this whole recipe thing was just my excuse to work with chocolate. *drool* Chocolate makes me happy and excited and hyper and I often skip around town once I eat some. *so* good! And yes, I can be a bit of a chocolate snob - I definitely prefer dark or extra-dark or bittersweet, I check for fair trade logos on the chocolate, I check the cocoa butter content and I double-check the emulsifiers. Can't help it, I like cocoa :)

As I started working this recipe, I flipped out a bit about the butter and eggs that this recipe seemed to want. After all, I wanted to go on this mini detox kick for a while :) So, I ended up skipping the egg yolks and using Earth Balance instead of butter - so much for someone who craves "real" cocoa butter in her chocolate :)


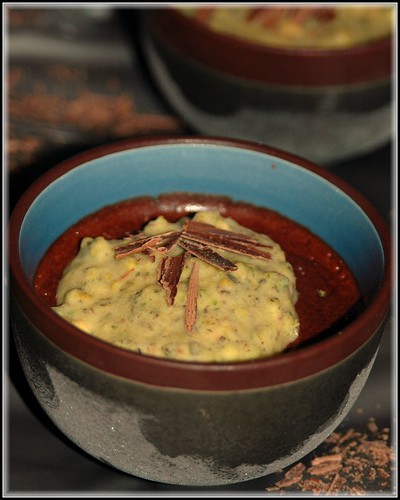
Pomegranate Chocolate pots with Pistachio-Mint Cream
I could drown in a pot of chocolate :)

Servings: 6


10 oz dark chocolate (bar)

4 T Madeira or Muscat

Arils of 1 pomegranate

2 T earth balance (or butter)
2 eggs - whites only


Pomegranate Juice
Grind up the pomegranate arils and strain it to get the juice out (P.S.: Freshly squeezed pomegranate juice tastes awesome!) You will need about 1.25 cups of juice for this recipe.


Egg Whites
Beat the egg whites till they form stiff peaks and set them aside.


Chocolate Pots


In a heavy-bottomed saucepan, melt the chocolate on low.
Once it starts to soften, add the madeira by the spoon, stirring constantly.
Continue stirring till the chocolate has melted completely.
Take the chocolate mixture off the heat.
Now add the margarine or butter 1 T at a time till completely melted and blended into the chocolate mixture.
Now add the pomegranate juice, 1/4 cup at a time, stirring it in slowly.
Add the beaten egg whites, a spoonful at a time, folding it in gently.
Now pour the chocolate mixture into ramekins or small cups and let them cool before topping with the cream.

Pistachio Mint Cream


2 T whipping cream or creme fraiche

10-12 pistachios

5-6 mint leaves

Grind up the pistachios and mint in a pestle.

Beat the cream till stiff and whipped.

Fold in the pistachio mixture gently till blended with the whipped cream.

NOTE:
The one mistake I made was here - I continued beating the cream after adding the pistachios and mint. This just made the cream clot up and get hard. Instead, I should've just folded the nuts and mint into the whipped cream and let it stay soft, yet fluffy.

Top the chocolate pots with the cream and set in the refrigerator for atleast 2 hours.

Another NOTE:
Remember to take the chocpots out of the fridge about 20 minutes before eating.


Good?
*drool*! The only thing that could've been better was the cream - I'll work on that next time :)


Am shipping this off to Deepa for Jihva for Ingredients (Indira's brainchild) - the current theme is chocolate.