Showing posts with label dessert. Show all posts

Tuesday, August 26, 2008

That long overdue bread pudding!


This is turning out to be a relatively quiet morning ... well, except for the fact that Vodka has played nonstop for an hour and is now demanding food - whining, grovelling, even rubbing his nose against his food bin! But this is the time to be that unyielding dog-momma. He has an appointment in a few hours with the oncologist - and yes, it means he needs to show up on an empty stomach. And yes, that means sheer hell for me trying to keep him distracted.

How on earth do you distract a labrador retriever from food, anyway???

So, what could be a better idea than a blog post for distracting myself from distracting him from food, huh? :)


This is a seriously long overdue post - a few weeks ago, I blogged about this awesome mango yogurt ice that we ended up serving with a quick'n'easy bread pudding - and it totally kicked ass. Well, it is finally time to talk about that bread pudding! The mango yogurt ice was truly refreshing and incredibly flavourful, but it definitely needed some substance to go with it, something a bit dense, chewy, moist. And it seemed like a bread pudding was the most obvious answer.

I've always served my bread pudding with a decadent whiskey sauce, but this time was going to be a little different. I wanted to skip using any cream this time around, opting for indian flavours instead. That's how the cardamom ended up being the primary flavour in the bread along with a honey-based sauce. There really was little need to add a super creamy, rich flavour since we were gunning for a light summery dessert anyway.

Cardamom-Honey Bread Pudding
Replete with flavours and aromas of India!

Servings: 4-6 (or maybe just 1?!!)

6 thick slices of crusty, stale french bread
1 t freshly ground cardamom powder
3 T honey (this was from the Ballard Farmers' Market - among the best I've ever tasted!)
1 t vanilla
2 cups nonfat milk
1 egg or 1/4 cup of egg substitute
1/4 t grated nutmeg
a pinch of salt

Shred the bread into 1" cubes and arrange these pieces, tightly packed into a baking dish (preferably glass). The dish I used was a 6"x6" glass pan, about 2" tall.
[Most recipes call for just packing the slices tightly into the dish, but I prefer to shred the bread into cubes before packing them in - this seems to let the bread take in a lot more of the flavours. Plus you end up with many more crispy ends - Yum!]

In a large bowl, whisk the egg, milk, cardamom, vanilla and nutmeg till well-blended. Now, add the honey and whisk some more till the liquid is frothy.
Pour the liquid over the bread and let it stand for about 1 hour, pressing the top every 10-15 minutes with a spatula (this ensures that the top doesn't dry out).

Bake the pudding for 50 minutes or till the top is puffy and browned. Let it cool on a rack for 20-30 minutes before cutting up.

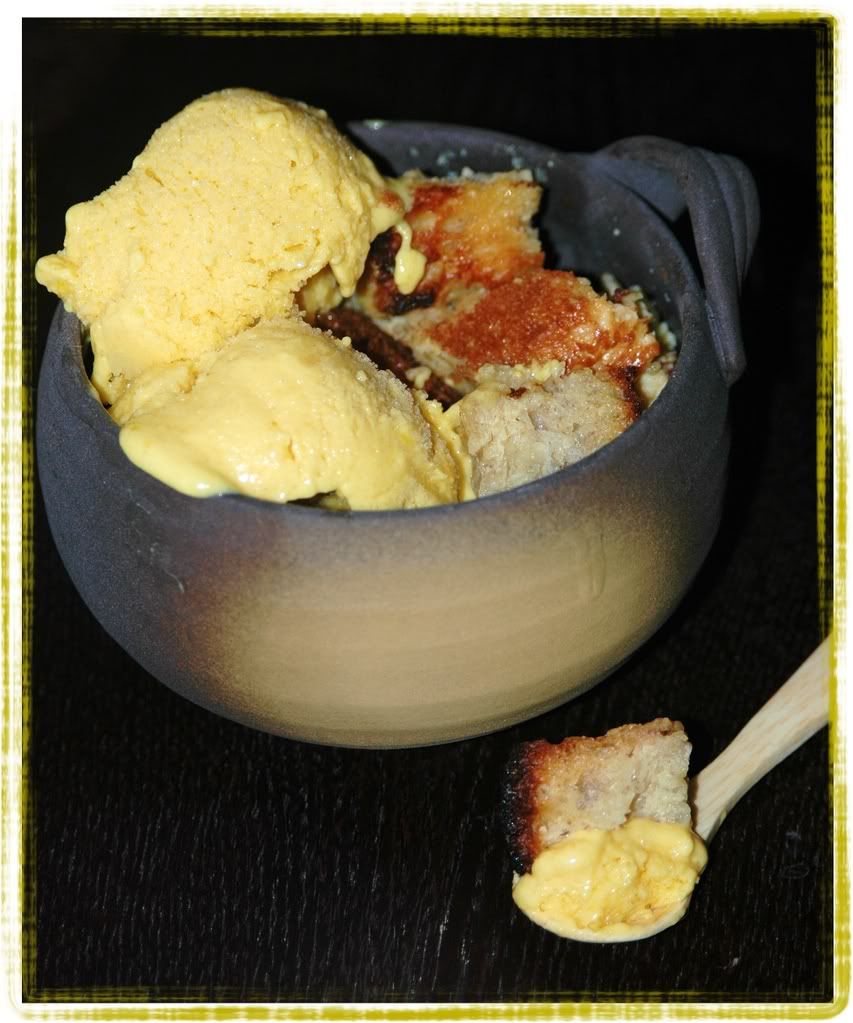
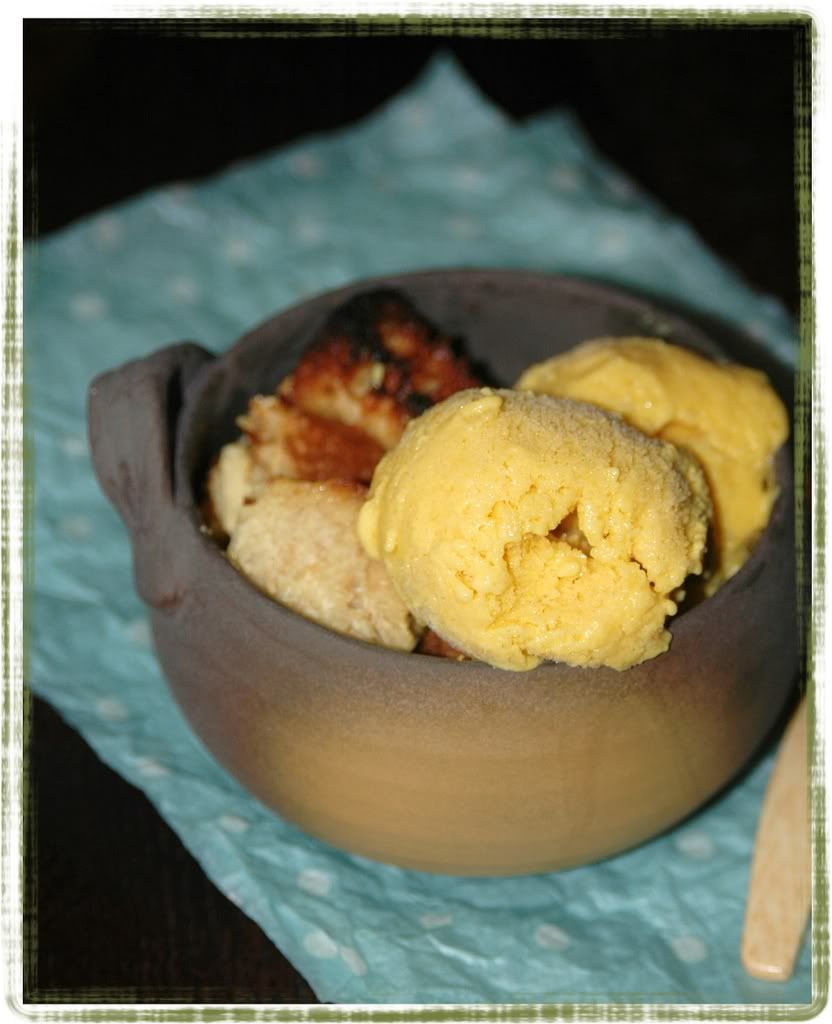
We skipped the traditional whiskey sauce and served it with somewhat-melty mango yogurt ice.


Opinion?
Deeeeee-liiisshhh! This was so damn good! And so easy to throw together. Mango seriously kicks ass. And it totally danced with the cardamom/nutmeg flavours.

*happy*

Monday, August 18, 2008

Holding a good thought for Vodka ... plus some Cherry Compote

It truly feels like life has come to a standstill.

So much so that I don't expect even blogging to give me any respite. Vodka was diagnosed with mast cell tumors (yes, again!) early last week. He was diagnosed with one of these last year, but it was successfully removed. And it seemed like that was the end of story. A happy ending. But the tumors are back. And there are several small lumps. As well as a large one that has probably penetrated his lymph gland. The next week is going to be filled with visits to various doctors - the oncologist, a holistic vet, a nutritionist ... Basically whatever it takes to try making the kid healthy again.

We're all trying to hold positive thoughts. And right now, the cute monkee deserves every happy wish he can get, so gather all that goodwill and send it his way, please? :)

I'll keep posting about how things go, especially all my learnings about animal nutrition - I've amassed more knowledge in a week than I knew in 9 years. And I'm hoping some of this can be put to good use - hopefully Vodka can be nursed back to health, even if all those tumors can't be eliminated, we're hoping his body will learn to live with them and control them instead of the other way around. And hopefully, all that we learn in the course of his treatment will help other pooch parents out there - in terms of diet-related treatment and preventive options.

That said, here's a pic to bring a smile to anyone's face. Aunt Nupur and Dale sent Vokkee these awesome rawhide chews a few months ago. And he totally revelled in noshing them :)


********************

And, maybe, now that I started writing, I'll even post a recipe to keep the theme of this blog going :)

The last couple of weeks have been insanely hot and even humid here in the Pacific Northwest. So much so that I've been craving icecream even more than ever! It was time to hit an eastside favourite - Thenos Dairy - that serves Vivian's Icecream. Not only do all their flavours kick some serious butt, they have this insanely awesome cantaloupe icecream! It is a seasonal favourite and sells out in no time at all. So, if you're in the 'hood, I would strongly recommend that you hit this icecream joint on SR-202 - trust me, you won't regret it! Weeeeellllllll ... you might regret the waistline, but not the gastronomic pleasure :)

A recent trip to the farmers' market resulted in a bounty of cherries - well, it was one of the last crops of Sweethearts, so that's my excuse for the cherry overload :)

A hot evening + mountains of cherries + maple icecream = a super decadent dessert :)

Poking around that insanely overused Ultimate Desserts book revealed a recipe for a cherry compote. The original recipe called for orange rind and almond extract. I went with a more summerly flavour by using orange blossom water instead. And tossed in a handful of sliced almonds for a good, nutty measure :)


Nutty Cherry Compote
Top that melty icecream or eat it straight! :)

Servings: 6 (if served as a topping)

1/2 cup of dry red wine
1/4 cup succanat (I used this instead of brown sugar)
1 T orange blossom water
1/2 cup sliced almonds
1-1.5 lbs Sweetheart cherries (am sure other varietals would work well too)
Several dollops of Vivian's super awesome maple icecream :)

Remove the pitts from the cherries - I didn't bother to preserve the full cherries and just chopped them up into halves while removing the pits :)

Combine all the ingredients EXCEPT the cherries, almonds and icecream in a saucepan with 1/2 cup of water.
Stir over medium heat till the succanat completely dissolves.
Turn up the heat and boil the liquid till it becomes somewhat thicker and syrupy.

Now throw in the cherries and bring back to boil.
Reduce the heat a bit and simmer for about 10 minutes.
You might end up with some foam, which you can easily skim off the surface.


Serving suggestions:

* Once cooled to lukewarm, spoon over a dollop of icecream.

* On a hot, humid day, chill the compote and serve it over some yummy icecream or with whipped cream :)


Opinion?

Serious cherry heaven. Next time around, I want to try this with a liqueur like Sambuca or Mangalore instead - am sure that's going to be pretty awesome too!

This goes to Sunshine Mom of Tongue Ticklers for her Food In Colour event. The theme for August is Red.

Wednesday, August 13, 2008

Mouthful o' muffin!


Raspberries.

They stain my fingers red. And my teeth. And often, my face is covered in streaks of red as I desperately stuff my face.

And yes, they make me happy. Very happy. They make Vodka super happy too - he can lick all the raspberry juice off my face. *so* much of fun, eh? :)

Today was definitely a raspberry day. I probably ate a couple of those baskets from the farmers' market. The berry appetite was sated, but I still wanted to do something with the rest of them. And I've been trying to come up with several lowfat variants of muffins anyway, so this seemed like a perfect opportunity to try a recipe out. Besides, nothing like a load of juicy berries to make up for any shortcomings in my "lowfattitude". Hey, can I trademark that word?

So, in the spirit of some fabulous lowfattitude, I skipped the eggs, used some fatfree cottage cheese to lend some creaminess to the muffins and added a bit of cinnamon for extra flavour.

If you're using frozen berries instead of fresh ones, thaw and drain them before tossing them into the batter.


Rasberry Cottage Cheese Muffins
Stuffin'. A muffin. Into my mouth :)

Servings: 12 regular sized muffins

2 cups white whole wheat flour (I used King Arthur's organic flour - seriously kicks ass!)
2 t baking powder
1/2 t salt
1/2 cup cottage cheese (fat free)
1/4 cup buttermilk
1/2 cup nonfat milk
2 T butter
1 T Earth Balance (whipped spread)
1/2 cup brown sugar
1 t cinnamon
1-2 cups raspberries
2 t vanilla soy sorbet (lowfat)

Preheat the oven to 375 F. Line a 12-cup muffin tray with paper cups.

Cream the butter, whipped spread and sugar in a bowl till well blended and smooth.
Add the cottage cheese and buttermilk and mix a bit more.
Stir in the cinnamon along with the vanilla sorbet and beat for 2-3 minutes till thick and creamy.

Sift the flour, baking powder and salt into a bowl. Mix the flour mixture into the butter/sugar mix, about 1/2 cup at a time.

Once the ingredients are well blended, stir in the raspberries, trying not to break them too much. They will probably break up, but it is pretty heavenly to bit into a piece of raspberry in a muffin, so try to keep that option alive as much as you can :)

Spoon the batter into the lined muffin tray and smoothen the surfaces. Bake for 30 minutes at 375 F.

Stick a toothpick into the muffins to make sure they're baked before taking them out of the oven. Once removed, let them cool in the tray for 10 minutes before removing the muffins and setting them on a cooling rack. Once they're at room temperature, stick them into an airtight container. Or eat them up :)


Opinion

Chewy - yummy wheat flour - earthy and delicious!
Moist - raspberries and cottage cheese worked wonders.
Juicy - courtesy of the raspberries - *so* good!

As someone says ... "Yom!" :)

*****************

Happy Vodka loves those berries! :)

[Photo Courtesy: Stephanie & Shawn of Dog-E-Central]

Tuesday, July 15, 2008

Mango-ing away!


Still hot outside, I was still craving a giant creamy milkshake, but I'm really really trying to stick to my regular workout and eating habits ... which pretty much ruled out that GIANT milkshake looming in the back of my mind ... *sigh*.

But the plan was to come up with a suitable alternative ... something that would squash all memories of that GIANT milkshake! It took some poking around my Ultimate Desserts book ... Yes, I will get through all the recipes in that book someday soon! :) I stumbled upon this banana honey yogurt ice recipe ... hmm ... Ain't got no bananas. But we have a mountain of mangoes to wade our way through - never a problem given that I've eaten as many as 8 mangoes in one go :)

So, the idea was to rework this recipe to use mangoes instead. I also had some fabulous labneh - the to-die-for middle eastern yogurt as well as some greek yogurt sitting around. I haven't made icecream in a while, let alone fancy "yogurt ice", so this was approached with some dubiousness. But it turned out to be so damn easy to work with, a ton of fun and super delicious to boot!


Mango Yogurt Ice with Agave Nectar
Mango! Mango! Mango! Need I say more?

Servings: Hmm ... 12+ generous scoops

3 medium sized mangoes (I used the Ecuadorian ones that Costco is currently carrying)
3 T agave nectar
1/2 cup labneh
1/2 cup nonfat greek yogurt
1 t cinnamon
1 T orange blossom water

Peel the mangoes and chop into chunks.
Puree the mango chunks along with the rest of the ingredients till smooth.
Pour into a freezer pan, cover with plastic wrap and seal it with a rubber band.
Set this in the freezer till it starts to harden - takes atleast an hour.
Break up the yogurt ice with a beater till crumbled and there are no chunks remaining.
Smoothen the top, seal with the plastic wrap once more and set in the freezer for another hour.
Repeat this beating and freezing process one more time - this just makes the yogurt ice a lot more creamy and removes any crunchy ice bits that may have formed while freezing.

We served this atop this insanely tasty bread pudding - perfect blending of flavours ... I've got ot run out to go meet the gals, but I'll be posting that recipe in the next day or two (Really!).


Opinion?

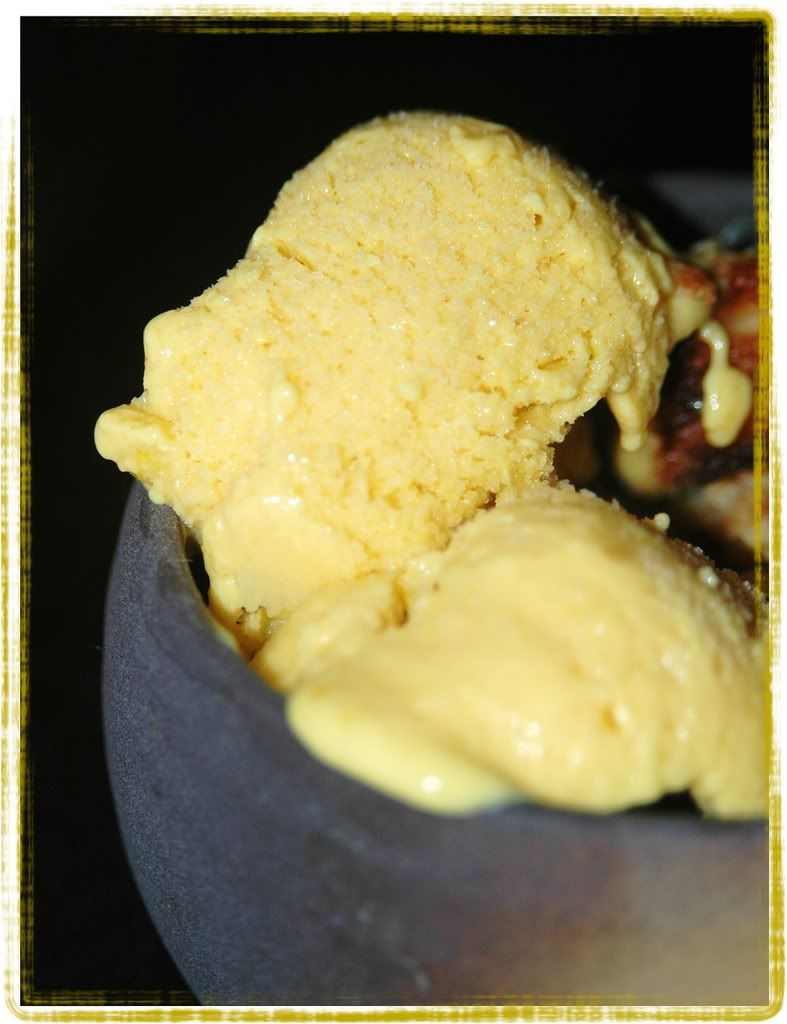
I forgot all about that GIANT milkshake once I put this in my mouth! We loved the fact that it was so much lighter than regular icecream, yet much more decadent than sorbet. The orange blossom water lent this really neat mild fragrance to the yogurt, loved it! And we all loved the mango-yogurt creamy combination - reminded us of a frozen mango lassi (guess it is pretty close to that! :))

Off this goes to Meeta for her Mango Mania - a day late, but what else could you expect of me? *sigh*! And I have to agree with her, mango is *so* the queen of fruit! Think I'll go eat one right now ...

**************

Hmm ... guess this post is total paisa-vasool when it comes to event posts! Am shipping this off to Rachna for her JFI-Flowers event (I do use Orange Blossom water here :)) and to Mansi for her Healthy Cooking event - this is a super healthy dessert after all!

Sweeeeetttt!!!

Monday, June 23, 2008

Coming back from the dark side ...

Are we blogging again? Huh??


Wow! I was almost convinced this blog was a goner!!! Work, work, work. No time to breathe, let alone blog. Pretty tragic, huh? As much as I love my work, I doubt if even I can survive another bout of being slammed like this! Seriously, something is quite wrong when the pictures just keep piling up ... to the point where I randomly stare at them and begin to wonder "When did I make that?? And how the hell do I make it again?!"

Yeeeeessshhhhh.

But life is creeping back to normalcy again. And it seems like I don't quite have writer's block - *phew*! Such a relief! I was kind of freaked out about not knowing how to quite start writing again. Absolutely abhor this feeling of being left behind - like the rest of the food blog world has moved on, you know? And I'm sitting here with my (proverbial) pen in hand, slowly emerging from work insanity, struggling to phrase a sentence or three.

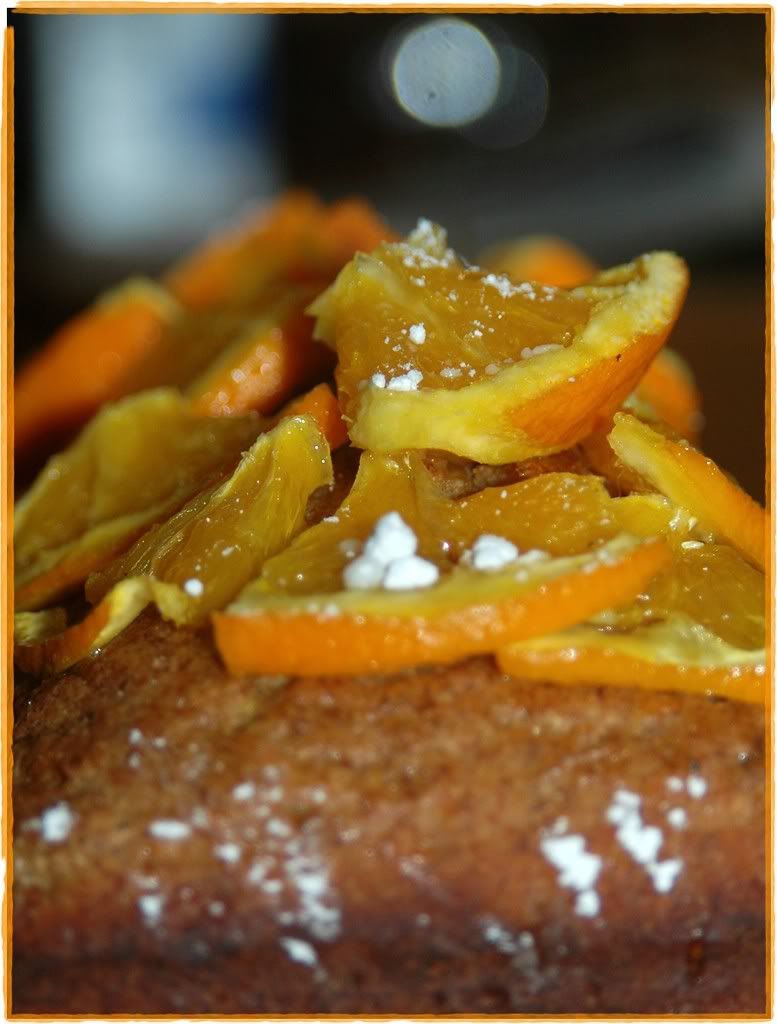
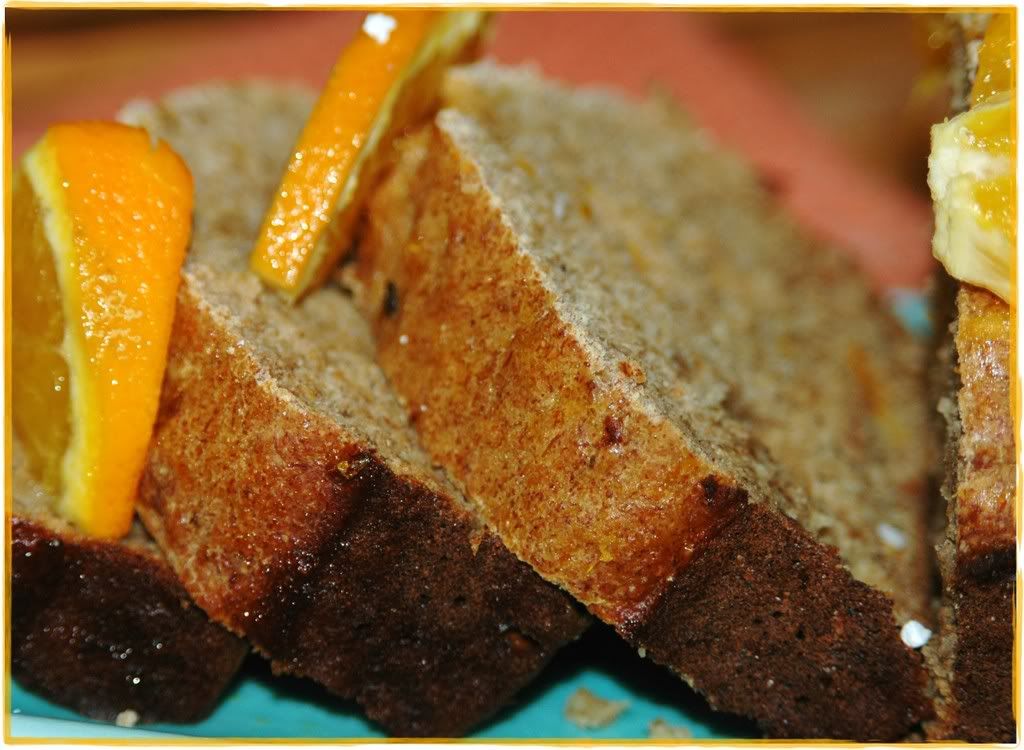
Well, over three sentences have been phrased. Yay! So, we can safely move onto a reasonably fit recipe to celebrate a safe return from the dark side :) - a simple, light and delicious banana-orange loaf. I just mentioned this recipe to Srivalli and she went "Oh man! Another dessert! Wow!" Well, she's right! Apparently, I hanker for breads and desserts a lot more than I realize! Yet, I don't seem to write about these as often as I'd like to ... wait! Guess that's probably because I'm not quite posting as often as I'd like to :)

********

Ok, back to this celebratory loaf - I based this on a pretty straight-forward recipe from Rosemary Wilkinson's The Ultimate Desserts Cookbook. Like always, I spent several minutes drooling over the pictures before embarking on baking it :)


Banana Orange Loaf
Light, simple, oozing banana and citrus flavours!

Serving size: 1 loaf

3/4 cup whole wheat flour
3/4 cup unbleached flour
1 t baking powder
1 t ground mixed spices (allspice, cinnamon, nutmeg)
2 large overripe bananas
1 egg
2 T sunflower oil
2 T clear honey
finely grated rind and juice of one small orange
4 orange slices - quartered
2 t icing sugar

Preheat the oven to 350 F. Brush a loaf tin with sunflower oil and line the base with non-stick baking/wax paper.
Sift the flours with baking powder and the spices into a bowl.

Peel the bananas and mash them in a medium bowl. Beat in the egg, oil, honey, orange rind and orange juice. Fold this mixture into the dry ingredients.

Spoon this mixture into the baking tin and smooth the top. Bake for 40 minutes or till firm and golden brown on top, and an inserted toothpick comes out clean. Turn out and cool the cake on a wire rack.

Now comes the fun part :)

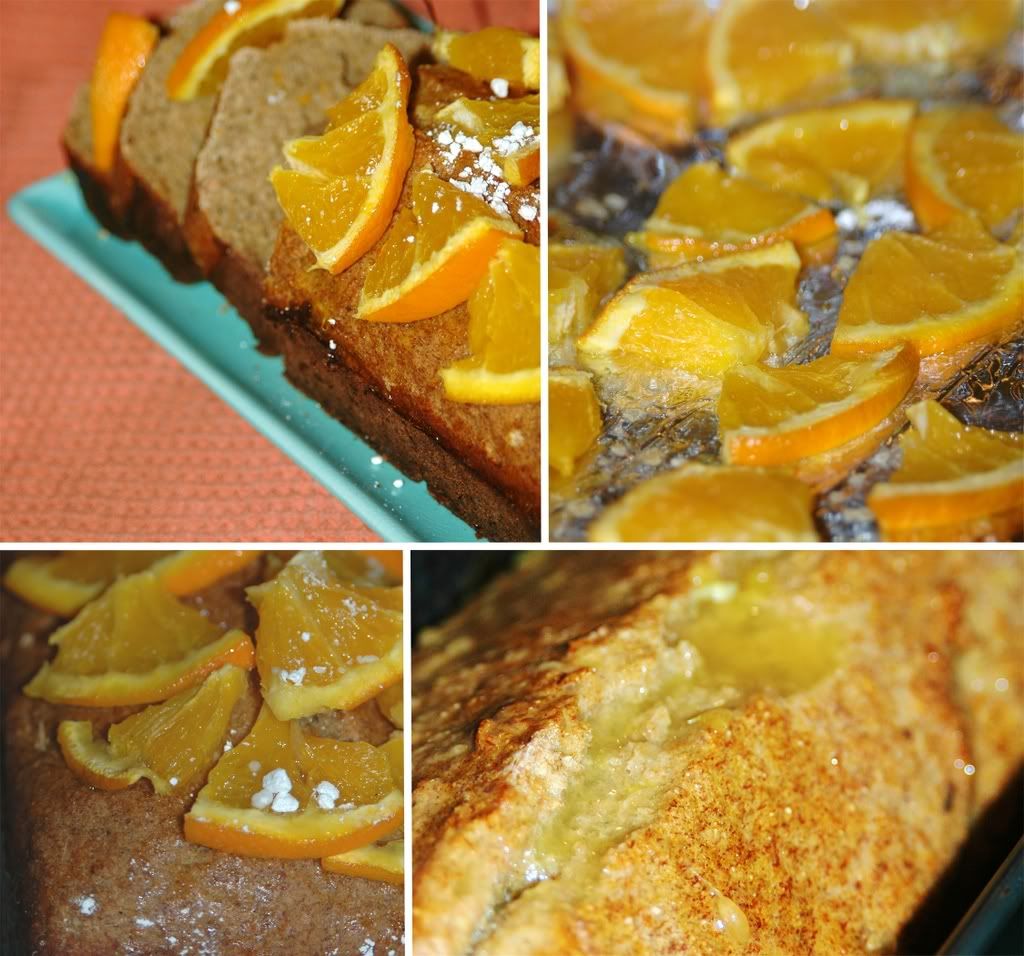
Sprinkle the orange slices with icing sugar and grill until golden and you get a funky baked citrus smell. Actually, I should amend the recipe here - grill double the number of slices mentioned in this recipe - only half the orange bits will end up on the cake. The other half? ... I guarantee those will go straight into your mouth :)

Decorate the cake with the orange slices (or whatever is left of them) :)

*********


Opinion?

Yum! Perfect back-to-blogging celebration. This recipe is light on fat - all of 2 T of oil for the entire loaf! You could even skip the egg and use just egg whites - though I would throw in a spoon of applesauce to go with it.
The banana+orange flavours are delightful, I even doused my slice with a couple of spoons of orange juice before digging in. Also, the overripe bananas kicked ass - nothing like super moist banana flavour to warm the soul :)

**********

More such recipes:

And now I'm off to catch up on the zillion blog posts that I've missed over the last couple of weeks! And yes, I need to start responding to all those emails too!

***********

IMPORTANT REMINDER:

:)

Don't forget to send in your Think Spice, Think Wasabi entries!

That's definitely my next post - a very offbeat nasal passage-scorching wasabi dish :)

And feel free to use this really neat logo that Sunita came up with. Sorry dear S, I meant to post about it earlier, but all this work mania threw me off kilter.


Saturday, May 24, 2008

Orange Cranberry Cake to keep that sweet tooth happy

This has truly been the most frustrating month in terms of work. Especially when this overload starts taking a serious toll on blogging. That's plain wrong. Think we can fix it by getting back to yammering every day or 2? :)

Today's story revolves around that damn sweet tooth :) But I'm quite glad I have Erma on my side to justify a potentially burgeoning waistline!

Seize the moment. Remember all those women on the Titanic who waved off the dessert cart.
~Erma Bombeck

****

A Whole Foods expedition a few weeks ago resulted in some awesome booty which included some delicious satsumas and unsweetened dried cranberries. The idea then was to add these to the batch of granola I was going to make that weekend, but somehow, dried fruits in cereal didn't seem so appealing to me. That coupled with the need for a sugar fix brought out the cookbooks :)


King Arthur Flour Whole Grain Baking - this book could keep me occupied for a few years! It has a fabulous assortment of high fiber recipes - replete with diverse flavours and ingredients. Granted, they do not scrimp on the butter/fat in their recipes, but that is often something that I've found successful ways to work around. This recipe was adapted from a basic orange cake version to include cranberries. The buttermilk makes for a decent alternative when you want to cut back on the butter - mind you, it doesn't always work to maintain the tender moist texture of cakes or breads, but in this one, it did a stellar job!


Orange-Cranberry Cake
Tangy, sweet, tender, moist ... mmm!

Servings: a regular 9 cup bundt cake (16 servings)

Batter

2.5 cups whole wheat pastry flour
1 cup unbleached all-purpose flour
2 t baking powder
1/2 t salt
1/2 cup butter (4 oz)
1/3 cup buttermilk
1.5 cups unrefined sugar
4 large eggs (I went with egg whites instead)
1 cup nonfat milk
1/2 cup dried cranberries
2 T freshly grated satsuma zest

Place an oven rack a third of the way up from the bottom and heat the oven to 350 F. Grease and flour a 9-cup bundt pan.

Mix together the flours, baking powder and salt in a medium bowl.
Cream together the butter and sugar in a larger bowl till smooth and fluffy - takes 4-5 minutes with a hand mixer or a KitchenAid, maybe 8-10 minutes if you're using a whisk.
Add the eggs (or egg white portions) one at a time, beating each time till blended.
Now add the flour in - one third at a time, alternating with the milk. Beat this in slowly (just so you aren't covered in a cloud of flour - that's what happened to me the first few times I baked a cake :))
Finally stir in the orange zest and cranberries.

Pour the batter into the bundt pan and level the batter - either with a spoon or you can be more adventurous and slam the bottom of the bundt pan on your counter or on a table till the batter evens out :)
Bake for about 55-60 minutes, or until a toothpick comes out clean.
Remove the cake from the oven and cool in the pan for 5 minutes.
Cover with a cooling rack and invert the cake. Remove the pan and cook the cake upside down on the rack.

Glaze

1/2 cup juice from satsumas
2 t freshly grated satsuma zest
1/2 cup sugar

Mix the zest, juice and sugar in a heatproof bowl.
Heat the contents in a microwave for 45-60 seconds so the sugar is dissolved.
Brush the glaze all over the hot cake and let it sink in.
Cool the cake completely before transferring to a serving plate.


Opinion?

*drool*! This cake has been made again already :) Moist, tender, tart cranberries couple perfectly with the sweet-tangy orange flavour. Happy! Very Happy!

*****

Future variations?

Think I want to try this with some nuts next time around. Maybe even try a lemon version? And maybe throw in some honey or molasses instead of sugar? *so* many options! :)

*****

Other cakes check out here

Friday, May 9, 2008

Cupcakes galore, Running Buddies and more!


Several weeks ago, I signed up to be a coach for the spring season with this awesome organization called Girls On The Run. This is a program for preteen girls (aged 8-11) that chooses to combine exciting workouts with games, exercises and discussions. In their own words:

"Girls on the Run aims to develop the whole girl— her physical, mental, social, emotional and spiritual self—supporting the mission to educate and prepare girls for a lifetime of self-respect and healthy living. The Girls on the Run approach also encourages the girls to be open with their families, their peers, and themselves."

It has been about 5 weeks since the spring session started and coaching has been a lot of fun, not to mention entertaining. It is quite a challenge for 3 coaches to manage a gang of 18 high-energy girls! A few of us new coaches entered the first session with quite some trepidation, but walked away at the end amazed by the energy and positive spirits these girls are teeming with. Lately, I've noticed that they've put a spring in my step, I'm usually skipping away at the end of the session :)

And the best part of all this is that the girls are working towards a goal - they will be running the Komen Race for the Cure in June - a 5 K race. This is really exciting for most of them who run around all the time, but haven't done an organized race before.

And on that note, this is a
shoutout to all you gals out there! We're looking for running buddies for our girls. The commitment required is pretty easy - you basically get paired with one of the girls and you do 2 5K runs with the girl - a practice one and the real Komen run. Having a running buddy really motivates the girls to go that extra step, plus it totally boosts their confidence. So, if you're even remotely interested, you should check this out! :)

Anyway, yesterday was the GOTR annual auction and I had offered to bake goodies for the volunteers. After going back and forth across several delicious recipes picked from all those awesome blogs out there, we ended up going with a cupcake recipe off ChockyLit's blog - can't quite go wrong with that, huh? :)


If you haven't checked out the Cupcake Blog (gasp!), you should head there right away.

SURGEON GENERAL'S WARNING:
The Cupcake Blog can induce insane amounts of sugar cravings. You might even hallucinate and reach into your browser hoping to snag a few crumbs!

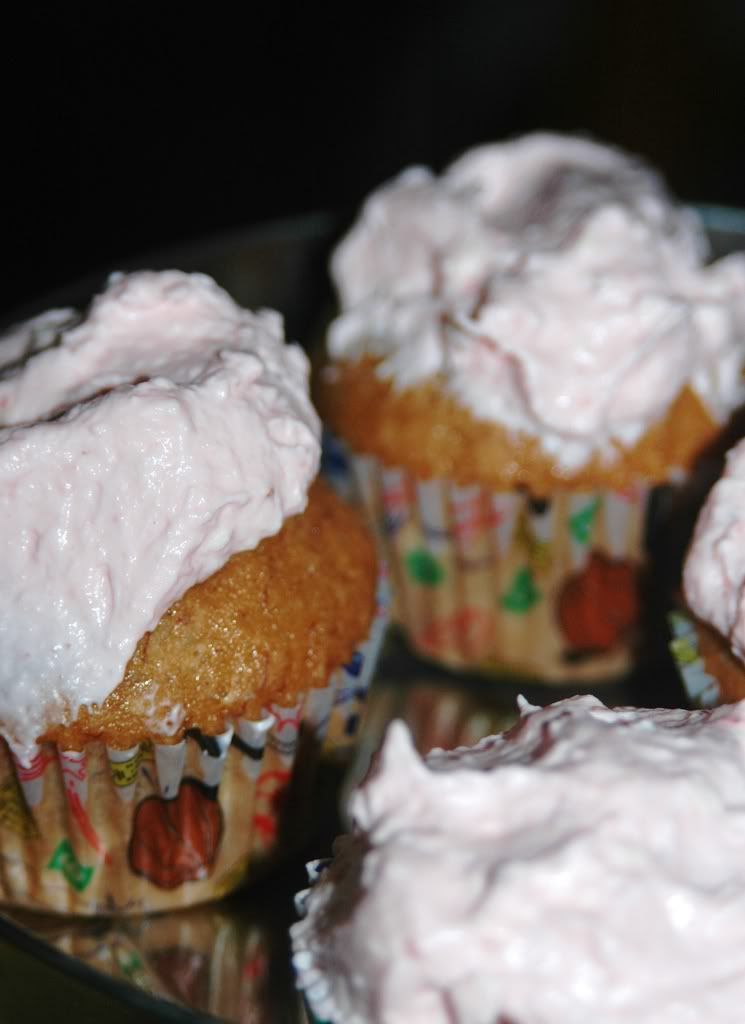
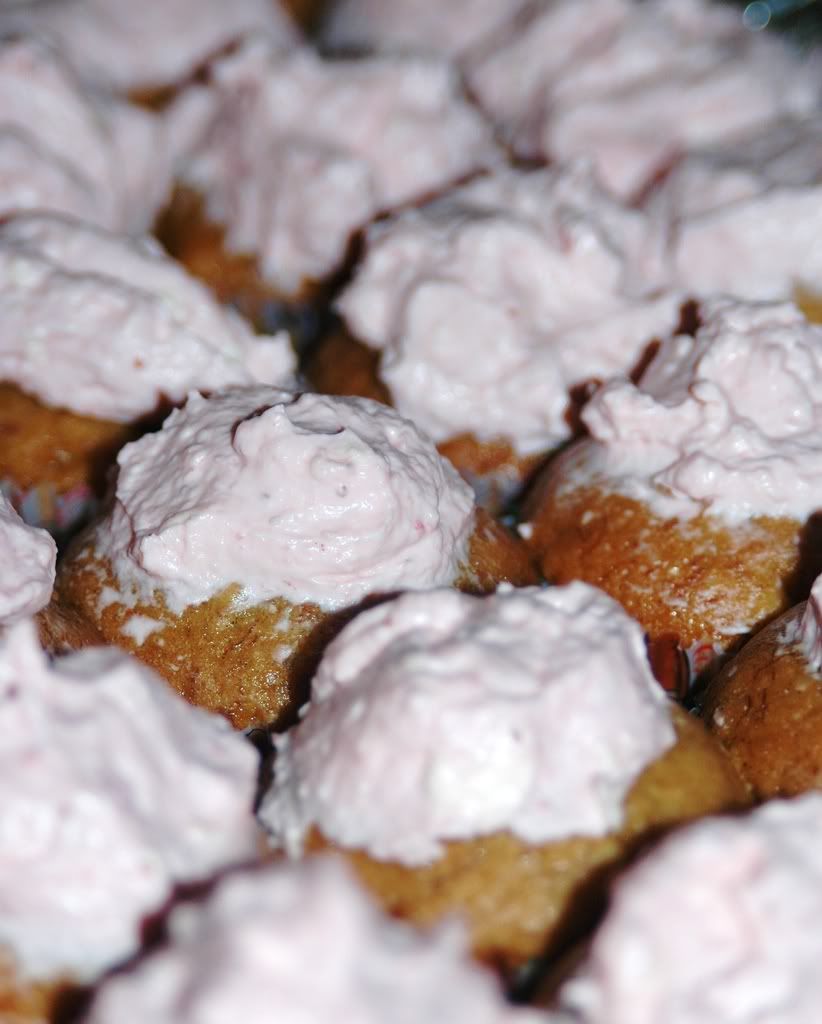
Cheryl's original recipe called for bananas, peanuts and jackfruit in the cupcakes with a cream cheese frosting. We weren't able to get our hands on jackfruit, so we just settled for mashed bananas. Also, we used almonds instead of peanuts in the batter. And for the topping, we cut back on the sugar and went with a strawberry puree seasoning.

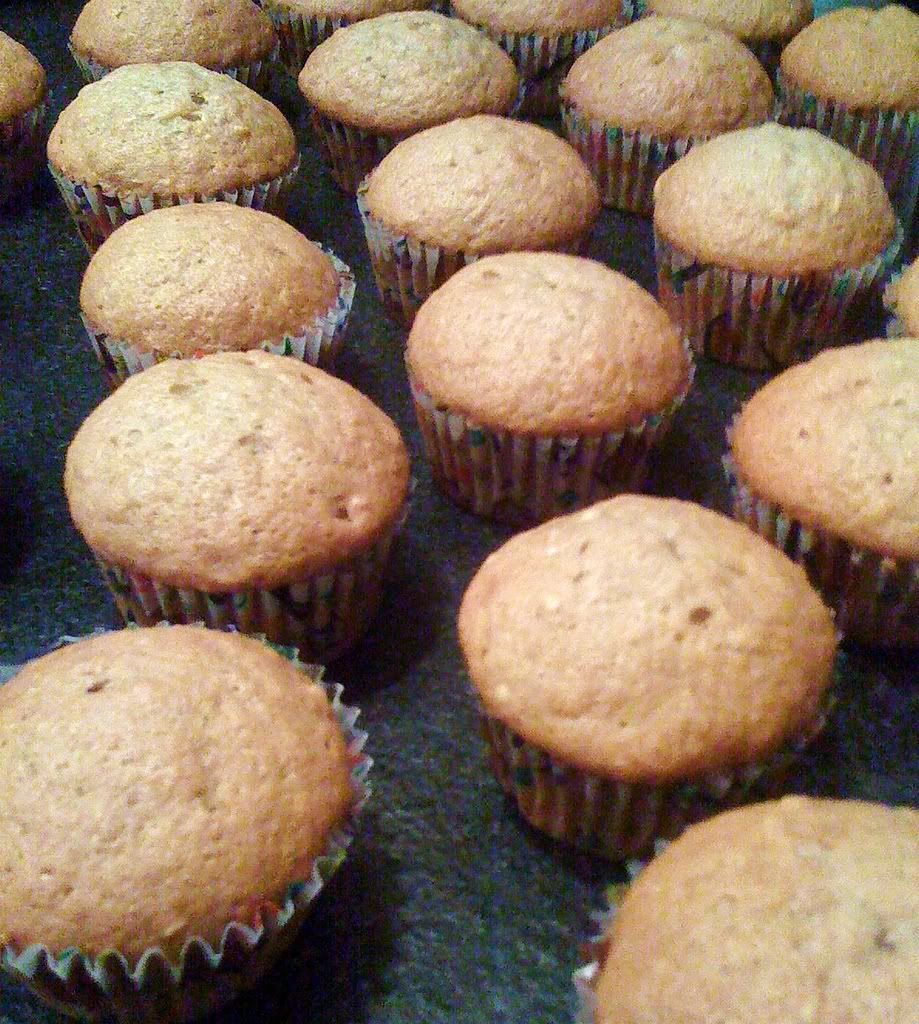
We've always enjoyed baking, but this was just way too much of fun! We went on this marathon baking spree - almost 50 cupcakes! The Pupp is apparently a born baker and Daria is the perfect taster :) Turned out to be a fabulous evening of baking!

Original recipe can be found here.

Banana Almond Cupcakes with Strawberry Cream Cheese Frosting
Chockylit, you rule!

Servings: 24 (we made 2 such batches)

3 cups all-purpose flour
1 t baking powder
1/2 t salt
1 t cinnamon
2 cups sugar
3 large eggs
3/4 cup of oil
1/2 cup coconut milk (we went for a light version)
1.5 t vanilla
3 bananas - mashed
2/3 cup almonds - coarsely chopped

Whisk together the flour, sugar, baking powder, salt and cinnamon in a bowl (we used the magical KitchenAid mixer).
In another bowl, beat the eggs and then add the oil, coconut milk and vanilla.
Add this egg mixture to the flour mixture and mix till blended.
Now toss in the bananas and almonds and mix to combine.
Scoop the batter into cupcake papers till about 2/3s filled.

NOTE:
Chockylit recommends using an icecream scooper to do this. We couldn't find one (?!!) and used spoons instead - was a royal pain :) Also, we ended up using muffin pans/papers - I honestly don't know if that even makes a difference!

Bake at 350 F for 20 minutes or till a toothpick comes out clean.


Cream Cheese Frosting

8 oz cream cheese
1/2 stick butter
1+ cup of confectioners' sugar
1/2 cup strawberry puree

Let the butter sit for a couple of hours till it softens and is at room temperature.
Beat the butter, sugar and cream cheese till well blended and all lumps are removed.
Add the strawberry puree and beat some more till it is combined.
Continue to beat till you get the consistency you want (feel free to add more sugar if you have an insanely sweet tooth).


Opinion?

O.M.G. How can cupcakes taste *so* good? I almost got sick just licking the batter! It took serious effort to keep our hands off the cupcakes and save them for the auction. We found them a bit too sweet and will probably cut back on the sugar next time around.

Also, I did not end up beating the frosting enough, so it was a little limp and wonky when I tried to shape it onto the cupcakes. Besides, a spoon doesn't substitute for a piping bag! Let's just call this my avant-garde frosting attempt!

And yes, these pix are kind of lame, but that was the best I could do in 70 seconds :)

Cheryl, you rock - you truly are the cupcake queen!

Monday, April 28, 2008

Eat a cheesecake pop, will you?


When I first read about cheesecake pops being the DB challenge for April, it took me a while to figure out what these crazy things were. I had to read and re-read the recipe before understanding how these pops got done. They're made of cheesecake, but there's more to them. They look like lollipops, but that isn't what they are. They need to be frozen, but they are not icecream. They're a crazy olio of dessert techniques leading up to these really fun looking finger foods! Crazy, eh? There's a DB challenge for you :)

This month's challenge was organized by Elle (Feeding My Enthusiasm) and Deborah (Taste and Tell)- they picked these funky cheesecake pops from Sticky, Chewy, Messy, Gooey by Jill O'Connor. Seriously, this is the perfect title for a book that has a recipe for cheesecake pops! They're gooey all right, was quite a bit messy assembling them, sticky - a bit ... chewy - somewhat :) I've never baked anything from this book before, now I'm totally intrigued about what other quirky recipes it contains!

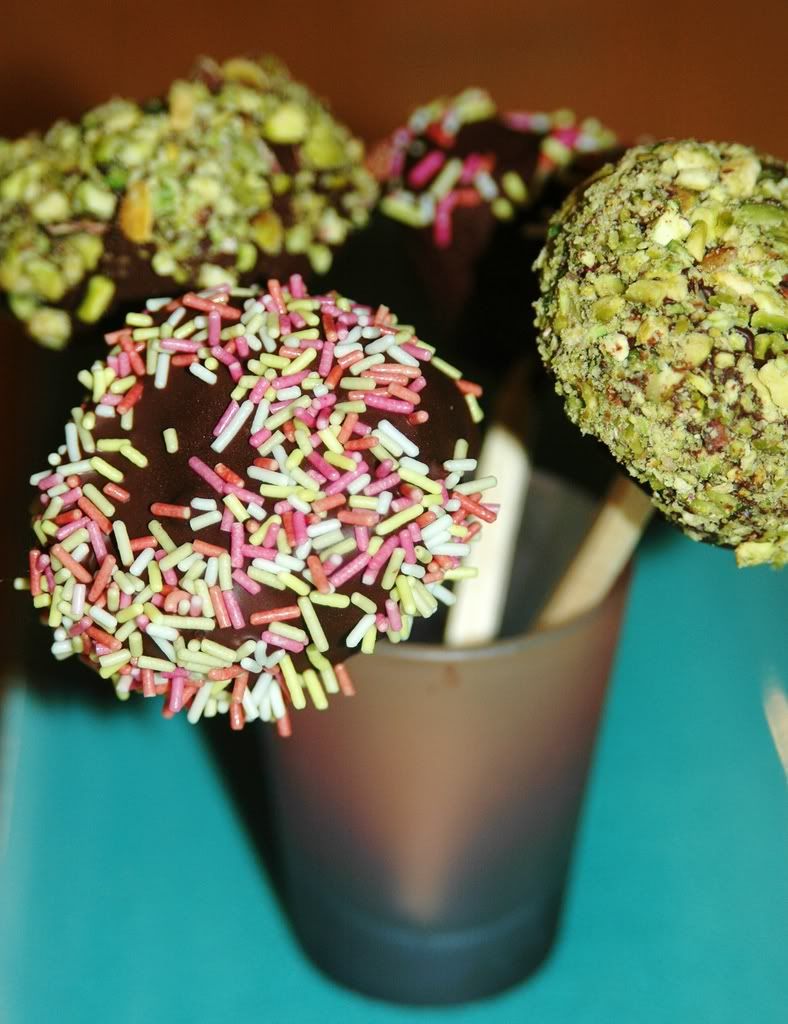
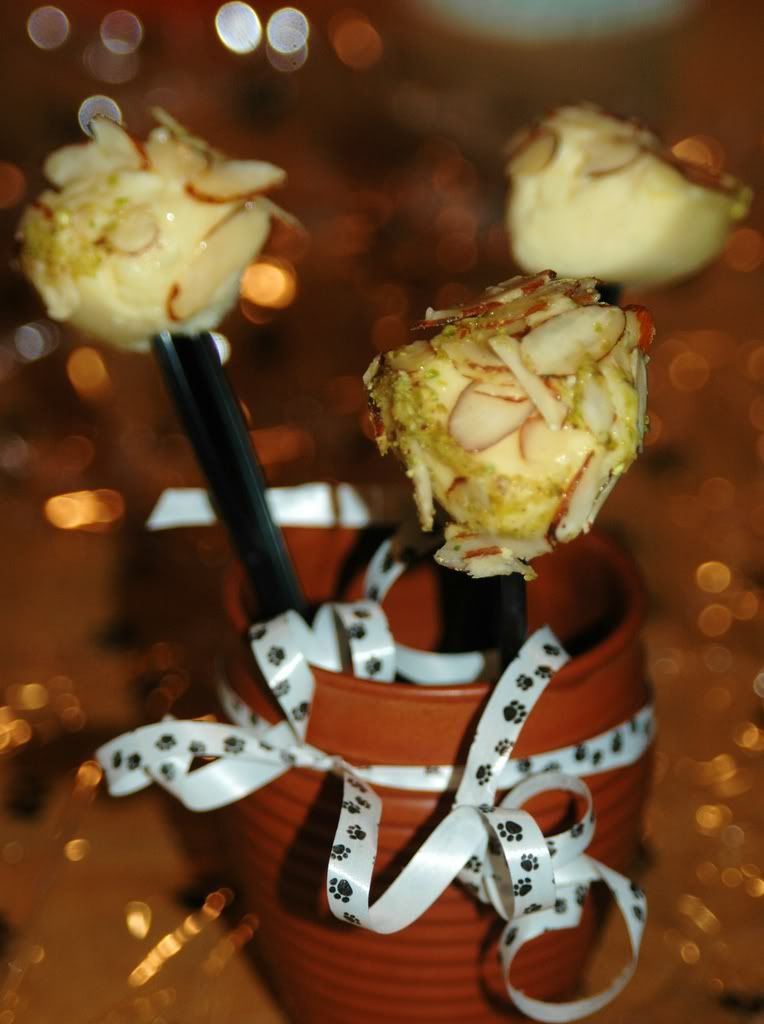
These cheesecake pops make for the perfect party food. And given that tomorrow is Vodka's b'day, I decided to tailor these for him. A few pops got the prescribed chocolate dunk, but a few others were set aside for Vodka - they got a yummy crust of sliced almonds in a vodka-honey sauce. That's the tradition - for the 9th year running - the pooch gets a Vodka-based dessert on his birthday :)

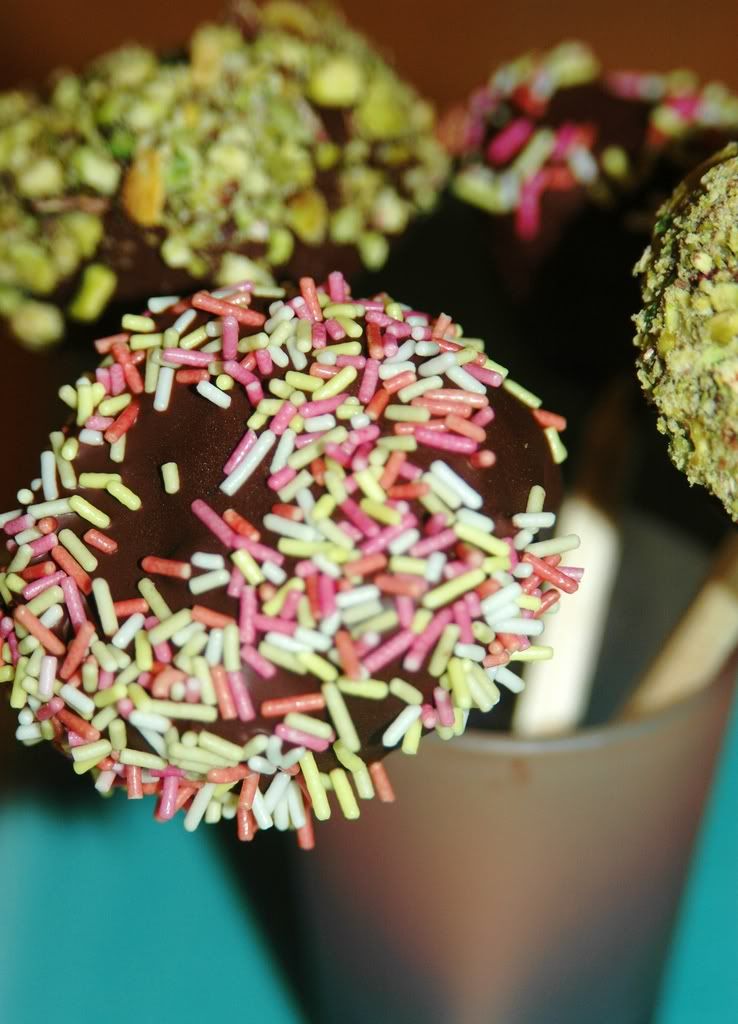
This was actually a really simple and straightforward recipe - a basic cheesecake baked using a water bath. There is plenty of flexibility in the dipping flavours and colours which was fun! I ended up going for the traditional cheesecake balls instead of any fancy geometric shapes, but the fun started with the dipping and decorations. The first few got dunked in semisweet chocolate and topped with sprinkles - very festive! And then Vodka's preferences took over - which made for a big hit!

****


Cheesecake Pops
(based on Jill O'Connor's recipe from Sticky, Chewy, Messy, Gooey)

Makes 30 – 40 Pops

5 8-oz. packages cream cheese at room temperature
2 cups sugar
¼ cup all-purpose flour
¼ teaspoon salt
5 large eggs
2 egg yolks
2 teaspoons pure va
nilla extract
¼ cup heavy cream
Boiling water as needed
Thirty to forty 8-inch lollipop sticks
1 pound chocolate, finely chopped – you can use all one kind or half and half of dark, milk, or white (Alternately, you can use 1 pound of flavored coatings, also known as summer coating, confectionary coating or wafer chocolate – candy supply stores carry colors, as well as the three kinds of chocolate.)
2 tablespoons vege
table shortening
(Note: White chocol
ate is harder to use this way, but not impossible)
Assorted decorations such as chopped nuts, colored jimmies, crushed peppermints, mini chocolate chips, sanding sugars, dragees) - Optional

Position oven rack in the middle of the oven and preheat to 325 degrees F. Set some water to boil.

In a large bowl, beat together the cream cheese, sugar, flour, and salt until smooth. If using a mixer, mix on low speed. Add the whole eggs and the egg yolks, one at a time, beating well (but still at low speed) after each addition. Beat in the vanilla and cream.

Grease a 10-inch cake pan (not a springform pan), and pour the batter into the cake pan. Place the pan in a larger roasting pan. Fill the roasting pan with the boiling water until it reaches halfway up the sides of the cake pan. Bake until the cheesecake is firm and slightly golden on top, 35 to 45 minutes.

Remove the cheesecake from the water bath and cool to room temperature. Cover the cheesecake with plastic wrap and refrigerate until very cold, at least 3 hours or up to overnight.

When the cheesecake is cold and very firm, scoop the cheesecake into 2-ounce balls and place on a parchment paper-lined baking sheet. Carefully insert a lollipop stick into each cheesecake ball. Freeze the cheesecake pops, uncovered, until very hard, at least 1 – 2 hours.

When the cheesecake pops are frozen and ready for dipping, prepare the chocolate. In the top of a double boiler, set over simmering water, or in a heatproof bowl set over a pot of simmering water, heat half the chocolate and half the shortening, stirring often, until chocolate is melted and chocolate and shortening are combined. Stir until completely smooth. Do not heat the chocolate too much or your chocolate will lose it’s shine after it has dried. Save the rest of the chocolate and shortening for later dipping, or use another type of chocolate for variety.

Alternately, you can microwave the same amount of chocolate coating pieces on high at 30 second intervals, stirring until smooth.

Quickly dip a frozen cheesecake pop in the melted chocolate, swirling quickly to coat it completely. Shake off any excess into the melted chocolate. If you like, you can now roll the pops quickly in optional decorations. You can also drizzle them with a contrasting color of melted chocolate (dark chocolate drizzled over milk chocolate or white chocolate over dark chocolate, etc.) Place the pop on a clean parchment paper-lined baking sheet to set. Repeat with remaining pops, melting more chocolate and shortening (or confectionary chocolate pieces) as needed.

Refrigerate the pops for up to 24 hours, until ready to serve.

****

Allowed Variations

Yes you can make some changes to this cheesecake as long as you promise to use the basic cheesecake recipe (although you can add a flavor to it if you like) and do keep it white (sorry, no chocolate or coffee or mocha), and keep the pops to the 2 ounce size.

The dipping flavors and colors are completely up to you.

If you want to use decorations, go for it. Same with drizzles and ribbons on the sticks. Or leave them plain after dipping them. You can even dip them in graham cracker crumbs and then the chocolate – to get more of the cheesecake feel to them.

You can cut the cheesecake into geometric shapes instead of making balls…triangles or squares or diamonds…just keep them about 2 ounces each. We can't wait to see what combinations our Daring Baker come up with…just make sure to use the basic cheesecake recipe, to make the pops 2 ounces or close to that in size, and to dip each pop in chocolate or confectionary coating and have it on a lollipop stick.


Opinion?

This isn't my typical kind of dessert, I'm not even a big cheesecake fan, but these things turned out pretty good! I was afraid the cheesecake was going to be super dense, but it was actually pretty light - probably courtesy of a couple of changes I made to the recipe - I used neufchatel cheese instead of regular cream cheese, I skipped the egg yolk and heavy cream in favour of a couple of tablespoons of silken tofu - these made for a much lighter cheesecake! Dipping the pops in chocolate was a cinch, rolling them in sprinkles and nuts was ... a piece of cake! :)


The best part of it all was that Vodka absolutely loved his treats and then sat around licking his chops for a while after! :)


Thanks, Elle & Deborah for this really really fun challenge. I had a blast and Vodka is thrilled to bits - nothing like making a pooch happy on his birthday!

And now it is time for me to stay up all night checking out all the other awesome DB posts!

Monday, April 14, 2008

Whole lotta nut love!


There's no such thing as too much of 'boarding! Really! Even when my ass hurts after two days of sliding, gliding, rolling down the mountain :) But follow that up with an insanely long run ... hmm ... the body starts whining a bit. And wants some serious TLC. And the mind just wants to some long overdue blogging!

And what could be be better than an insanely nutty comfort dessert? The minute we remembered that it was TNY, the reflex was to embark on making something simple, something sweet, something oozing earthy nut flavours!


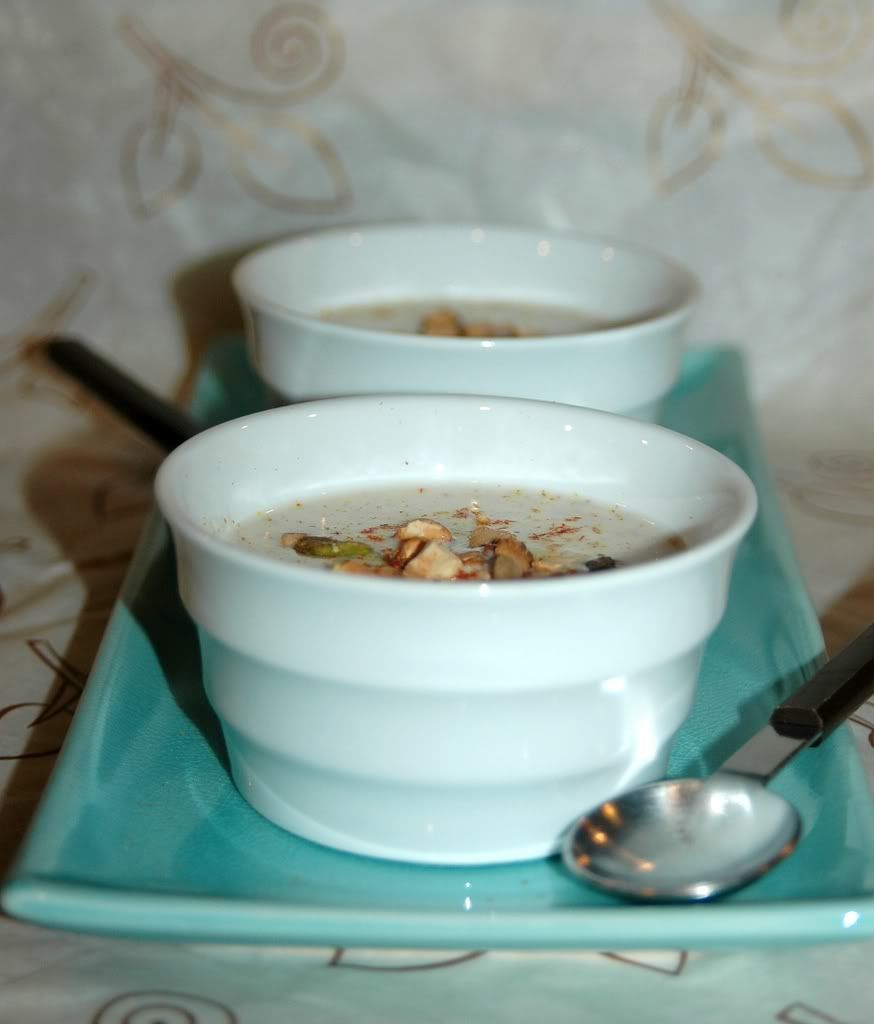
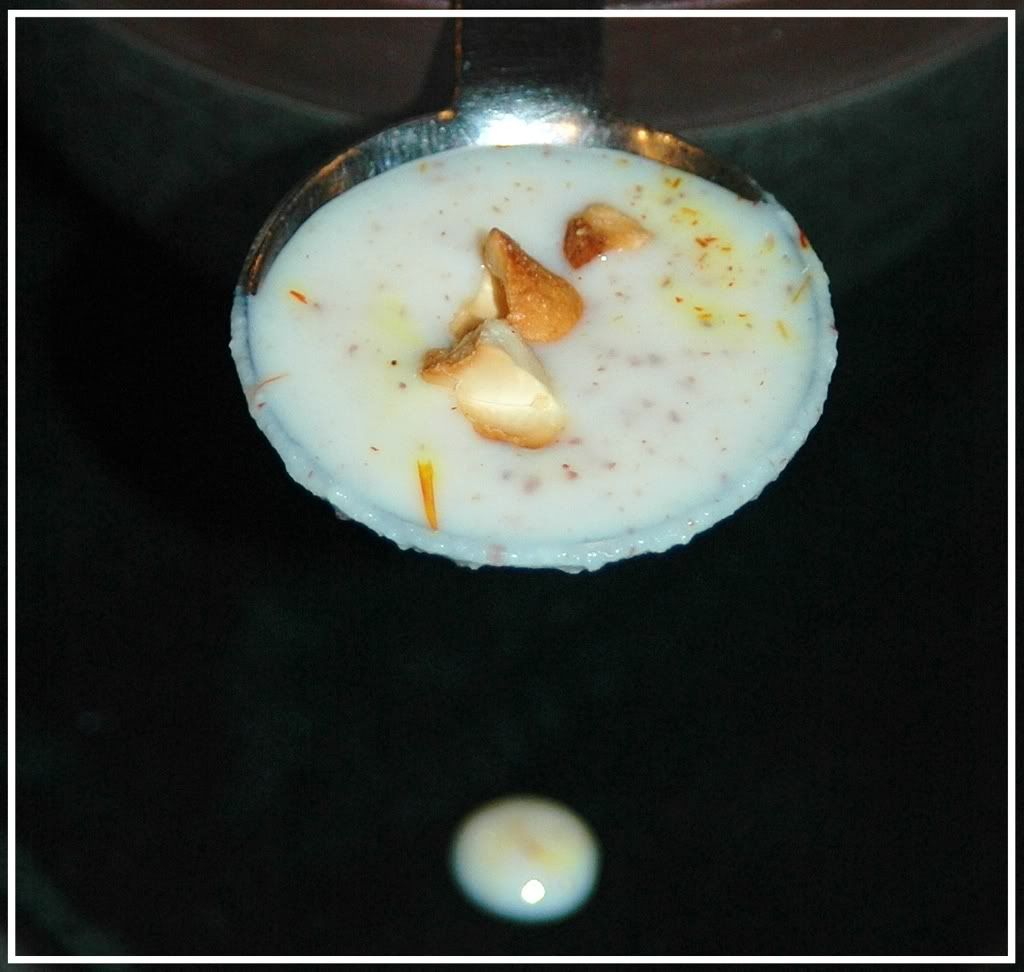
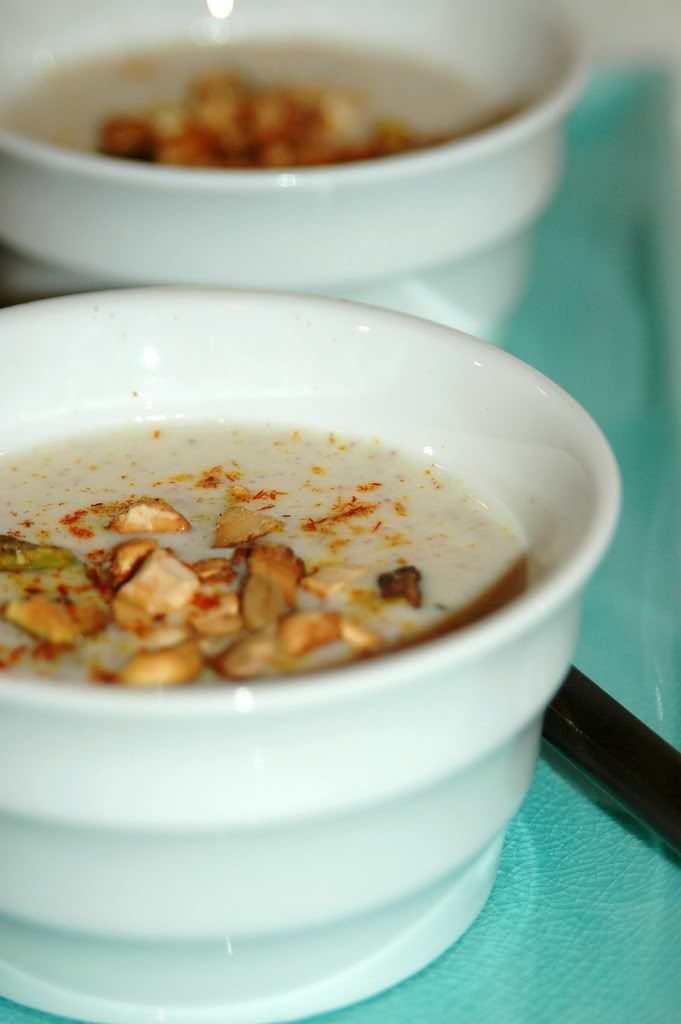
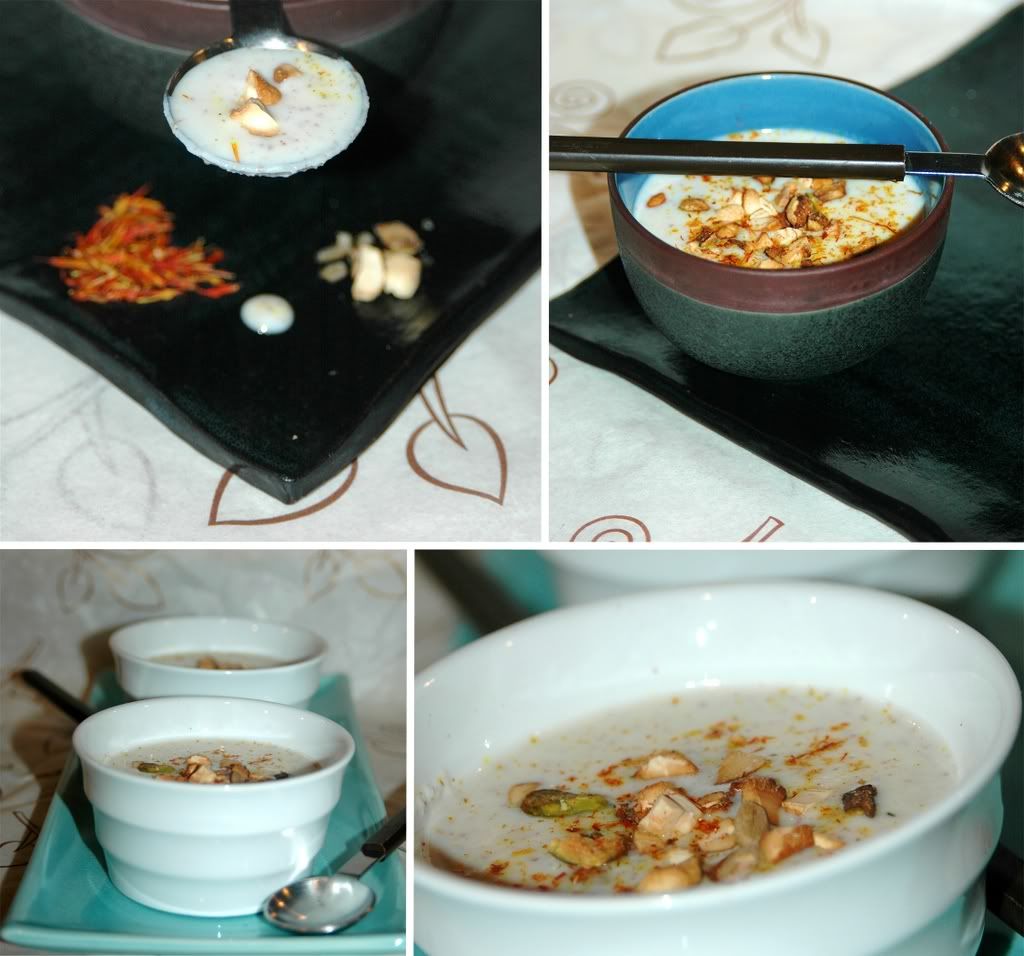
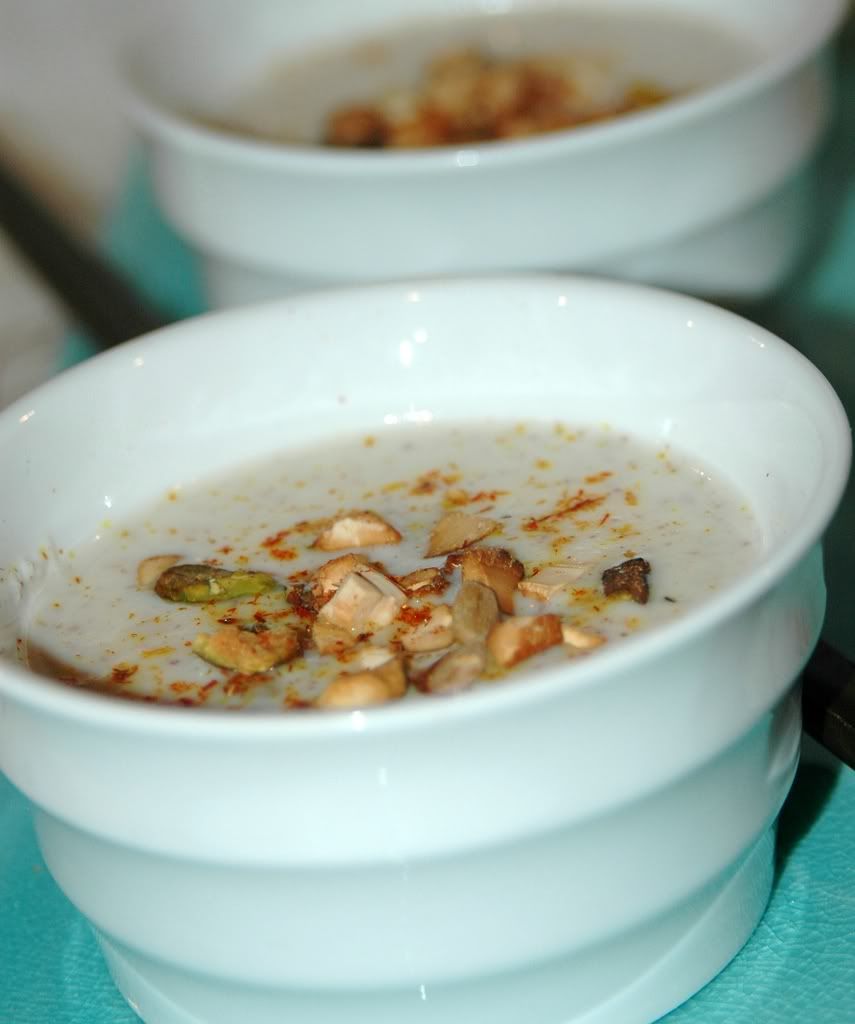
Our version of phirni does not have chunks of almonds, instead we ground up the almonds along with the milk. We also cut back on the rice and let the almonds define the flavour and consistency of the pudding. And, obviously, topping the pudding with a variety of other nuts could only be more goodness! :)


Badam Phirni (Almond Pudding)
Nuts topped with ... nuts!
Servings: 4 ramekins

3/4 cup almonds
3 cups nonfat milk
1 T rice
1/2 cup demerara sugar
1 T pistachios - crushed
1 T cashews - broken into bits
1 t charoli seeds
1 t crushed green cardamom

Soak the rice in hot water for 1 hour before grinding it to a fine paste.
Soak the almonds in hot water for about 10-12 minutes.
Peel the almonds and grind them into a fine paste with 1/2 cup of milk.
Heat the rest of the milk in a saucepan along with the ground rice.
Add the almond paste and stir constantly, bringing the mixture to a slow boil.
Let the milk thicken - this takes about 15+ minutes.
Add the sugar and cardamom and continue stirring over low heat.
In the meantime, toast the pistachios, cashews and charoli seeds.


Opinion?

Think we like this version of our badam pudding better than the traditional phirni! The soft creamy badam consistency is *so* good. And if we're in the mood for a thicker version of payasam, this is what we'd settle for! Plus, this is a certified favourite with Vodka, he licked the bowl clean in record time :)

Happy New Year to the multitudes celebrating it - I didn't quite realize how many people celebrate the New Year today - tamils, malayalees, bengalis, punjabis, sinhalese, thais, the list goes on!

Added bonus: Today is
N'Ko Alphabet Day! :)


Other nutty dessert recipes:

Brazilian Chocolate Bananas
Orange Almond Chocolate Cake
Date Candy
Nut Barfi
Sugarcane-Banana cake in cashew-pistachio milk

Wednesday, April 9, 2008

Honey honey, how you thrill me ...


I'm quite sure ABBA didn't have food on the mind while penning this song. But I usually do when I'm humming it :) A spoonful of honey is often enough to make me burst into song, if we're talking about a recipe centered on honey - that can just send me into raptures!
Ultimate Dessert Cookbook by Rosemary Wilkinson - I *love* this book. Almost as much as I love honey :) And I've been hoping to work through pretty much all the recipes in this book - maybe within the next 10 years? I don't often quest to work through a cookbook, I enjoy picking and discarding recipes, but this book is different. Every picture makes me drool. ,Every time I think I don't have a sweet tooth, this book makes me think again :)

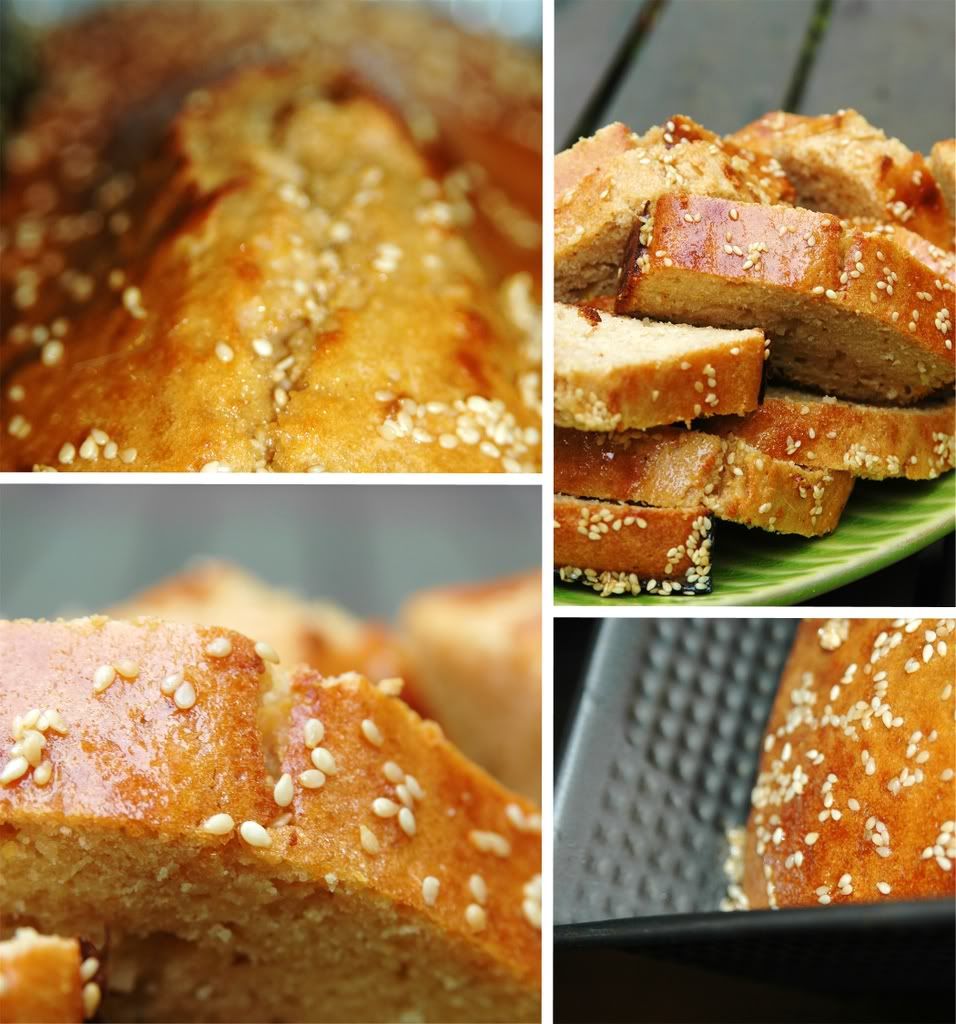
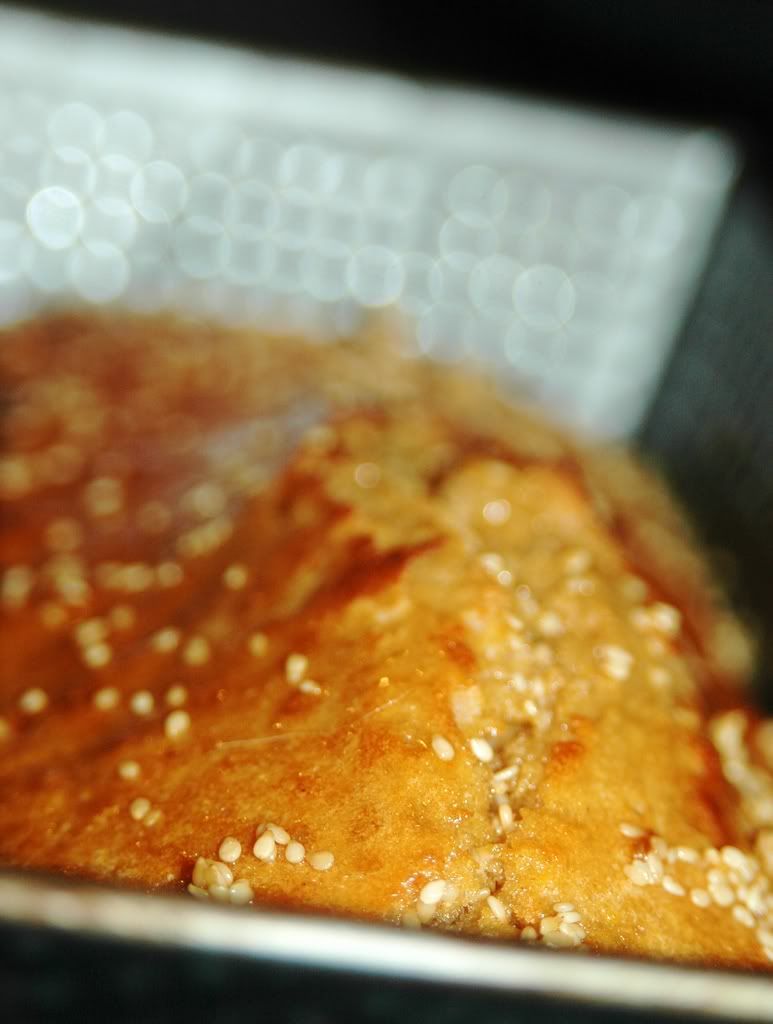
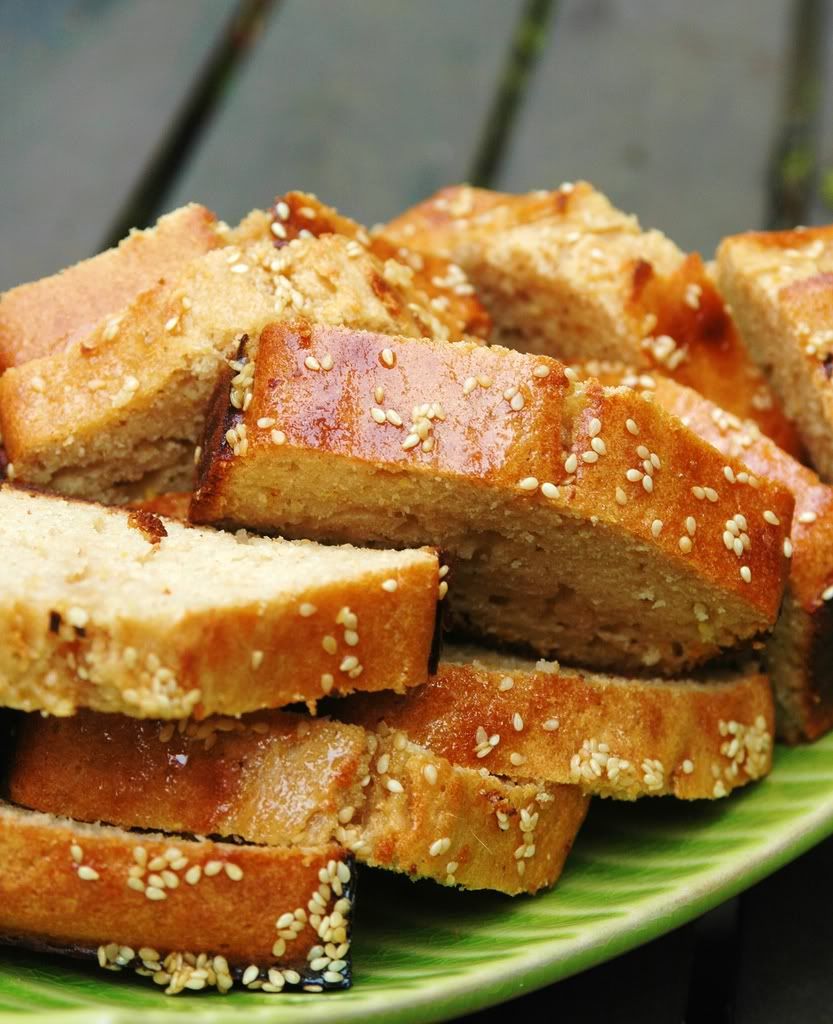
So, one afternoon, while on aunt duty, I was flipping through this book and stumbled upon a recipe for a greek honey and lemon cake. Greek dessert? Honey?? Lemon??? Oh my! My curiosity and taste buds were totally piqued! Plus, it seemed like something the niece and nephew would totally enjoy. A whole litany of excuses to start baking! W00t!
The recipe called for a mix of semolina and all-purpose flour. I replaced the all-purpose flour with white whole wheat flour - chewy is usually good :) Also, I went for a moister cake by increasing the honey-lemon drizzle - can't quite go wrong with that!


"The only reason for being a bee that I know of is making honey....and the only reason for making honey is so I can eat it."
Winnie the Pooh in A.A. Milne's 'The House at Pooh Corner'


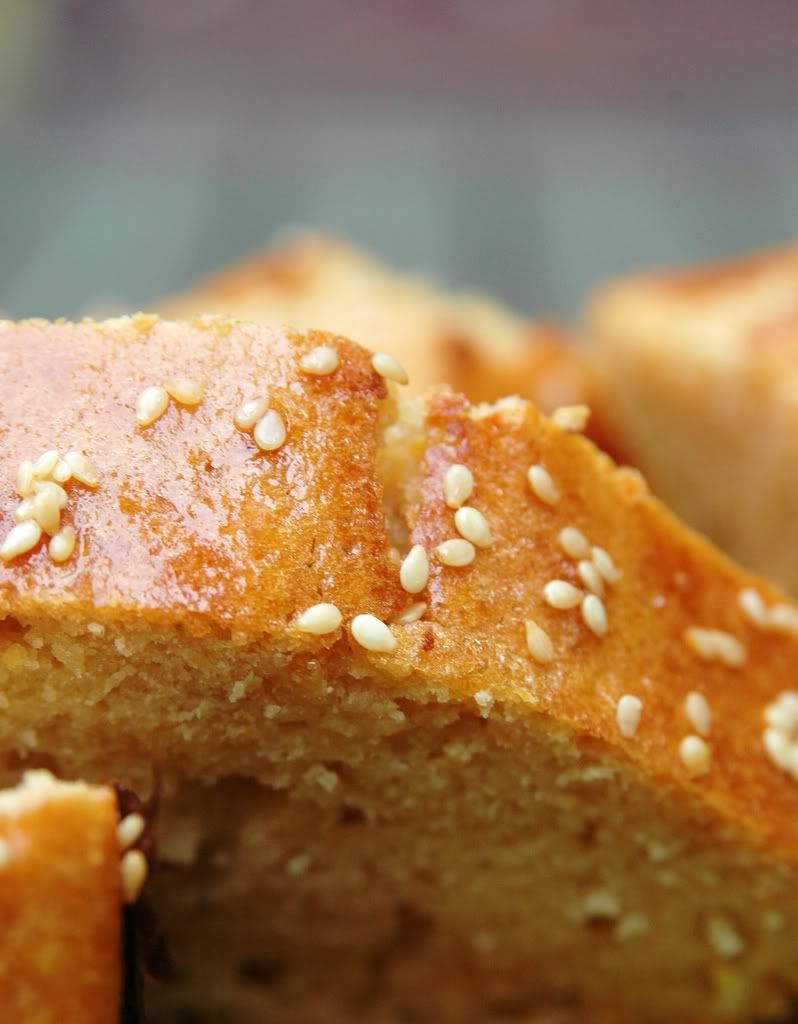
Greek Honey Lemon Cake
Oh! So thrilling! :)

Servings: a standard loaf or an 8" square pan

3 T whipped spread (I went with Earth Balance)
3 T + 2 T honey
finely grated rind of 1 Meyer lemon
juice of 2 Meyer lemons
2/3 cup nonfat milk
1 1/4 cups of white whole wheat flour
1 1/2 t baking powder
1/2 t freshly grated nutmeg
1/3 cup fine semolina
2 egg whites
2 t sesame seeds

Preheat the oven to 400 F.
Grease a loaf pan and line the bottom with wax paper.
Place the margarine/whipped spread and 3 T of honey in a saucepan and heat gently till melted.
Reserve 2-3 T of lemon juice for the drizzle and add the rest of the juice to the honey mixture after taking it off the heat.
Stir in the lemon rind and milk till the mixture is smooth and blended.
Sift the flour with the baking powder and nutmeg before mixing in the semolina.
Beat the semolina mixture into to the honey mixture till completely blended.
Whisk the egg whites till they form soft peaks and fold evenly into the semolina mixture.
Spoon into the loaf or square pan and sprinkle with the sesame seeds.
Bake for 25-30 minutes till golden brown.
Mix the reserved honey and lemon juice and drizzle over the cake while it is still warm.
Cool in the pan before cutting into bars or slices to serve.


Opinion?

*sweet*! *tart*! *earthy*! Those greeks sure know how to make their desserts! The kids wolfed this down and so did the rest of us. A definite repeat!

Tuesday, April 1, 2008

Dare to bake a mini cake? :)


Ok, it is time to stop being so damn tardy. No more last minute bakeoffs. No more late posts.

I'm s.e.r.i.o.u.s.

I'll admit that I was initially disappointed when I found March's DB Challenge to be a party cake. Hmm ... I was craving savoury. *grumble* *grumble*. And then the baker kicked in :) Yay! A party cake! And tomorrow is Monte's b'day. Perfect. Wait ... more than perfect! That even gives me an excuse for this delayed post!

Morven picked Dorie Greenspan's Perfect Party Cake from her insanely droolworthy book Baking: From My Home To Yours. If you haven't checked out this book, now is the time to get it. Dorie's recipes are really well written out and she had a fabulous collection in this book.

The really neat thing about Morven's pick was that it gave us a lot of liberty in playing with the flavour and filling of the cake. Sweet! All I needed to do was channel my zen to inflate my cake and then I could totally party with it! Dorie suggested a raspberry filling, but I had this stash of wild boreal blueberries sitting in my fridge, so I decided to use that instead. Also, I went in for a mini-cake - I didn't have tiny "cakelet" pans, so I baked a regular layer cake and used a wide cup for cutting out the mini cakes. Worked pretty well!

I decided to take the plunge and veer away from the buttercream and coconut toppings. Instead, for the filling, I went with a lightly sweetened and buttered bluberry filling. And for the topping, I went in for a "fake" bitter chocolate ganache. Ok, no cringing allowed here - I made a ganache with chocolate and silken tofu and chilled it before slathering it all over the cakes. It turned out surprisingly good, the 72% dark totally rocked here. And I have no qualms indulging in this "tofanache" if I feel like going light!

This recipe was insanely easier than expected. Then again, with Dorie behind it, I shouldn't have been surprised! Thanks Morven, for the fine pick :)

***


***

The Perfect Party Cake
(adapted from Dorie Greenspan's Baking: From My Home To Yours)

For the Cake

2 1/4 cups cake flour
1 tablespoon baking powder
½ teaspoon salt
1 ¼ cups whole milk or buttermilk (I prefer buttermilk with the lemon)
4 large egg whites
1 ½ cups sugar
2 teaspoons grated lemon zest
1 stick (8 tablespoons or 4 ounces) unsalted butter, at room temperature
½ teaspoon pure lemon extract

For the Buttercream

1 cup sugar
4 large egg whites
3 sticks (12 ounces) unsalted butter, at room temperature
¼ cup fresh lemon juice (from 2 large lemons)
1 teaspoon pure vanilla extract

For Finishing

2/3 cup seedless raspberry preserves stirred vigorously or warmed gently until spreadable

About 1 ½ cups sweetened shredded coconut

Getting Ready

Centre a rack in the oven and preheat the oven to 350 degrees F. Butter two 9 x 2 inch round cake pans and line the bottom of each pan with a round of buttered parchment or wax paper. Put the pans on a baking sheet.


To Make the Cake

Sift together the flour, baking powder and salt.
Whisk together the milk and egg whites in a medium bowl.
Put the sugar and lemon zest in a mixer bowl or another large bowl and rub them together with your fingers until the sugar is moist and fragrant.
Add the butter and working with the paddle or whisk attachment, or with a hand mixer, beat at medium speed for a full 3 minutes, until the butter and sugar are very light.
Beat in the extract, then add one third of the flour mixture, still beating on medium speed.
Beat in half of the milk-egg mixture, then beat in half of the remaining dry ingredients until incorporated.
Add the rest of the milk and eggs beating until the batter is homogeneous, then add the last of the dry ingredients.
Finally, give the batter a good 2- minute beating to ensure that it is thoroughly mixed and well aerated.
Divide the batter between the two pans and smooth the tops with a rubber spatula.
Bake for 30-35 minutes, or until the cakes are well risen and springy to the touch – a thin knife inserted into the centers should come out clean
Transfer the cakes to cooling racks and cool for about 5 minutes, then run a knife around the sides of the cakes, unfold them and peel off the paper liners.
Invert and cool to room temperature, right side up (the cooled cake layers can be wrapped airtight and stored at room temperature overnight or frozen for up to two months).

To Make the Buttercream

Put the sugar and egg whites in a mixer bowl or another large heatproof bowl, fit the bowl over a plan of simmering water and whisk constantly, keeping the mixture over the heat, until it feels hot to the touch, about 3 minutes.
The sugar should be dissolved, and the mixture will look like shiny marshmallow cream.
Remove the bowl from the heat.
Working with the whisk attachment or with a hand mixer, beat the meringue on medium speed until it is cool, about 5 minutes.
Switch to the paddle attachment if you have one, and add the butter a stick at a time, beating until smooth.
Once all the butter is in, beat in the buttercream on medium-high speed until it is thick and very smooth, 6-10 minutes.
During this time the buttercream may curdle or separate – just keep beating and it will come together again.
On medium speed, gradually beat in the lemon juice, waiting until each addition is absorbed before adding more, and then the vanilla.
You should have a shiny smooth, velvety, pristine white buttercream. Press a piece of plastic against the surface of the buttercream and set aside briefly.

To Assemble the Cake

Using a sharp serrated knife and a gentle sawing motion, slice each layer horizontally in half.

Put one layer cut side up on a cardboard cake round or a cake plate protected by strips of wax or parchment paper.
Spread it with one third of the preserves.
Cover the jam evenly with about one quarter of the buttercream.
Top with another layer, spread with preserves and buttercream and then do the same with a third layer (you’ll have used all the jam and have buttercream leftover).
Place the last layer cut side down on top of the cake and use the remaining buttercream to frost the sides and top.
Press the coconut into the frosting, patting it gently all over the sides and top.

Serving

The cake is ready to serve as soon as it is assembled, but I think it’s best to let it sit and set for a couple of hours in a cool room – not the refrigerator. Whether you wait or slice and enjoy it immediately, the cake should be served at room temperature; it loses all its subtlety when it’s cold. Depending on your audience you can serve the cake with just about anything from milk to sweet or bubbly wine.


Storing

The cake is best the day it is made, but you can refrigerate it, well covered, for up to two days. Bring it to room temperature before serving. If you want to freeze the cake, slide it into the freezer to set, then wrap it really well – it will keep for up to 2 months in the freezer; defrost it, still wrapped overnight in the refrigerator.


Playing Around

Since lemon is such a friendly flavour, feel free to make changes in the preserves: other red preserves – cherry or strawberry – look especially nice, but you can even use plum or blueberry jam.


Fresh Berry Cake

If you will be serving the cake the day it is made, cover each layer of buttercream with fresh berries – use whole raspberries, sliced or halved strawberries or whole blackberries, and match the preserves to the fruit. You can replace the coconut on top of the cake with a crown of berries, or use both coconut and berries. You can also replace the buttercream between the layers with fairly firmly whipped sweetened cream and then either frost the cake with buttercream (the contrast between the lighter whipped cream and the firmer buttercream is nice) or finish it with more whipped cream. If you use whipped cream, you’ll have to store the cake the in the refrigerator – let it sit for about 20 minutes at room temperature before serving.


***
Additional Notes

If you want to bake mini-cakes, either use smaller cake pans or bake a regular 9" layer cake and cut out smaller cakes from it using cake rings or a sharp-rimmed cup.

***

Opinion?

The cake rose perfectly. I can only credit that to my sis (the real baker) who insisted that I pound the cake pan a zillion times till all the air bubbles are released, which I did, to Vodka's utter consternation! Slicing the cake to make layers was ... a piece of cake! The lemon flavours (I skipped the extract and went with lemon juice and zest) were outstanding. The boreal berries were divine, like always - they're much smaller than regular blueberries, not as sweet, but have a fabulous earthy flavour that makes for a fine topping on most desserts. And the "tofanache" made me quite happy. It isn't meant for everything - there are times when nothing but the real ganache would suffice, but in this case, it did a pretty good job.

***


Is this going to be a repeat?

I would totally bake this cake again - maybe I'll even use some buttercream next time around! Besides, I have a ton of leftovers from the cake that I can't wait to work with - that's often the fun part, isn't it?

Thanks Morven, for this insanely fun pick and even more for letting us exercise our creative license. Picking and choosing fillings and toppings was a party in itself!

And now I'm off to finally spend some time checking out all the other fabulous Daring Bakers' creations!