Showing posts with label events. Show all posts

Wednesday, September 17, 2008

Beans'n'shoots make for a great soup!

Finally, it feels like summer out here! The weather over the last couple of weeks has been sheer bliss - warm and sunny, clear skies ... can't help but walk around with a smile :)


So, what else is awesome right now? The bounty that is coming from my veggie patch! Everyday yields a handful of tomatoes, a slew of greens, some squashes, maybe some chard, a motley assortment of herbs, all goodness! And today, as I was puttering around the patch, fighting those damn slugs, Alice Waters came to mind. Funny how I often think of some of my favourite chefs when I'm down and dirty in the veggie patch :)

So, with Alice on my mind, I ended up grabbing a slew of pea vines - I've eaten these in salads at several restaurants, but never cooked them up, so today was going to be a first - *so* exciting! Vodka didn't quite share the excitement - I couldn't quite get him to nosh on a few leaves. He cocked his head with the "You're crazy!" look and ran off to get his ball :)


Chez Panisse Vegetables has a killer recipe for a Pea and Pea Shoot Soup - except I didn't have enough peas to make this :) So, I went with fava beans instead (sadly, frozen, but they tasted pretty good!) and decided to let the soup stay thick and smooth instead of straining it.


[I feel like I'm tainted for life - as much as I absolutely *love* fava beans, I can't think of them without remembering Hannibal Lecter's quote from Silence of the Lambs! *grrrrr* ... and no! I refuse to quote it here :) ]


Fava Beans and Pea Shoots Soup
Green is *good*!

Servings: 2

1/2 large red onion

3 cups shelled fava beans

2 handfuls pea shoots

10-12 leaves of spanish mint

4 cups of water (or 2 cups stock + 2 cups water
)
1 t olive oil
1 t ghee (clarified butter)

salt for seasoning

freshly ground pepper
grated aged cheddar for garnish


Peel and thinly slice the onion. Heat the olive oil in a pot and saute the onions till translucent.

Add the mint and saute for another minute.
Throw in the fava beans along with 2 cups of water/stock and cook partially covered, on medium, for 6-8 minutes till the beans are cooked.

Set aside a few pea shoots for garnish and toss the rest into the soup. Cook for a few more minutes till the pea shoots are wilted before taking the pot off the heat.

Once the contents have cooled a bit, puree the soup to a relatively smooth consistency - the pea vines may still remain stringy/chopped up, that's totally fine - it actually adds a neat texture to the soup.


Season with salt and a slew of freshly ground pepper!

Heat the ghee in a pan and lightly saute the leftover pea shoots till wilted.

Ladle the soup into a bowl and garnish with the crispy pea shoots and some grated aged cheddar cheese.


Opinion?

We wolfed up this soup with some toasted whole wheat pita bread - an earthy and chewy complement to the fresh, smooth soup. The fava beans lent a creamy, nutty flavour to the soup. And the pea vines made it taste really fresh - all that green goodness!


Ok, so this *has* to go to the current edition of Weekend Herb Blogging (Kalyn's brainchild) - hosted this week by Zorra from Kochtopf - thanks to both of you for starting/hosting this event!

Tuesday, July 15, 2008

Mango-ing away!


Still hot outside, I was still craving a giant creamy milkshake, but I'm really really trying to stick to my regular workout and eating habits ... which pretty much ruled out that GIANT milkshake looming in the back of my mind ... *sigh*.

But the plan was to come up with a suitable alternative ... something that would squash all memories of that GIANT milkshake! It took some poking around my Ultimate Desserts book ... Yes, I will get through all the recipes in that book someday soon! :) I stumbled upon this banana honey yogurt ice recipe ... hmm ... Ain't got no bananas. But we have a mountain of mangoes to wade our way through - never a problem given that I've eaten as many as 8 mangoes in one go :)

So, the idea was to rework this recipe to use mangoes instead. I also had some fabulous labneh - the to-die-for middle eastern yogurt as well as some greek yogurt sitting around. I haven't made icecream in a while, let alone fancy "yogurt ice", so this was approached with some dubiousness. But it turned out to be so damn easy to work with, a ton of fun and super delicious to boot!


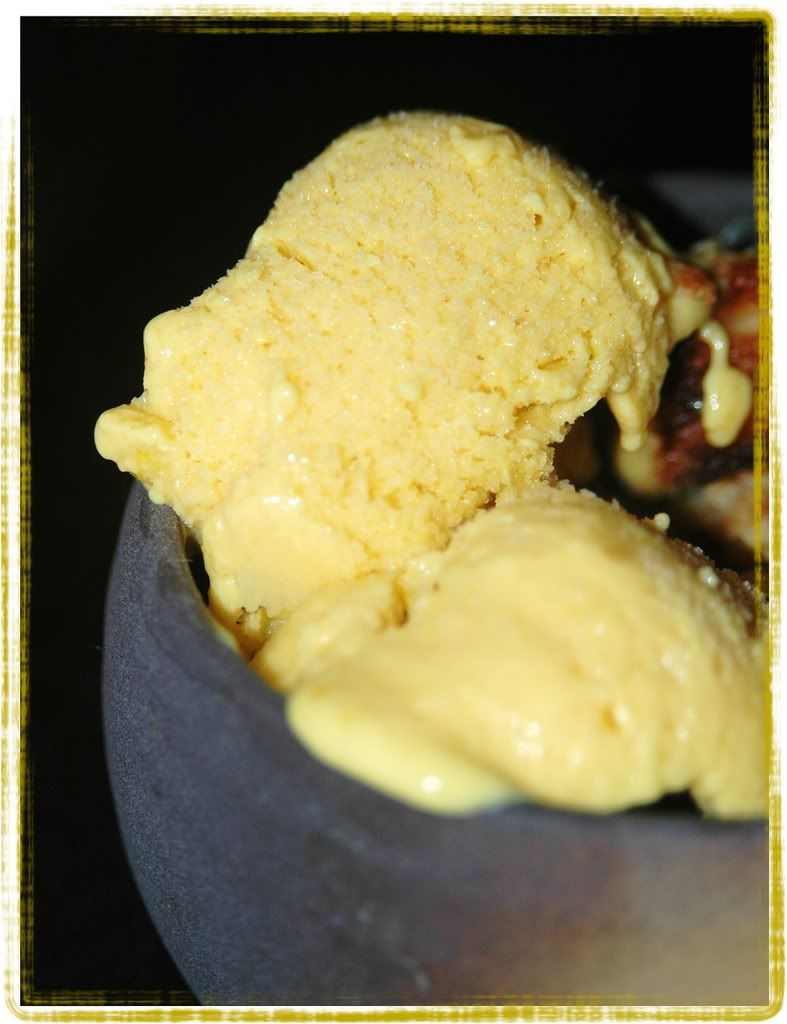
Mango Yogurt Ice with Agave Nectar
Mango! Mango! Mango! Need I say more?

Servings: Hmm ... 12+ generous scoops

3 medium sized mangoes (I used the Ecuadorian ones that Costco is currently carrying)
3 T agave nectar
1/2 cup labneh
1/2 cup nonfat greek yogurt
1 t cinnamon
1 T orange blossom water

Peel the mangoes and chop into chunks.
Puree the mango chunks along with the rest of the ingredients till smooth.
Pour into a freezer pan, cover with plastic wrap and seal it with a rubber band.
Set this in the freezer till it starts to harden - takes atleast an hour.
Break up the yogurt ice with a beater till crumbled and there are no chunks remaining.
Smoothen the top, seal with the plastic wrap once more and set in the freezer for another hour.
Repeat this beating and freezing process one more time - this just makes the yogurt ice a lot more creamy and removes any crunchy ice bits that may have formed while freezing.

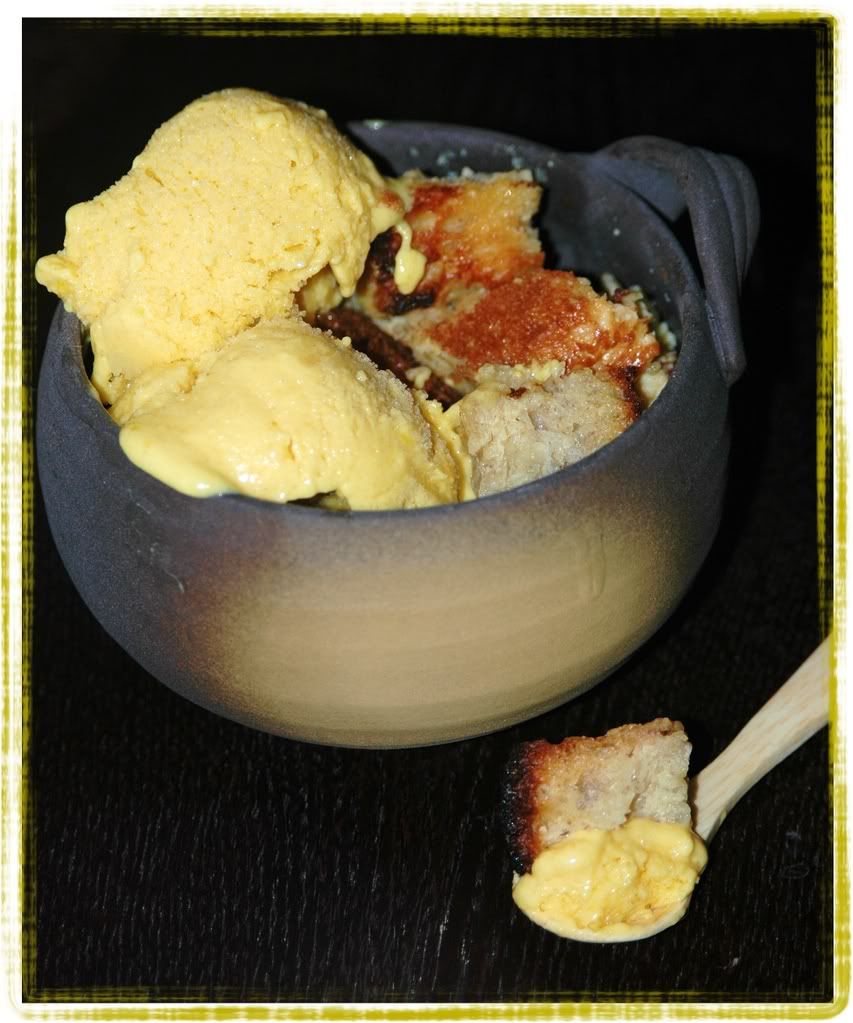
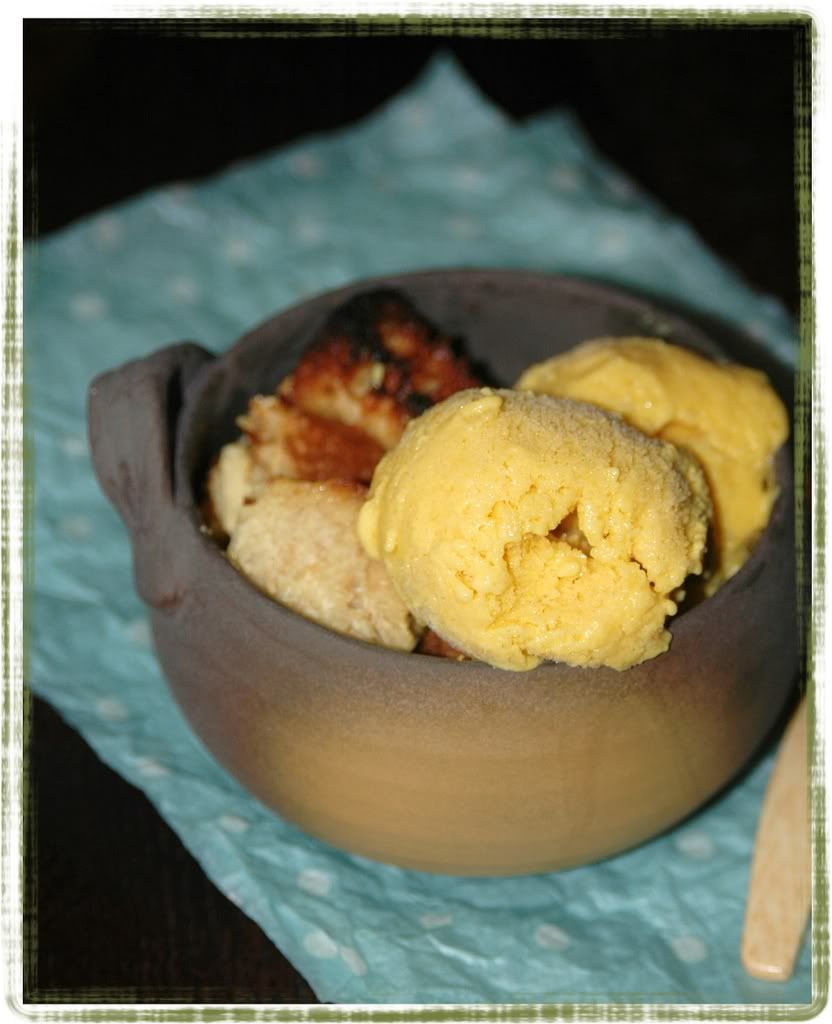
We served this atop this insanely tasty bread pudding - perfect blending of flavours ... I've got ot run out to go meet the gals, but I'll be posting that recipe in the next day or two (Really!).


Opinion?

I forgot all about that GIANT milkshake once I put this in my mouth! We loved the fact that it was so much lighter than regular icecream, yet much more decadent than sorbet. The orange blossom water lent this really neat mild fragrance to the yogurt, loved it! And we all loved the mango-yogurt creamy combination - reminded us of a frozen mango lassi (guess it is pretty close to that! :))

Off this goes to Meeta for her Mango Mania - a day late, but what else could you expect of me? *sigh*! And I have to agree with her, mango is *so* the queen of fruit! Think I'll go eat one right now ...

**************

Hmm ... guess this post is total paisa-vasool when it comes to event posts! Am shipping this off to Rachna for her JFI-Flowers event (I do use Orange Blossom water here :)) and to Mansi for her Healthy Cooking event - this is a super healthy dessert after all!

Sweeeeetttt!!!

Wednesday, July 2, 2008

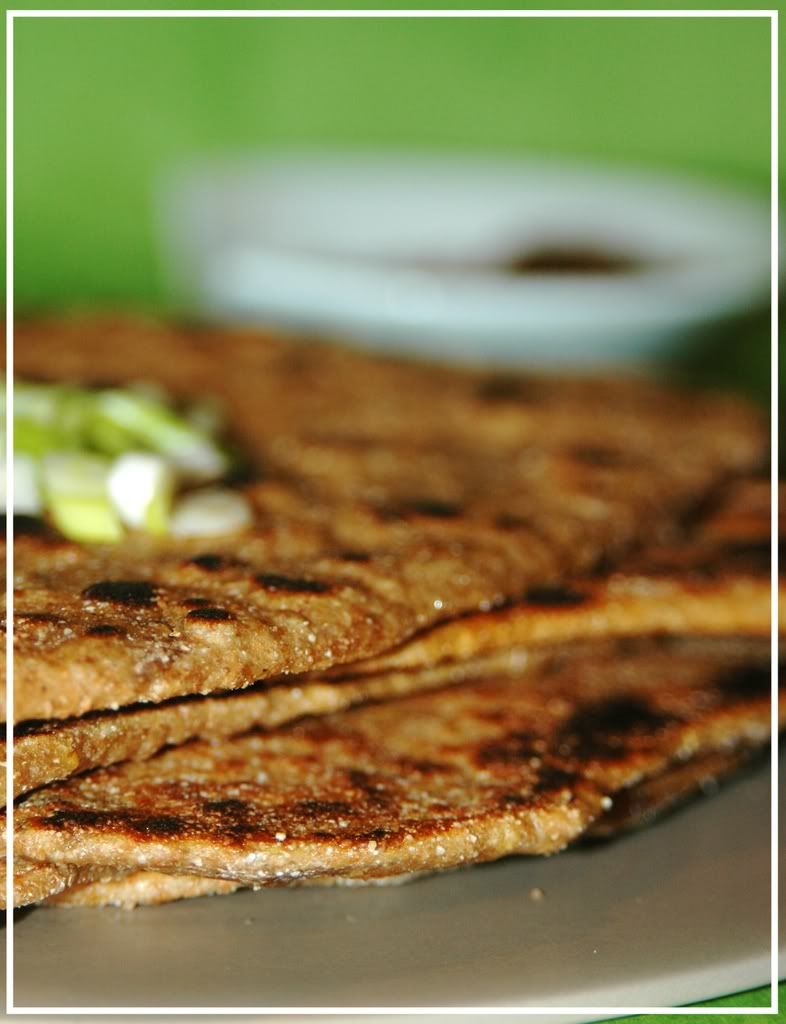
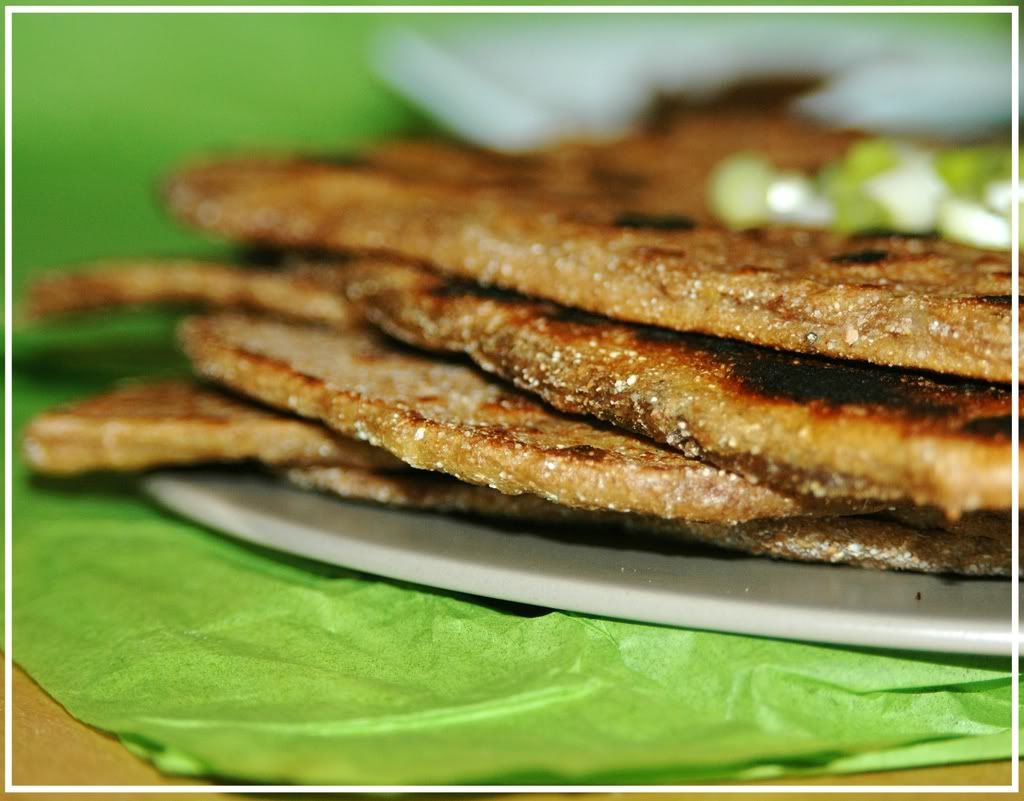
Squash parathas to celebrate ...

a return to blogging?

a manic work life finally easing up?

a fabulous weekend?

summer finally coming to life?

life, in general?

All of the above, I guess! And here's hoping to get through the mountains of recipes waiting to make it out here!


Tonight warranted simple comfort food - something healthy, quick to throw together? Something with desi flavours ... After poking around a bit, I settled on making some parathas. It has been a while since I handled that rolling pin, and I've been missing the cathartic experience of kneading the dough, making those balls, patting them out, rolling them, folding them, rolling them ... *so* relaxing!

Experimenting with stuffings in parathas is always exciting, we often play around with a variety of greens, cheese curds, tomatoes, onions, the works. But a squash variant was a first. I initially contemplated stuffing the parathas with a squash filling, but finally settled for just kneading it into the dough - definitely easier to work with, plus the bread turned out much softer! Also, instead of boiling/cooking the vegetables, I chose to grate the squash, mix it up with some spices and knead it into the dough instead.

I also wanted to play around with the dough a bit - so I threw in some coarse whole wheat pastry flour along with a 1/4 cup of corn flour add some earthiness and texture to the dough - always fun to get that chewy undertone!

“If thou tastest a crust of bread, thou tastest all the stars and all the heavens.”
Robert Browning (1812-1889) English poet


Squash Parathas
Moist, chewy goodness!

Servings: 8-10 parathas

2 cups fine whole wheat flour
1/2 cup coarse whole wheat pastry flour
1/4 cup corn flour
2 T olive oil
1/2 cup buttermilk
warm water as needed for kneading the dough
2 yellow squashes - grated (medium)
salt to taste
1 T ancho chilli powder
1 T sumac powder

Mix the flours in a bowl along with the buttermilk, salt, spices and grated squash.
Start kneading it, adding warm water as needed.
Knead it.
Knead it some more.
And when you think you're done, add the olive oil.
And knead for a few more minutes or till your arm is ready to fall off :)

Cover the bowl with a wet towel and let it sit for atleast 20 minutes.

When your arm has recovered and you're ready to roll out some rotis ...

Take a large ball of dough (about enough to fill your palm), pat it down and roll it out using flour as needed.
Fold the circular roti into a quarter and roll it out again in case you want some funky triangular parathas.

[NOTE]: Every once in a while, I get a hole in my head and forget to complete my thoughts :) Guess that's why I forgot to finish talking about how to make these parathas! Thanks for all the comments remind me to finish my damn sentences :)

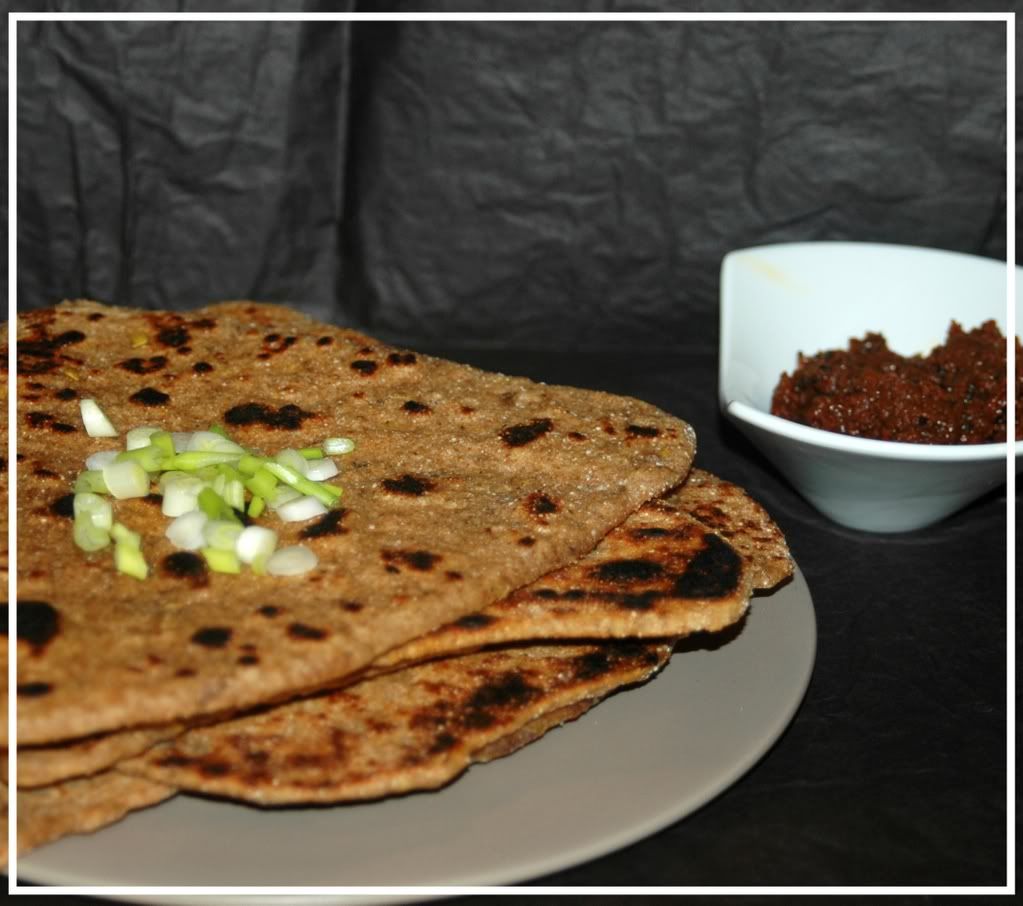
Once you've rolled the paratha out, put it onto a greased pan and cook. Once the bottom is mostly cooked, rub the surface with either a bit of butter or some oil (I tend to use grapeseed or sesame oil) and flip over. Grease the other side and cook till somewhat crispy and browned/blackened.

[I tend to store the cooked parathas covered till they're ready to be noshed on.]

Serve with homemade yoghurt and pickles - my choice for tonight was a spicy tomato pickle.


Opinion?
Simple, flavourful, chewy, earthy, very very happy! Adding the corn flour was a killer idea!

*burp*

***********

I know, I know, I'm super late in posting the roundup for Think Spice - Think Wasabi. What can I say, I'm a super lame duck :( But the dust from a manic work life is finally settling, so hopefully I can do justice to this in the next day or two.


***********

Whhoooaaaaa!!! Serious thunder and lightning out here! Very exciting :)

Tuesday, June 24, 2008

Hope springs eternal ... in the garden

Gardening requires lots of water - most of it in the form of perspiration.
~Lou Erickson


It also requires a slew of expletives directed at those slugs and weeds and other obstacles standing in the way of my vegetables' happiness :)

In spite of the vagaries of the weather this year, the abysmal lack of spring and warmth, my veggies have managed to survive. Really well, I might add. And yes, it takes some work to build those beds, plant those starters and tend to them every couple of days. But none of this would've happened without those fabulous saplings to start off with! This year's crop comes with starters from these places:
  • Molbaks - the king of nurseries out here in the greater seattle area. Somewhat pricey, but their quality remains blemishless.
  • Seattle Tilth - a fabulous local non-profit dedicated to urban gardening. Their organic techniques, demonstrations and classes are truly fantastic!
  • Seattle area farmers' markets - Life doesn't quite function without the CSAs and organic gardeners who populate these markets - their seeds, starters and crops are the best, the very best!
So, without further ado, I present a partial snapshot of the vegetable garden as of this evening :)


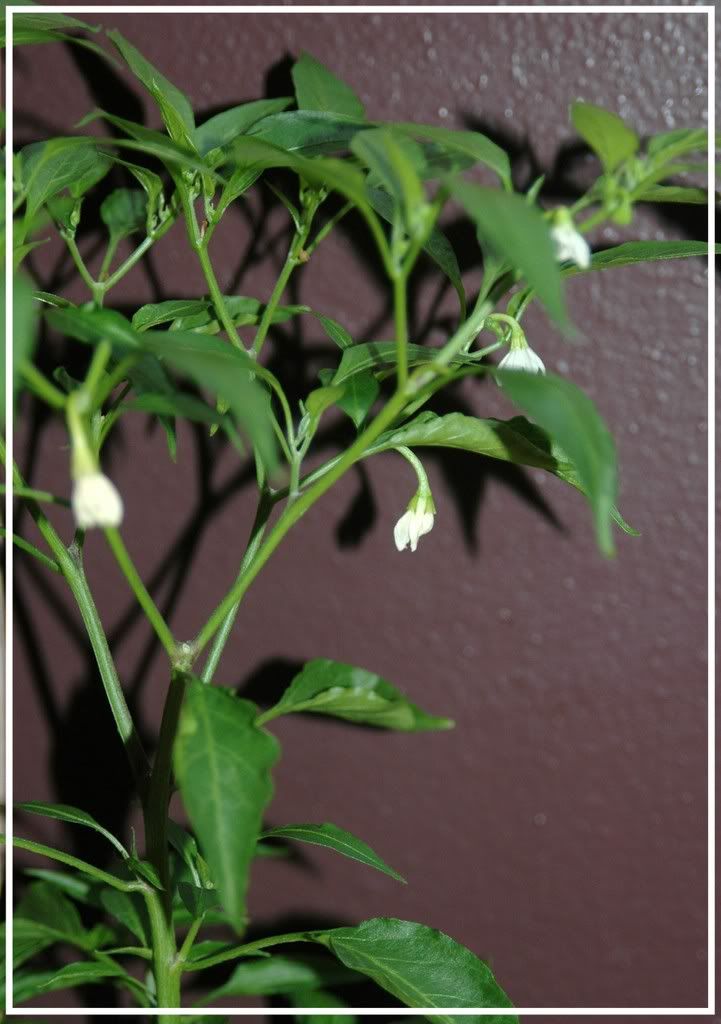
Thai Chilli Pepper


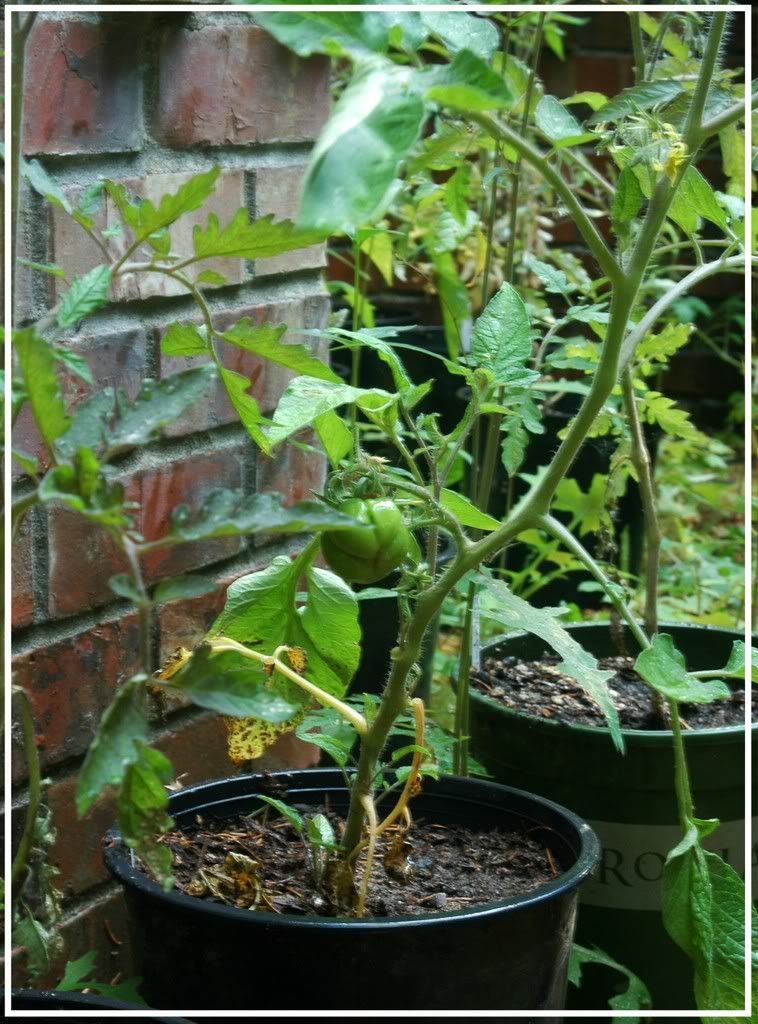
A few of the zillion tomatoes (heirlooms, sweet million, cherry, plum, roma)


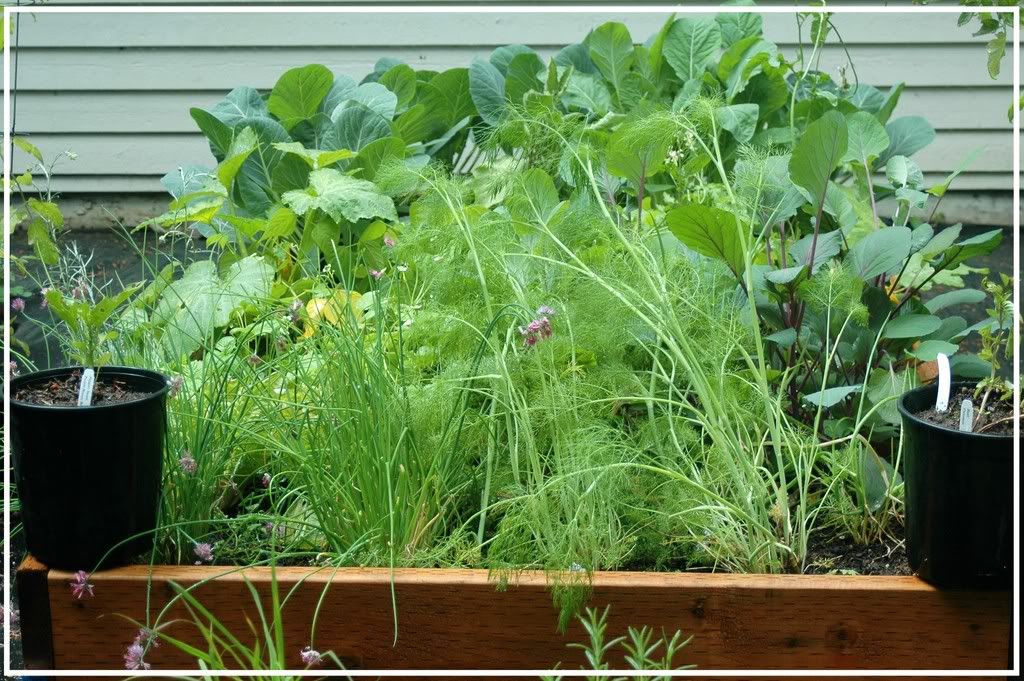
One of the veggie beds, the plants in front are chives, garlic, fennel and basil


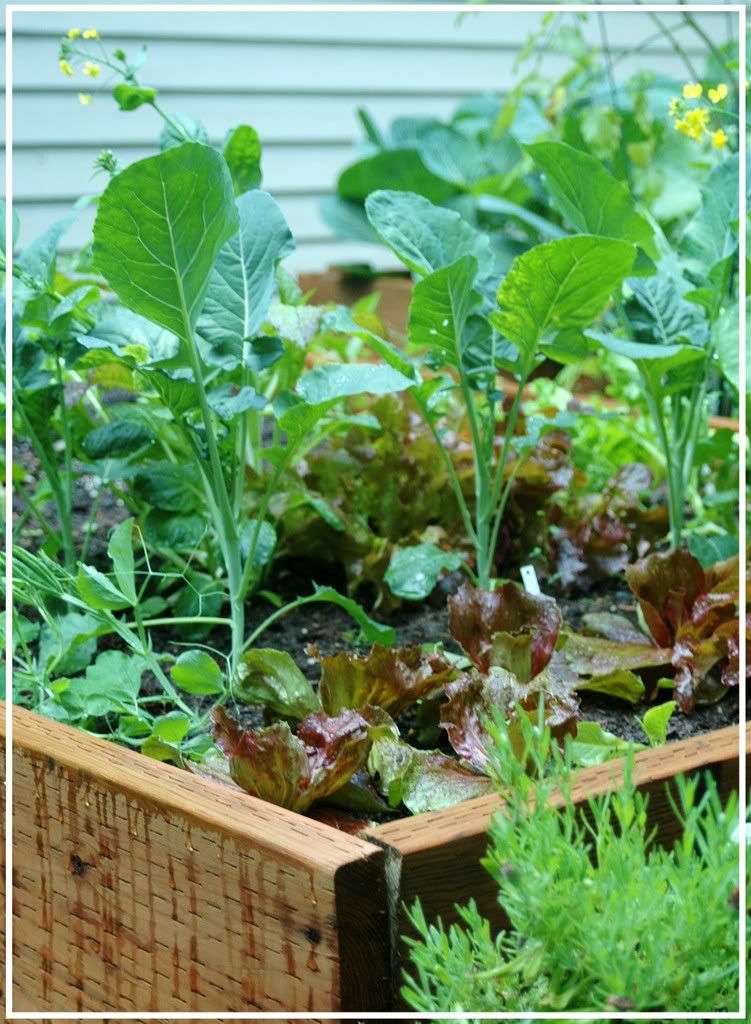
Greens - radicchio, braising greens, arugula, butter lettuce ...


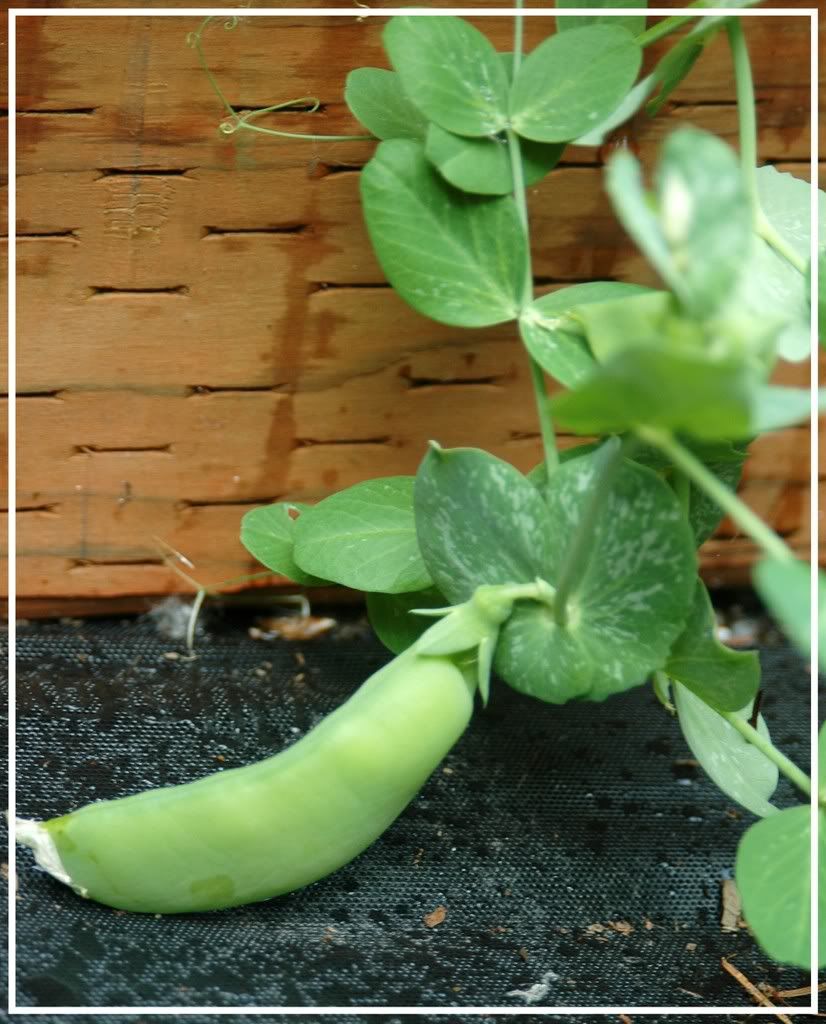
First snap pea of the season!


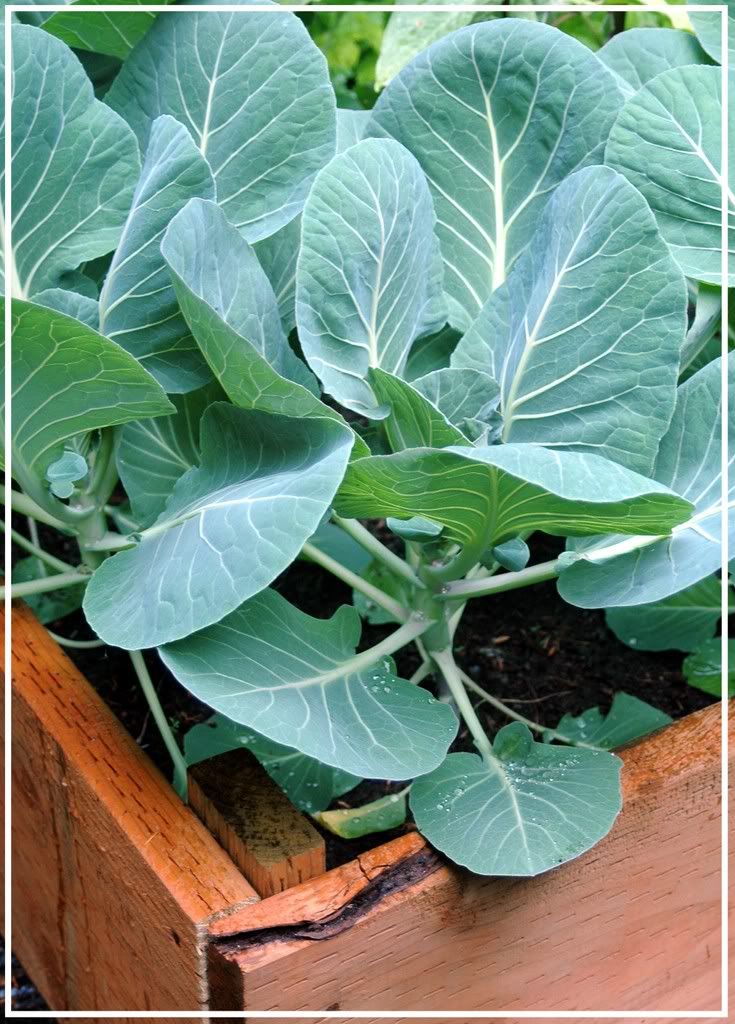
Broccoli, cauliflower, brussel sprouts and other leafy green things!


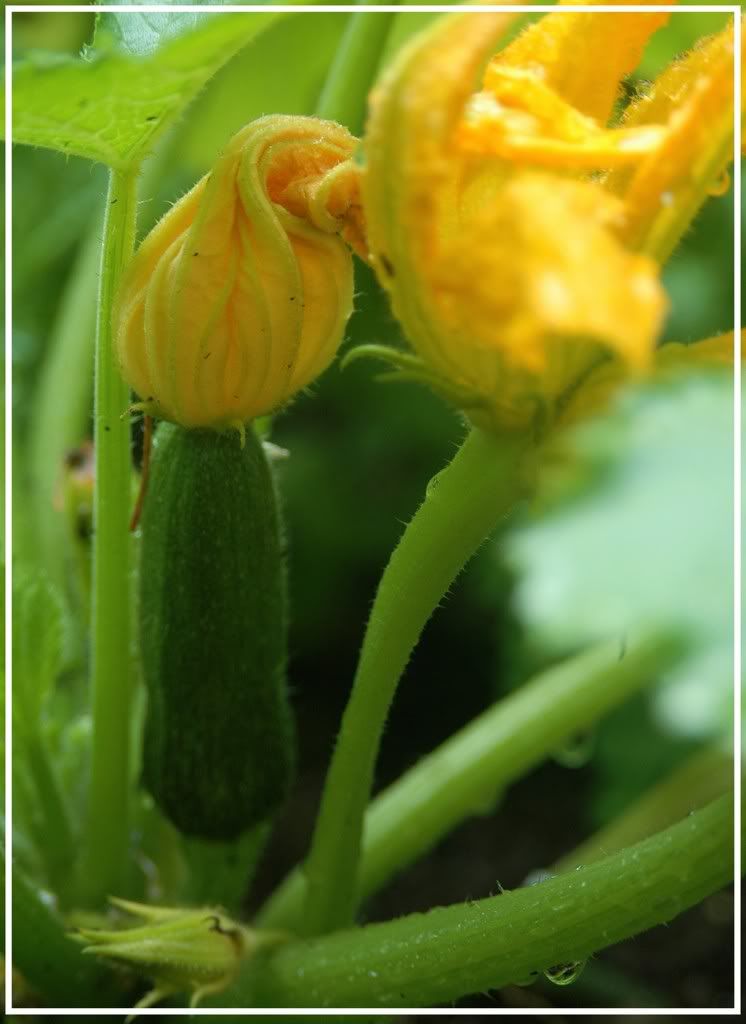
Yellow squash


Zucchini


Italian Parsley


Rapini flower

These rapini flowers have been a fabulous discovery this season - we stumbled upon them at the Madrona farmers' market and have been hooked on them since. Fragile-looking, but intensely flavourful and refreshing - they remind me of Bri. The incredibly strong and resilient Bri - we're all thinking of you and rooting for you.

Hope does spring eternal.

Monday, June 2, 2008

A whole new Click for life!

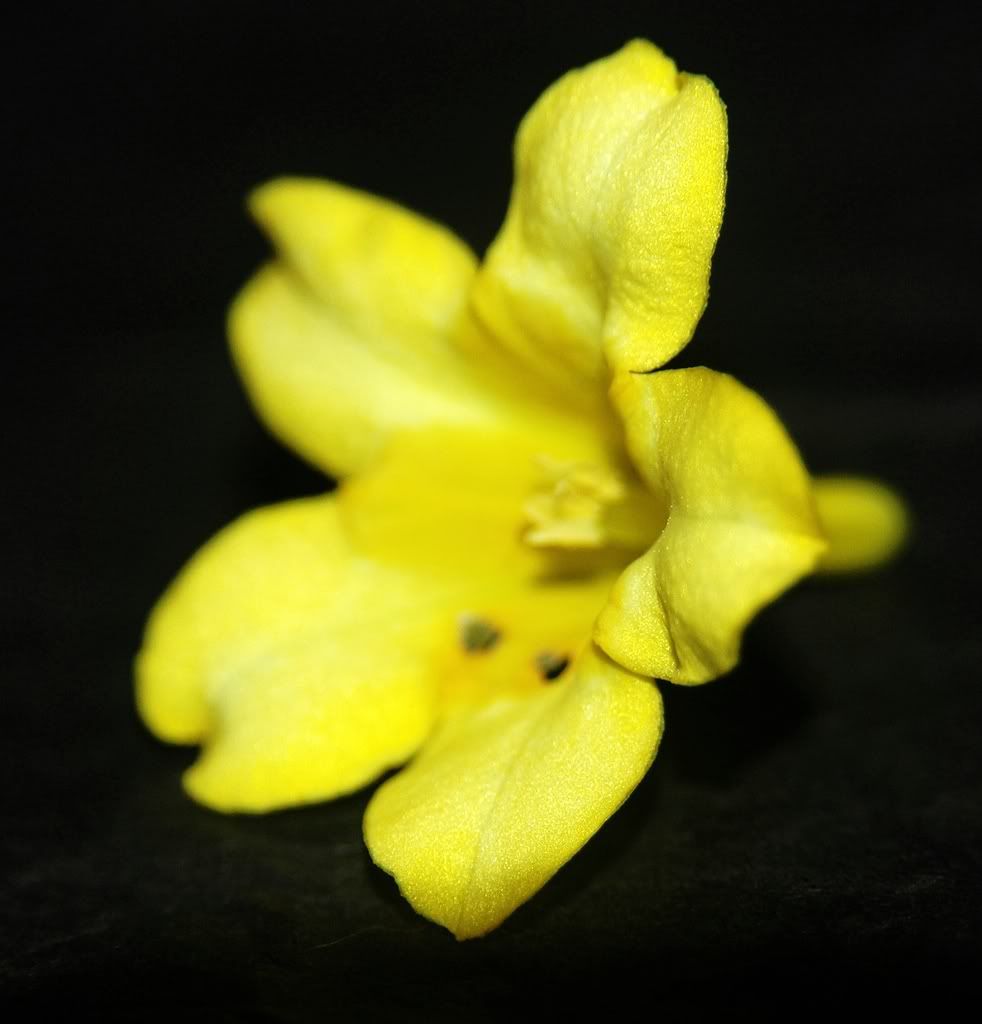
Carolina Jasmine (Gelsemium sempervirens)

Anyone who reads this blog probably knows how much I love Click - that crazy photo event started by those crazy Jugalbandits. It makes for entertaining posts, fabulous eye candy, last-minute photos and maybe even some improved photography (on my end!) :)

This month, Click comes with a whole new cause.

YELLOW for Bri.

To put it simply, Bri (Briana Brownlow) rocks. She's the personality behind FigsWithBri - a fabulous vegetarian food blog. I've spent many hours drooling over her fabulous green tea icecream and homemade truffles!

And Bri is one of the 5% of women diagnosed with breast cancer under the age of 30.

She was 28 and diagnosed with breast cancer two and a half years ago. After a round of intense treatment (mastectomy and chemotherapy), she bounced back and seemed to be doing pretty well over the last couple of years. Unfortunately, the cancer is back and metastasized to her lungs, lymph nodes and several regions of her bones. More about it here.

In addition to the emotional rollercoaster that a battle with cancer entails, the practical ramifications are enormous. The choice of treatment, the rote of dealing with it, the staggering medical bills .. all these are just pieces of the battle. This time around, Bri is choosing to fight the cancer from a holistic perspective, with a combination of herbs, extracts, an organic diet and more.


To help Bri and Mark deal with the financial implications of this battle, the June edition of Click has been set up as a fundraiser for Bri. A slew of bloggers have offered a variety of prizes that will be raffled off as part of this fundraiser.

You can make your donation HERE or by using the Chip-In button below.


[If the updated amount does not show on your screen, you may need to clear your cache.]


Check out the image gallery of the prizes to pick the items that you are interested in bidding on. You can enter your bid information on this Donation Page.

Your donation can be made securely through credit card or Pay Pal and goes directly to Bri’s account.

This month’s photo contest also has some prizes. Details HERE.

You can support this campaign by donating to the fundraiser, by participating in CLICK: the photo event, and by publicising this campaign.

Sunday, June 1, 2008

Start Thinking ... now!


Remember that insanely irritating Budweiser ad? Well, apparently, I'm bent on bringing that sticky memory back! :)

Sunita was crazy enough to let me host Think Spice this month. And I warned her that the theme would probably be non-traditional. And it is ... *drumroll* please ...

Wasabi
!

And yes, it is a spice. Atleast the root is. In terms of the traditional definition of a spice!


A spice is a dried seed, fruit, root, bark or vegetative substance used in nutritionally insignificant quantities as a food additive for the purpose of flavouring, and indirectly for the purpose of killing and preventing growth of pathogenic bacteria.


licensed under Creative Commons Attribution 2.0 License

Ever since I got hooked on sushi, life has been a wasabi romance all along. Until I *just* discovered some vital facts:

Rude Shock #1:
Often, wasabi that we encounter in restaurants is not the real thing! And the stuff that comes in tubes is horseradish+mustard+food colouring.

Rude Shock #2:
What?! So, horseradish is not wasabi? *sigh*
Oh well, whatever. I'll eat it anyway. And I insist on calling it wasabi. Maybe wa-sah-bih. Maybe even wa-saaaab-beeeeee.

[This is what I love about Think Spice - it is often a botany-lesson-in-session. By the end of the month, I often feel like I could write a couple of essays about the spice of the month! :)]

From that fabulous Wikipedia:

Wasabi (Japanese: わさび,ワサビ , 山葵 (originally written 和佐比); Wasabia japonica, Cochlearia wasabi, or Eutrema japonica) is a member of the Brassicaceae family, which includes cabbages, horseradish and mustard. Known as "Japanese horseradish", its root is used as a spice and has an extremely strong flavor. Its hotness is more akin to that of a hot mustard than the capsaicin in a chili pepper, producing vapors that irritate the nasal passages more than the tongue. The plant grows naturally along stream beds in mountain river valleys in Japan. There are also other species used, such as W. koreana, and W. tetsuigi. The two main cultivars in the marketplace are W. japonica var. Daruma and Mazuma, but there are many others.

So, time to dig through those cookbooks, surf the web, ping your friends and neighbours ... we need some wasabi recipes and we need them now! :)

Rules of the month:
Hit those asian stores, buy up all the wasabi you can lay your hands on and whip up some insanely pungent recipes that'll set the food blogosphere afire!

Obviously, you can go all gourmet and buy the wasabi root, grate it and work your mojo! Or you can buy the stuff in a tube or a bottle or a jar (even the not-so-authentic version) and whip up your recipes. Whatever works, as long as you have fun doing it :)

Share your nuggets of knowledge with the rest of us, any crazy wasabi stories? Or do you have video to share - maybe you snorted some wasabi sometime? Or ate a whole ball of it without knowing what it was?

Include a link back to this post in your write-up, a logo should be available here later today in case you want to use that along with your post.

Email the following information with your entry on or before June 25th to
cookingfromatoz [at] gmail [dot] com:

* Use the subject 'Think Spice - Think Wasabi'
* Your name
* Name and Url of your blog
* Name of your recipe
* Url of the post on your blog
* A pic of your dish (250 px wide, height does not matter) if any

Non-bloggers are welcome too, email your recipe (and a pic, if applicable) to me and I'll post it as part of the round-up.

Weeeee! Now I'm excited thinking about all the crazy experimenting that this theme is going to induce!

Friday, May 30, 2008

Happy Click to you too!

'k, pretty close to midnight ==> Bee is probably staring at her email wondering why I haven't bothered to send her a predictable last-minute Click shot yet. Obviously, I wouldn't dare to disappoint her! In fact, this has become a game of sorts - I look forward to a living-on-the-edge Click shot :)

Like always, I wish I could replicate the image in my head, but this is the best I could do! :)

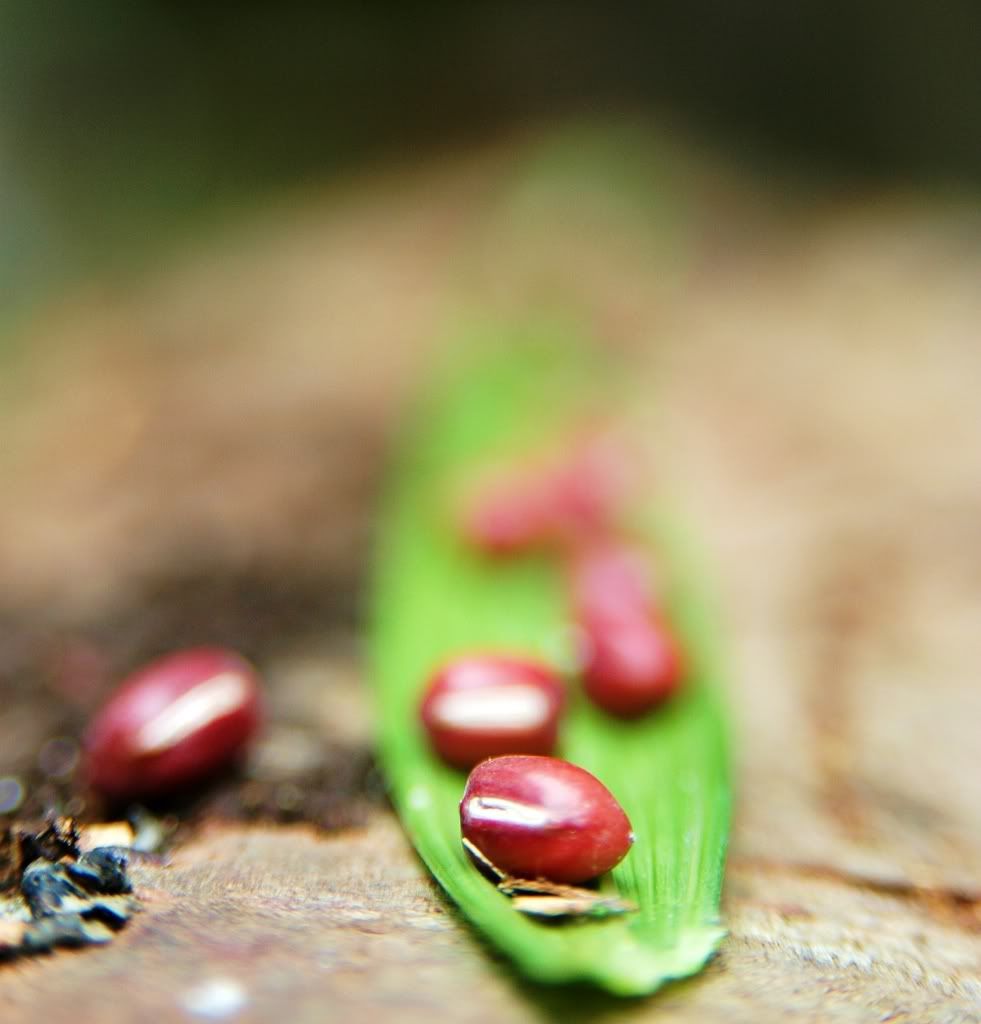
Adzuki beans (or Azuki or Aduki or whatchamawannacallit beans) rock! Attractive to look at, fabulously tasty - they're used in savoury and sweet foods. This is the bean that goes into mooncakes and bean icecream and baozi (buns) and mochi and amanatto (that insanely delicious Japanese sweet!). They form the essential ingredient in red bean paste - ubiquitous in asian cuisines! And they do make for fabulous burgers too! :)


“Red beans and ricely yours."
Louis Armstrong loved red beans and rice so much he signed his personal letters thus.


Azuki For You

Camera: Nikon D70
Kit Lens

Sunday, May 18, 2008

Can some tofu crisps slow down the pace?


The last couple of weeks has seen life go into serious overdrive. A manic worklife coupled with coaching and running made a lot of other passions take a backseat. When the fingers are itching to start writing about food, but need to be dragged away to type a few hundred lines of code instead ... know that feeling? It is a sure sign that life desperately deserves a deep breath!


Before I even talk about anything else, a long overdue acknowledgement - I Clicked! Much to my astonishment! Thanks go to this one for helping me out with my pix. I always gawk at all the pictures in the Jugalbandi gallery and am eternally amazed by the boundless creativity that seems to come forth every month courtesy of this awesome event. And to think that I actually took a picture that people enjoyed looking at makes me kick up my heels and go skipping around town!


Thanks, Bee & Jai for organizing this event and making theme photography that much more accessible for everybody :)

And now, for some long overdue chow conversation. In spite of the hectic life of yester-couple-of-weeks, a lot of food was cooked and consumed. Guess that never changes, huh? :) And one of the tasty and fabulously simple snacks that we stumbled upon involves tofu. Sig probably just fell off her chair shocked that I'm talking about tofu (again!) :)

I love cooking wonks of tofu, sometimes marinated, sometimes just lightly browned before tossing the chunks into a sauce or saute. But one evening, I was looking for something different - a part of me was hankering for baked fries, but I didn't really want something as heavy as potatoes. Hmm ... maybe tofu fries or crisps or whatever-you-wanna-call-them?

After puttering around, I went with a seasoning similar to Za'atar (the delicious middle eastern seasoning with sumac, sesame and thyme), but I skipped the thyme and kicked up the spice instead.


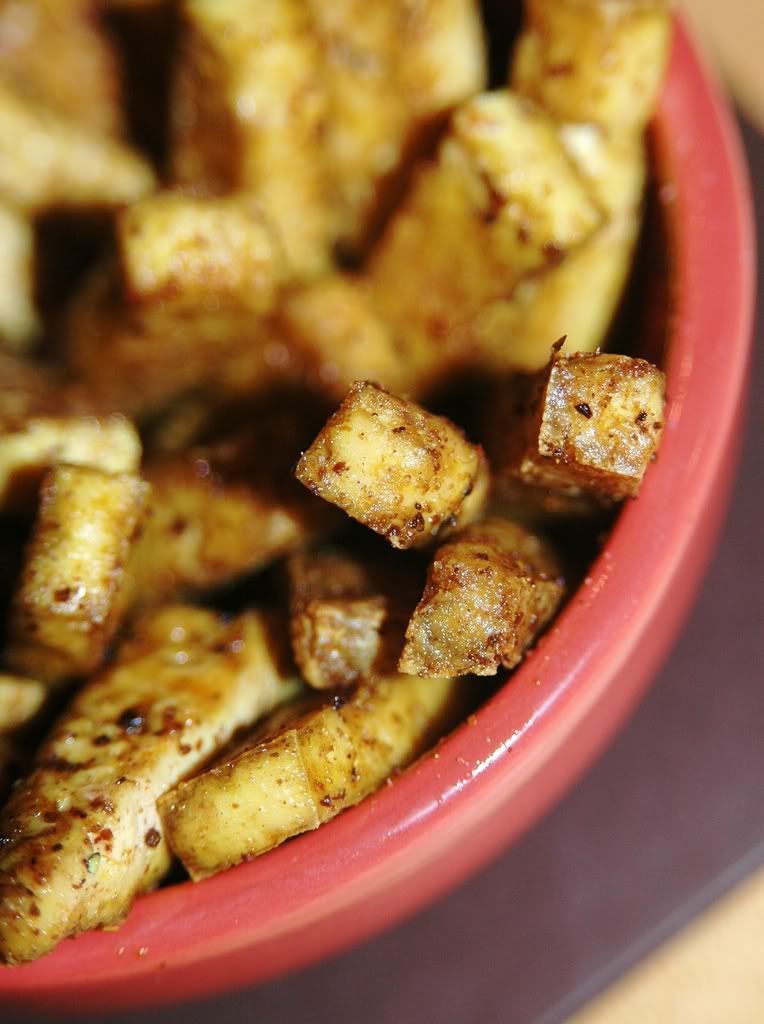
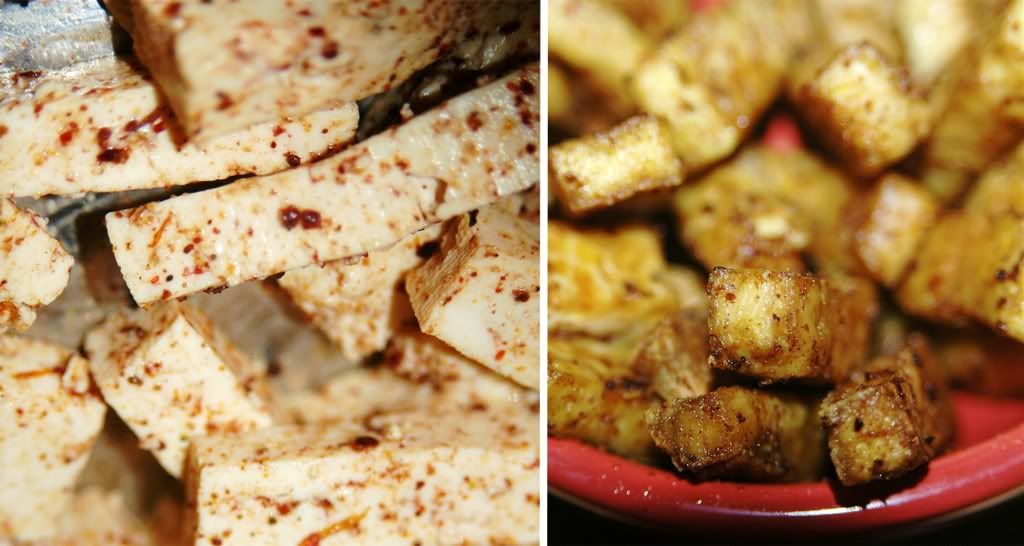
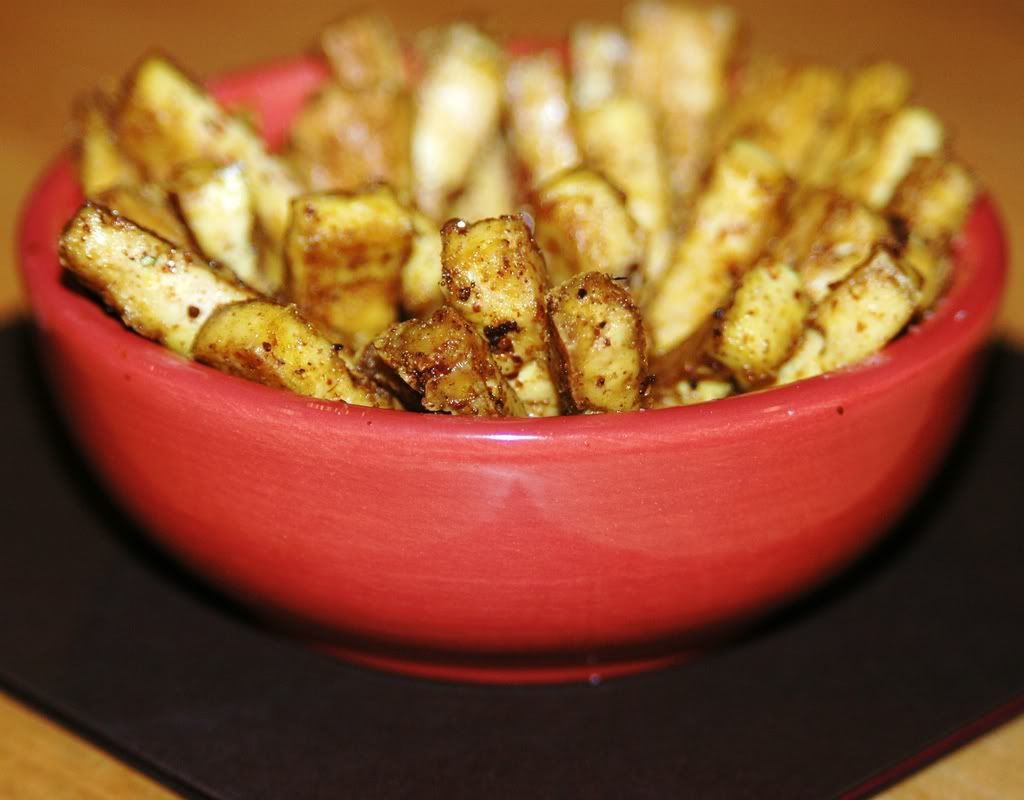
Tofu Crisps
Nosh 'em while you work!

Servings: several tens of crisps

1 package extra firm tofu (we often use Nasoya - the texture is very reliable :))
2 T sumac powder
2 T sesame seeds
2 dried red chillies (feel free to up this if you want some serious zingers!)
2 t mustard seeds
2 t middle-eastern saffron
sea salt to taste
4 T extra virgin olive oil

Set the oven to broil.
Lightly saute the sesame seeds, red chillies and mustard seeds in a shallow pan for 1-2 minutes.
Grind these along with the sumac and saffron to a coarse powder.
Add salt and the olive oil to this seasoning and stir till well-blended.

Remove the tofu from the liquid in pack and pat it dry.
Slice the tofu into long thin strips (about 2"-3" long and 1/2" thick) - kind of like french fries.
Toss the tofu strips in the oil+seasoning till the strips are coated well with the spices.
Throw the tofu into a baking pan and broil the pieces till the excess moisture has evaporated and the tofu is browned and crispy.

NOTE:

A toaster oven works perfectly for this. Just set the heat setting to 'Broil' and push the 'Toast' lever down so that both the upper and lower elements are on and the tofu can get uniformly browned.


Opinion?

These crisps rocked! They're an awesome alternative to baked potato or sweet potato fries! And they work really well in a salad or with a sandwich. We ended up eating them with mushroom&black-eyed peas burgers -and yes, those warrant a whole different blog post :)

Monday, May 5, 2008

Chaat - Bollywood style!


Bollywood ...

Crazy hindi movies ... guy and gal running around trees ... melodrama with moms and moms-in-law ... crazy villain dude coming after defenseless heroine ... hero flexing his skimpy muscles as he pounces on the villain and his cronies and beats them to pulp ... guy and gal dancing on a train ... the plots go on and on ... and on! :)

The most popular question ever encountered about desi movies:

"So, are all Bollywood movies musicals?"

No! Atleast, I think not :) I mean, bollywood movies have oodles of songs, and folks break out into dance at every opportunity ... but they aren't "musicals", just doesn't seem right to brand them such ... guess they're just insanity-filled movies with tons of music? Does that even make any sense? :)

Anyway, Meeta set off ripples of excitement when she picked Bollywood Cooking as the theme for the current edition of Monthly Mingle. Who doesn't want to think of crazy indian movies and delicious food at the same time?

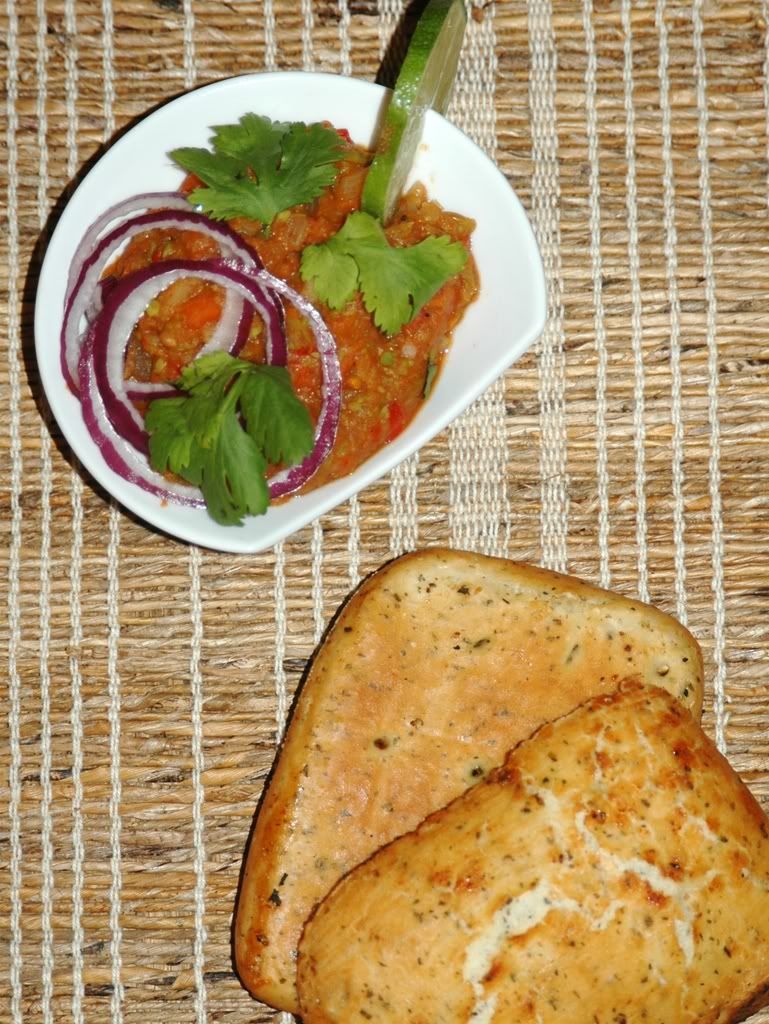
So, what food could be quintessential Bollywood? Chaat is the first thing that came to mind! "Chaat" literally means "to taste or to lick", so how about some chatpata chaat to honour Bollywood? And what food epitomizes Bombay more than Pav Bhaji? It is probably only rivaled by Vada Pav - and after eating that on the streets of Bombay, there is no way in hell I'm attempting to replicate it. Some things are best preserved in memory, and vada pav is one such thing ... until I can troll those dusty Bombay streets for some'o'that vada love!

So ... what is Pav Bhaji? Simply put, a motley assortment of veggies mashed together on a flat tava and cooked up with tomato puree, some spices, a wonk of butter? Throw in some pan-fried bread, sliced up onions, slivers of lime ... and you're in heaven!


****

According to Wikipedia:

The origin of this dish is traced to the heyday of the textile mills in Mumbai. The mill workers used to have a short break for lunch. A full lunch which was not rushed probably needed more time than what was available. A light lunch was also preferred given that physical work followed immediately. A vendor understood this and came up with this dish using items or parts of them available on the menu. The role of Indian bread or rice was taken up by pav and the curries that usually go with Indian bread or rice were amalgamated into just one spicy concoction-the ‘bhaji’. Thus was born– the celebrated pav-bhaji!

Initally, it remained as the food of the mill-workers. The dish was then patronized extensively by the upcoming Mumbai underworld. This resulted in the dish finding its way into restaurants and spreading over Central Mumbai and other areas. The pav bhaji was made famous by the various roles played by Bollywood heroes as pav bhaji vendors, notable amongst them being the one played by Sanjay Dutt in the movie Vaastav.


Ooo ... an obvious Bollywood connection! I couldn't ask for more than that :)

****

Anyway, PB recipes are a dime a dozen - often guarded jealously to protect the "secret" ingredients. But then again, it is one of the most flexible chaat recipes - most random assortments of veggies usually do the trick. Obviously, the flat tava on the open fire adds the ultimate flavour ... along with the flitting flies and the street smells!


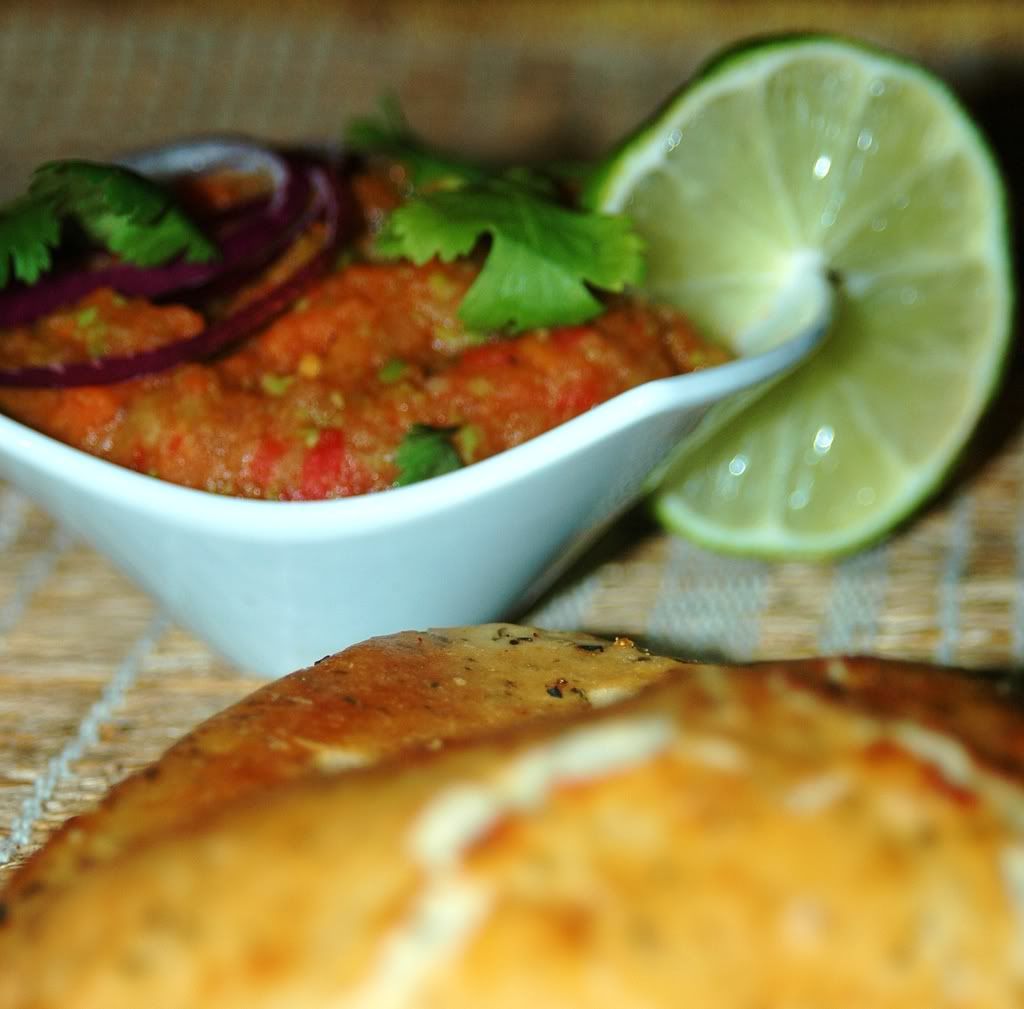
Chatpata Pav Bhaji
Bollywood ishtyle! :)

Servings: 4

1 small vidalia onion - finely chopped
5 cloves garlic - minced
1" ginger - minced
3 green chillies - sliced long
2 cups frozen peas
2 carrots - chopped
2 medium yukon gold potatoes - chopped
1 red bell pepper - chopped
1 tomato - chopped fine
5-6 T San Marzano tomato puree
2 T pav bhaji masala
1 t sumac powder
1 t red chilli powder
3 T lime juice
2 T butter
salt to taste

Garnish

Slices of limes
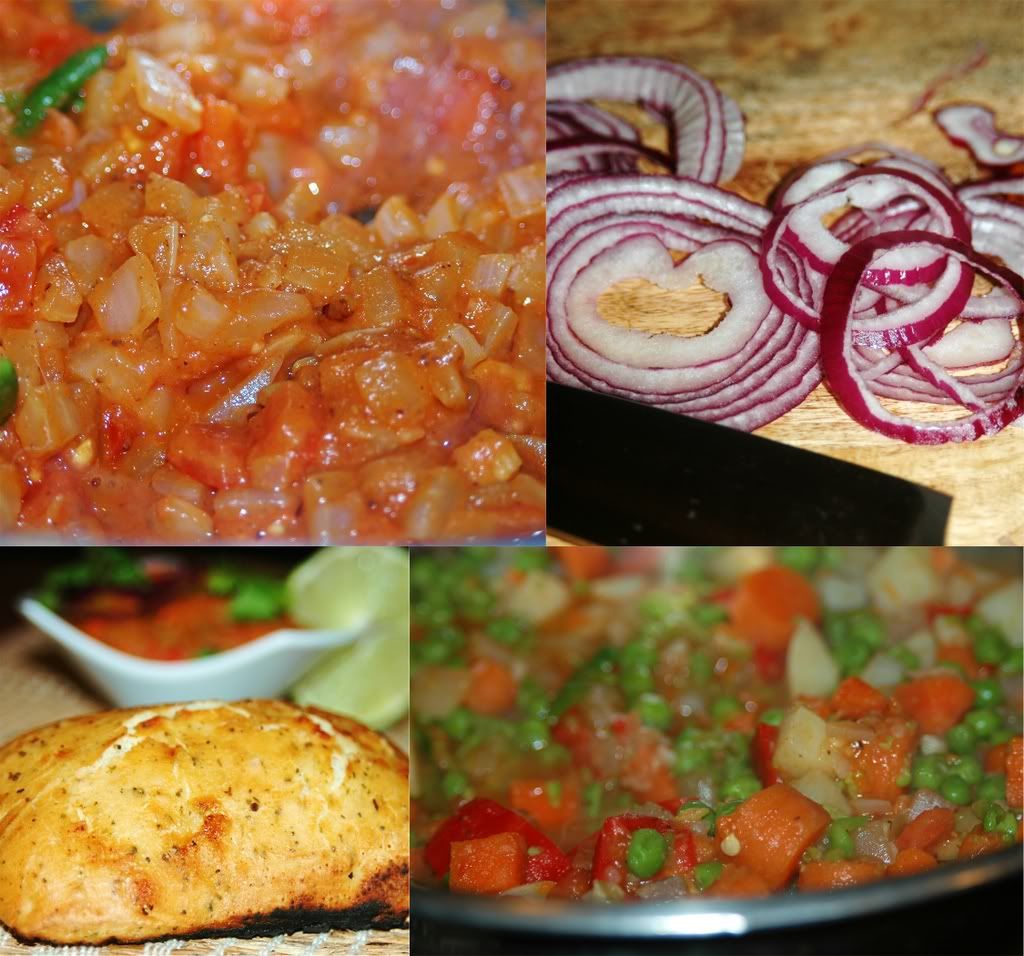
Thin rings of red onions
Cilantro

Steam the veggies (potatoes, carrots, peas and bell peppers) till well-cooked (Alternatively, you can throw them into a pressure cooker)
In the meantime, heat 1 T of butter in a shallow wok and saute the onions till they start to brown.
Throw in the ginger, garlic and green chillies and saute some more.
Add 3 T of the tomato puree and cook for a couple more minutes.
Add the sumac powder and red chilli powder along with the chopped tomatoes and simmer for 2-3 minutes.
Once the veggies are cooked, add them to the wok and stir.
Mash the vegetables with a potato masher or a hand blender.
Add the pav bhaji masala and remaining tomato puree and cook covered for 2-3 minutes.
Add 1 T butter and stir for a few more minutes.

Seriously, the longer the veggies simmer together, the better the flavours blend. And if you can get your hands on a giant flat tava, go for it! :)

Season with salt and take off the stove.
Stir in the lime juice after a couple of minutes.

We served the bhaji with slices of lightly buttered herbed bread browned over open fire.

****

Notes:

* We just happened to have our homemade pav bhaji masala on hand, I'll remember to post the recipe for it later this week.
* Most PB recipes call for cauliflower, but we skipped it this time around. And we didn't really miss it.
* San Marzano tomato puree honestly kicks ass - the ultimate plum tomato flavour, if you can get your hands on it, don't settle for anything else!

****

Opinion?

Mmm ... *so* close to the real thing. I closed my eyes and I could see Junior Dutt-saheb dishing out plates of PB on Juhu beach (I have no idea if he really did that in the movie!) :)


Off this goes to Meeta for MM. This is *so* not a glamorous or elegant dish by any means, but it seems so evocative of the sights, sounds and smells of Bollywood. Besides, I can't imagine this hunk ever declining a plate of Pav Bhaji!


P.S.: I finally get to pay homage to the very first song in my running mix :)

Wednesday, April 30, 2008

Click a 'shroom or 3?

Au Naturel.

Endless possibilities ...

Which just means I'm stumped.

And it gives me infinite reasons to procrastinate :)

15 minutes till the deadline. Guess this will have to be it.


Details:

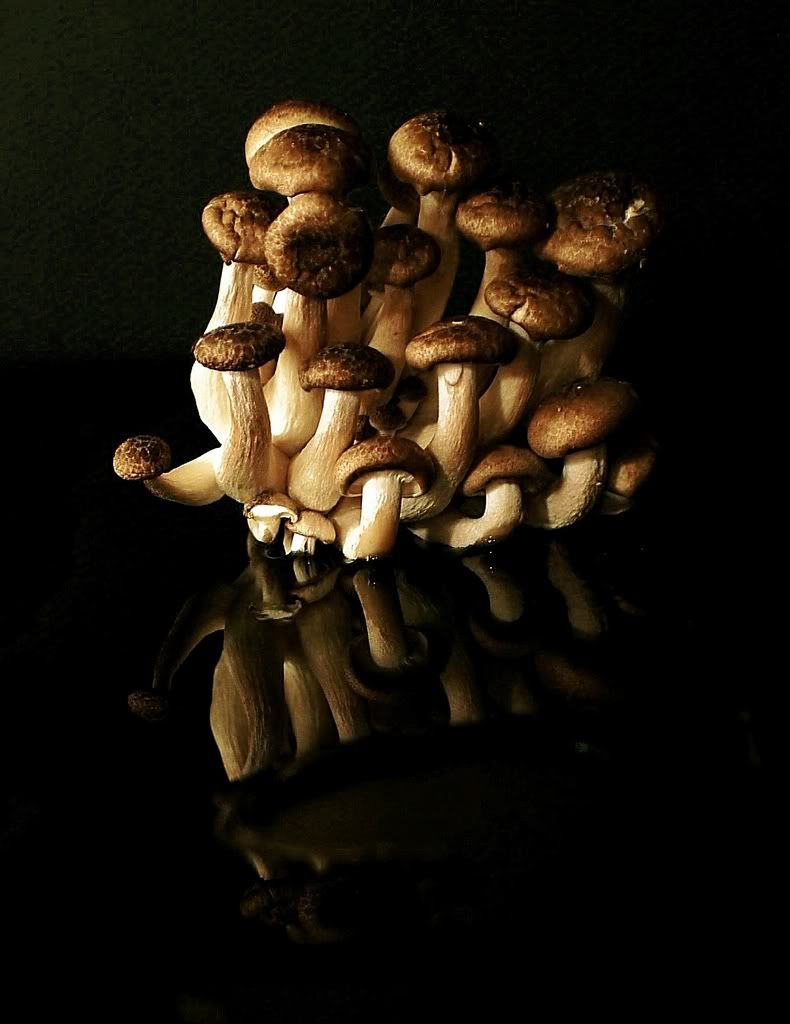
Pic: Hon-Shimeji mushrooms
Camera: Leica Digilux 3
Kit Lens
No tripod, but lots of gyrating was involved

10 minutes ... Damn, Bee is going to kill me! :)

Monday, April 28, 2008

Eat a cheesecake pop, will you?


When I first read about cheesecake pops being the DB challenge for April, it took me a while to figure out what these crazy things were. I had to read and re-read the recipe before understanding how these pops got done. They're made of cheesecake, but there's more to them. They look like lollipops, but that isn't what they are. They need to be frozen, but they are not icecream. They're a crazy olio of dessert techniques leading up to these really fun looking finger foods! Crazy, eh? There's a DB challenge for you :)

This month's challenge was organized by Elle (Feeding My Enthusiasm) and Deborah (Taste and Tell)- they picked these funky cheesecake pops from Sticky, Chewy, Messy, Gooey by Jill O'Connor. Seriously, this is the perfect title for a book that has a recipe for cheesecake pops! They're gooey all right, was quite a bit messy assembling them, sticky - a bit ... chewy - somewhat :) I've never baked anything from this book before, now I'm totally intrigued about what other quirky recipes it contains!

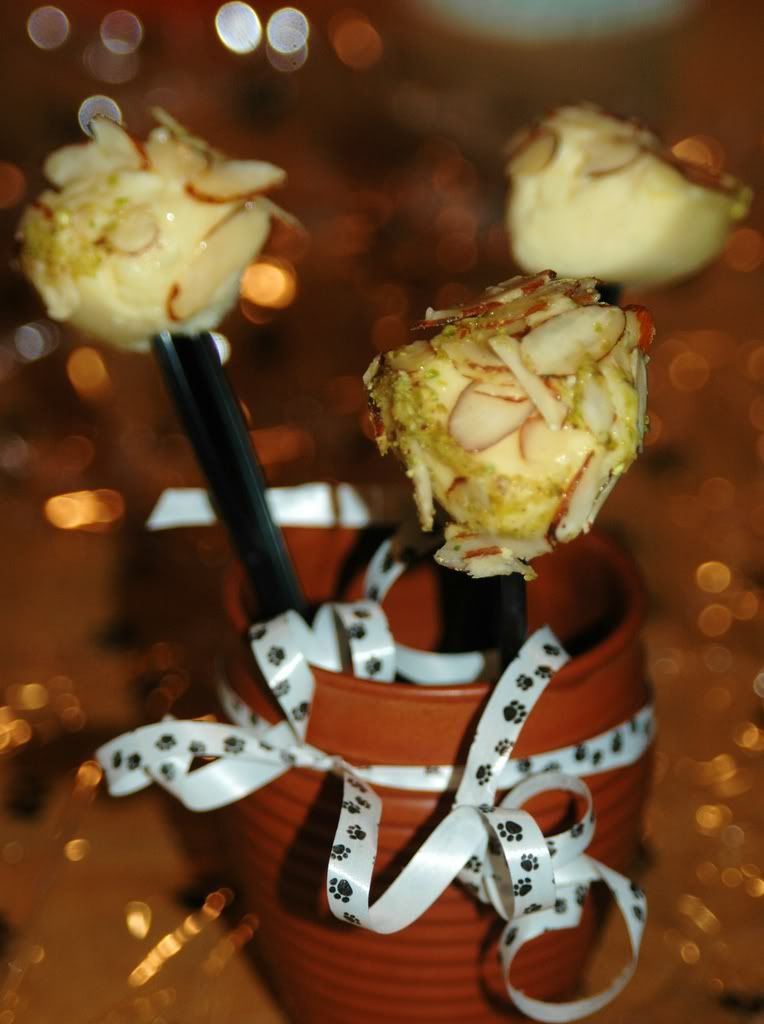
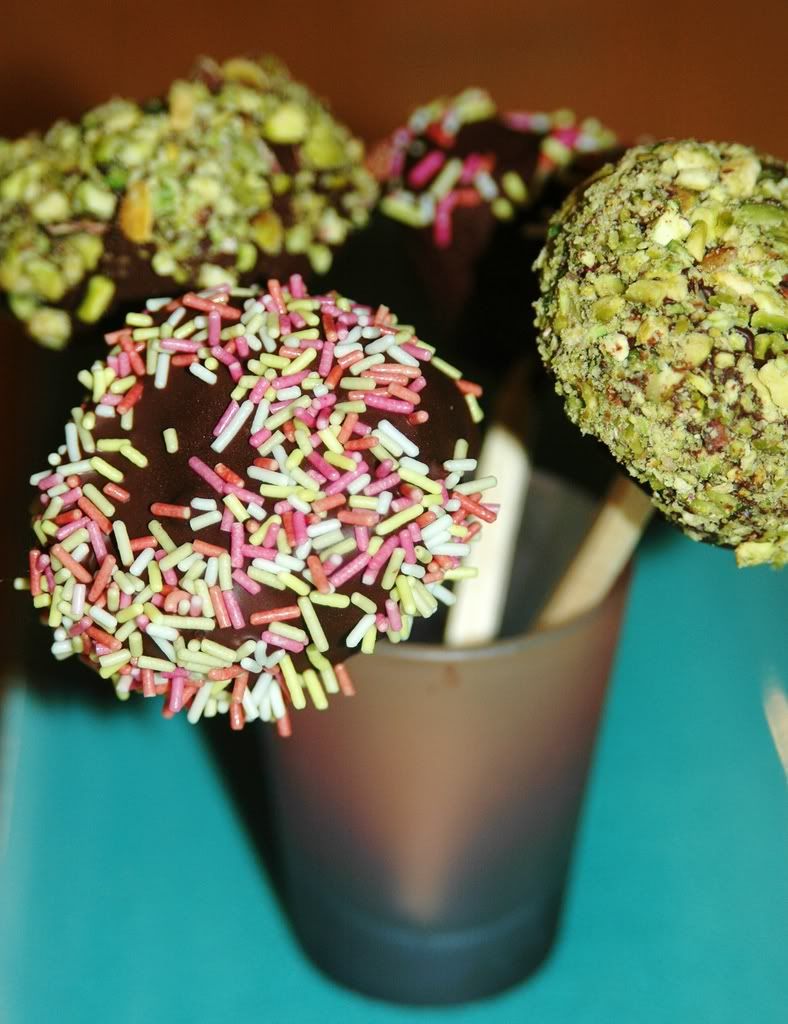
These cheesecake pops make for the perfect party food. And given that tomorrow is Vodka's b'day, I decided to tailor these for him. A few pops got the prescribed chocolate dunk, but a few others were set aside for Vodka - they got a yummy crust of sliced almonds in a vodka-honey sauce. That's the tradition - for the 9th year running - the pooch gets a Vodka-based dessert on his birthday :)

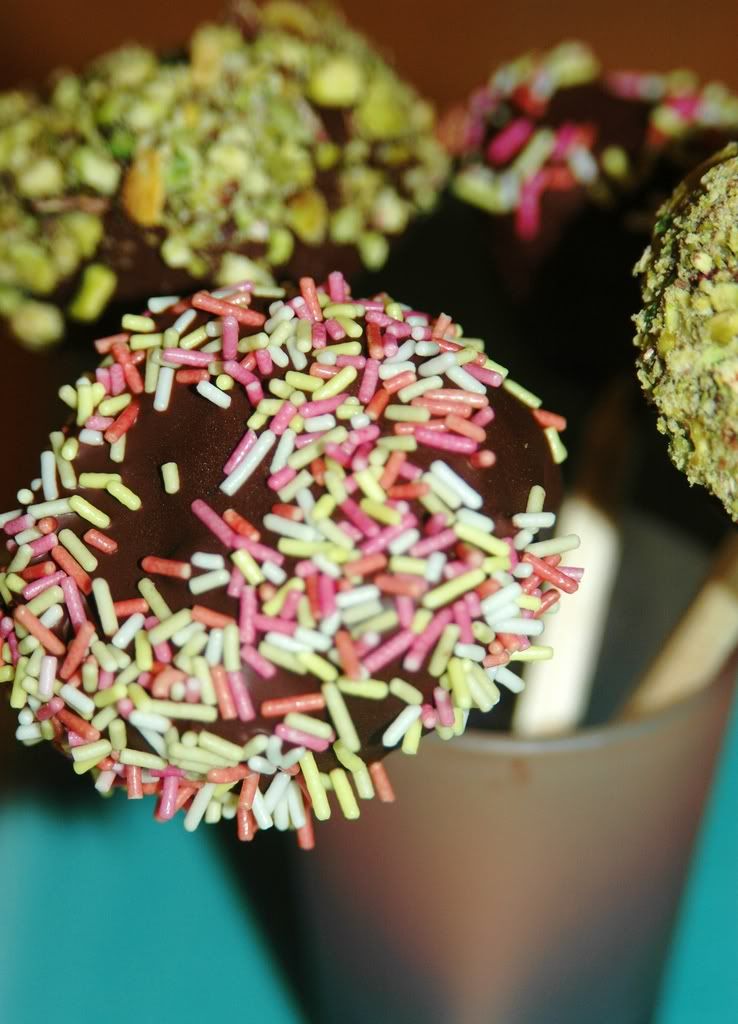
This was actually a really simple and straightforward recipe - a basic cheesecake baked using a water bath. There is plenty of flexibility in the dipping flavours and colours which was fun! I ended up going for the traditional cheesecake balls instead of any fancy geometric shapes, but the fun started with the dipping and decorations. The first few got dunked in semisweet chocolate and topped with sprinkles - very festive! And then Vodka's preferences took over - which made for a big hit!

****


Cheesecake Pops
(based on Jill O'Connor's recipe from Sticky, Chewy, Messy, Gooey)

Makes 30 – 40 Pops

5 8-oz. packages cream cheese at room temperature
2 cups sugar
¼ cup all-purpose flour
¼ teaspoon salt
5 large eggs
2 egg yolks
2 teaspoons pure va
nilla extract
¼ cup heavy cream
Boiling water as needed
Thirty to forty 8-inch lollipop sticks
1 pound chocolate, finely chopped – you can use all one kind or half and half of dark, milk, or white (Alternately, you can use 1 pound of flavored coatings, also known as summer coating, confectionary coating or wafer chocolate – candy supply stores carry colors, as well as the three kinds of chocolate.)
2 tablespoons vege
table shortening
(Note: White chocol
ate is harder to use this way, but not impossible)
Assorted decorations such as chopped nuts, colored jimmies, crushed peppermints, mini chocolate chips, sanding sugars, dragees) - Optional

Position oven rack in the middle of the oven and preheat to 325 degrees F. Set some water to boil.

In a large bowl, beat together the cream cheese, sugar, flour, and salt until smooth. If using a mixer, mix on low speed. Add the whole eggs and the egg yolks, one at a time, beating well (but still at low speed) after each addition. Beat in the vanilla and cream.

Grease a 10-inch cake pan (not a springform pan), and pour the batter into the cake pan. Place the pan in a larger roasting pan. Fill the roasting pan with the boiling water until it reaches halfway up the sides of the cake pan. Bake until the cheesecake is firm and slightly golden on top, 35 to 45 minutes.

Remove the cheesecake from the water bath and cool to room temperature. Cover the cheesecake with plastic wrap and refrigerate until very cold, at least 3 hours or up to overnight.

When the cheesecake is cold and very firm, scoop the cheesecake into 2-ounce balls and place on a parchment paper-lined baking sheet. Carefully insert a lollipop stick into each cheesecake ball. Freeze the cheesecake pops, uncovered, until very hard, at least 1 – 2 hours.

When the cheesecake pops are frozen and ready for dipping, prepare the chocolate. In the top of a double boiler, set over simmering water, or in a heatproof bowl set over a pot of simmering water, heat half the chocolate and half the shortening, stirring often, until chocolate is melted and chocolate and shortening are combined. Stir until completely smooth. Do not heat the chocolate too much or your chocolate will lose it’s shine after it has dried. Save the rest of the chocolate and shortening for later dipping, or use another type of chocolate for variety.

Alternately, you can microwave the same amount of chocolate coating pieces on high at 30 second intervals, stirring until smooth.

Quickly dip a frozen cheesecake pop in the melted chocolate, swirling quickly to coat it completely. Shake off any excess into the melted chocolate. If you like, you can now roll the pops quickly in optional decorations. You can also drizzle them with a contrasting color of melted chocolate (dark chocolate drizzled over milk chocolate or white chocolate over dark chocolate, etc.) Place the pop on a clean parchment paper-lined baking sheet to set. Repeat with remaining pops, melting more chocolate and shortening (or confectionary chocolate pieces) as needed.

Refrigerate the pops for up to 24 hours, until ready to serve.

****

Allowed Variations

Yes you can make some changes to this cheesecake as long as you promise to use the basic cheesecake recipe (although you can add a flavor to it if you like) and do keep it white (sorry, no chocolate or coffee or mocha), and keep the pops to the 2 ounce size.

The dipping flavors and colors are completely up to you.

If you want to use decorations, go for it. Same with drizzles and ribbons on the sticks. Or leave them plain after dipping them. You can even dip them in graham cracker crumbs and then the chocolate – to get more of the cheesecake feel to them.

You can cut the cheesecake into geometric shapes instead of making balls…triangles or squares or diamonds…just keep them about 2 ounces each. We can't wait to see what combinations our Daring Baker come up with…just make sure to use the basic cheesecake recipe, to make the pops 2 ounces or close to that in size, and to dip each pop in chocolate or confectionary coating and have it on a lollipop stick.


Opinion?

This isn't my typical kind of dessert, I'm not even a big cheesecake fan, but these things turned out pretty good! I was afraid the cheesecake was going to be super dense, but it was actually pretty light - probably courtesy of a couple of changes I made to the recipe - I used neufchatel cheese instead of regular cream cheese, I skipped the egg yolk and heavy cream in favour of a couple of tablespoons of silken tofu - these made for a much lighter cheesecake! Dipping the pops in chocolate was a cinch, rolling them in sprinkles and nuts was ... a piece of cake! :)


The best part of it all was that Vodka absolutely loved his treats and then sat around licking his chops for a while after! :)


Thanks, Elle & Deborah for this really really fun challenge. I had a blast and Vodka is thrilled to bits - nothing like making a pooch happy on his birthday!

And now it is time for me to stay up all night checking out all the other awesome DB posts!

Wednesday, April 23, 2008

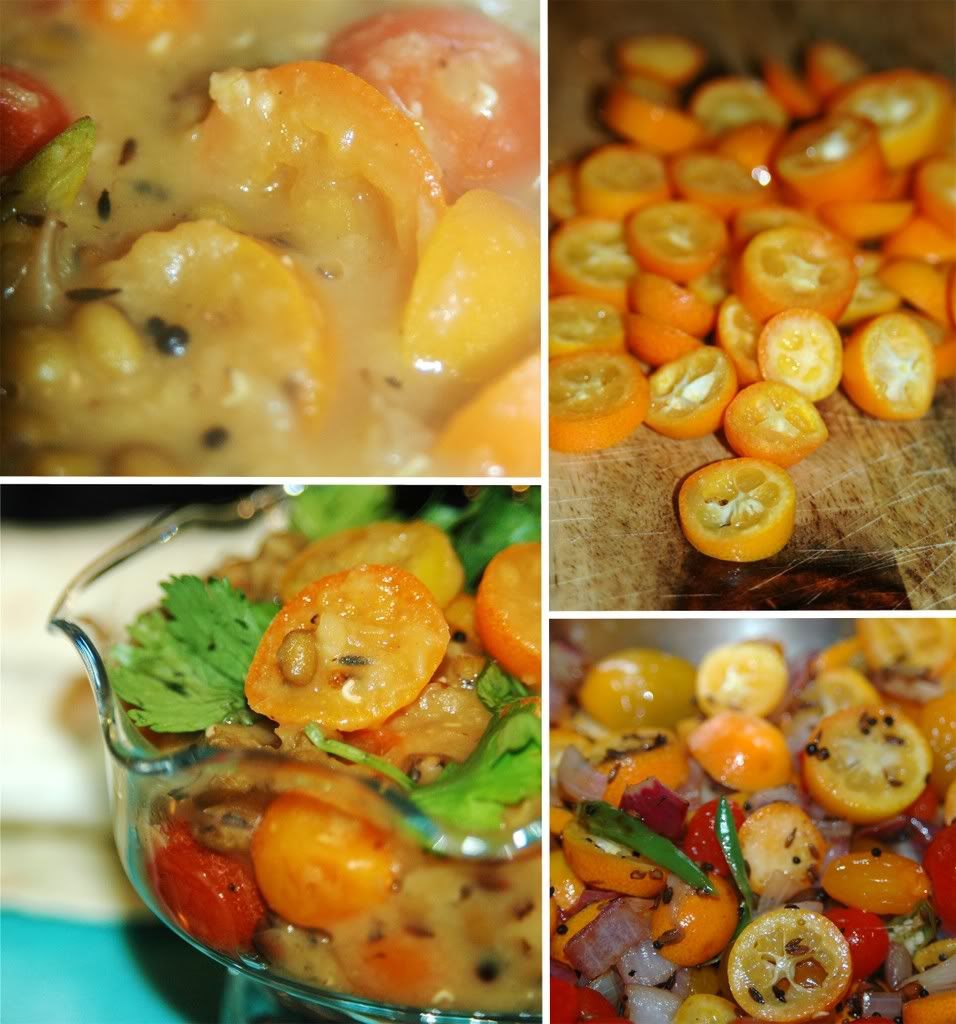
Sweet'n'Tangy Kumquat Daal


We chanced upon some kumquats at Uwajimaya a few days ago. And I couldn't hold my curiosity any longer. So, we bought a bunch of them even as we kept wondering what we'd do with them! I'd eaten them raw a couple of times and liked them as long as they were perfectly ripe and juicy (except for the damn seeds which are bitter and sometimes a weird blue in colour!)

And I realized earlier today that these crazy cute fruits are the theme for April's round of AFAM. Hmm ... we'd come full circle. Now, we had to come up with a recipe for these crazy cute citrus fruits! I poked around on the web - the most interesting recipes I came up with were Elise's salsa, Sig's cocktail and a few relish ideas on CookingLight, all of which sounded delicious :) But I was hoping for an idea for a main dish for dinner. Hmm ...

Anyway, I love this whole AFAM idea. By the time we end up working with a fruit, we've read so much about it, I feel like I have a new best friend :) Before today, we'd seen kumquats, tasted them, we knew they belonged to the citrus family ... that's about it. And now, I'm a minor font of information!

  • Kumquats are not part of the citrus family, but are related to it and belong to the genus Fortunella. The slow growing trees produce 80-100 fruits a year.
  • Kumquats readily hybridize with citrus fruits to produce limequats and orangequats - hmm ... these could be the makings of a comic series!
  • Kumquats make for a great martini garnish and can be macerated in vodka or any clear spirit.
  • Candied kumquats are pretty popular in China.

Back to our recipe search ... after much dithering, we finally decided to experiment with a daal recipe! Simple lentil flavours can never be wrong, right? :) And we're huge fans of raw mango daal - the tartness is so overwhelmingly delicious. Maybe we would enjoy the flavour of kumquats too!


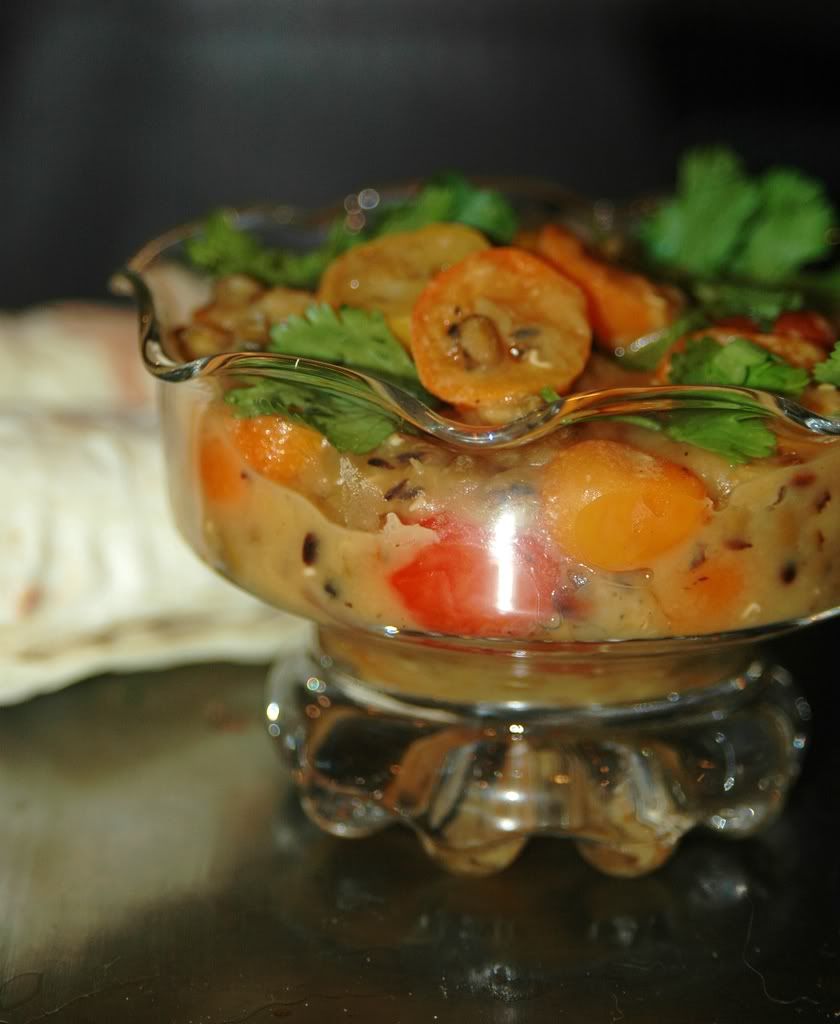
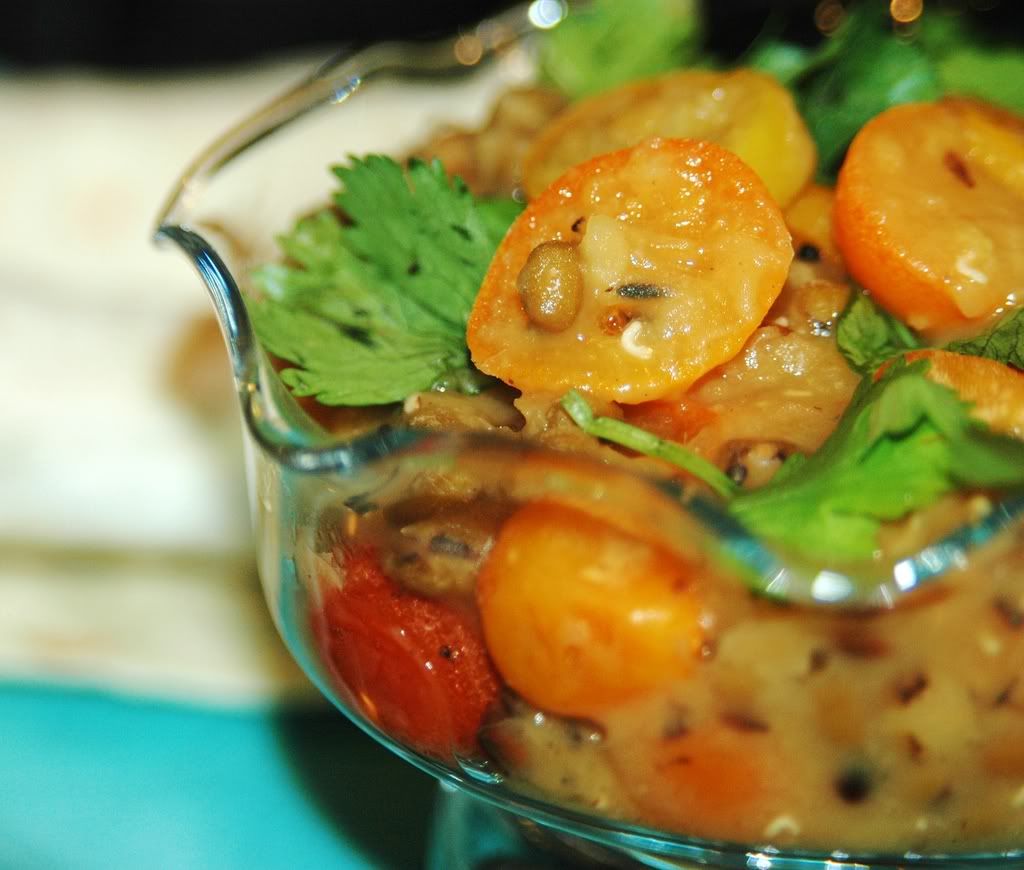
Sweet'n'Tangy Kumquat Daal
Little bits of juicy goodness

Servings: 4-6

1/3 red onion - diced
20+ cherry tomatoes
4 thai green chillies
20 kumquats - sliced and deseeded
1 cup whole moong daal
1 cup masoor daal
1 T sesame oil
1 t cumin seeds
1 t mustard seeds
1 t urad daal
1 t turmeric powder
salt to taste
Chopped cilantro for garnish

Rinse the moong and masoor daal and cook with 4 cups of water either in a pressure cooker or on the stove.
Heat the oil in a wok, add the mustard, cumin and urad daal and let them splutter.
Add the green chillies and onions and saute till the onions start to brown (4-5 minutes).
Throw in the kumquats and tomatoes along with the turmeric and saute for another 4-5 minutes.
Add 1/2 cup of water and simmer for 2-3 minutes.
Add the cooked lentils, season with salt and simmer for 1-2 minutes for the flavours to blend.
Garnish with chopped cilantro.

Opinion?

Wooo Hoo Hoo! Love it! Those crazy little kumquats rock! The daal just oozed with this sweet+tangy citrus flavour. And the sauteed kumquats softened up and tasted *so* juicy and chewy. Yay! Happy :)


Off this goes to Coffee and Vanilla who is hosting this month's edition of AFAM (Maheshwari's brainchild). Thanks to both of them for organizing this fruit fest!

And we're so hooked onto these fruits, we already have a couple of other ideas for working with them! Expect to see a post about this in the next week or two!

Sunday, April 20, 2008

Silly Fusilli!

Estelle Costanza: Where have you been? You were supposed to fix the stove! I've been waiting for hours!
Frank Costanza
: I fell on some Fusilli!

Estelle Costanza: Fusilli?
Frank Costanza: You know, the corkscrew pasta. It was a Fusilli Jerry. It got stuck in me. Had to go to the proctologist.

~Seinfeld, Episode: The Fusilli Jerry

****


Could I ever cook fusilli with a straight face after watching this? :) Guess not! As long as I can keep cooking and eating fusilli, I'm happy - straight face, screwy face, who cares! :)

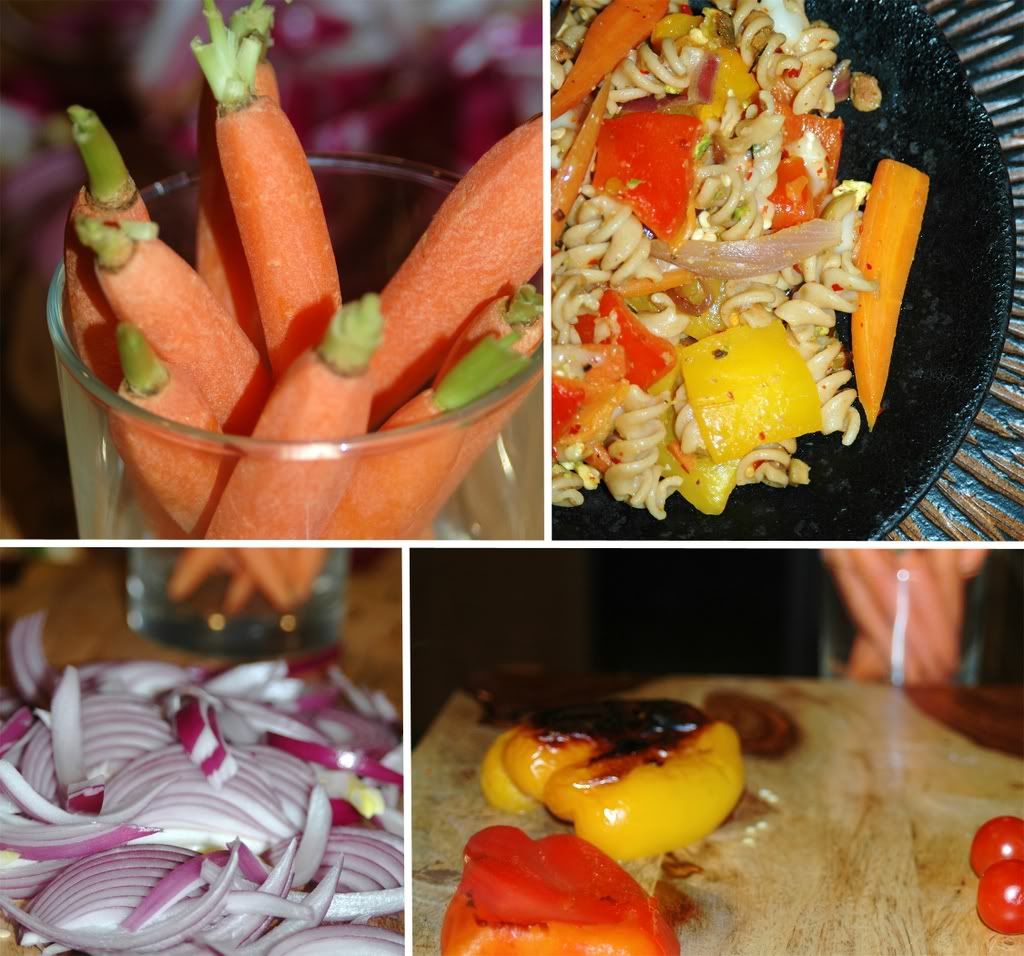
This was one of those meals thrown together when we were craving healthy carbs - we had whole wheat fusilli on hand, a slew of bell peppers waiting to be worked with ... some onions, garlic, a slew of juicy baby carrots ... let's get the meal on!


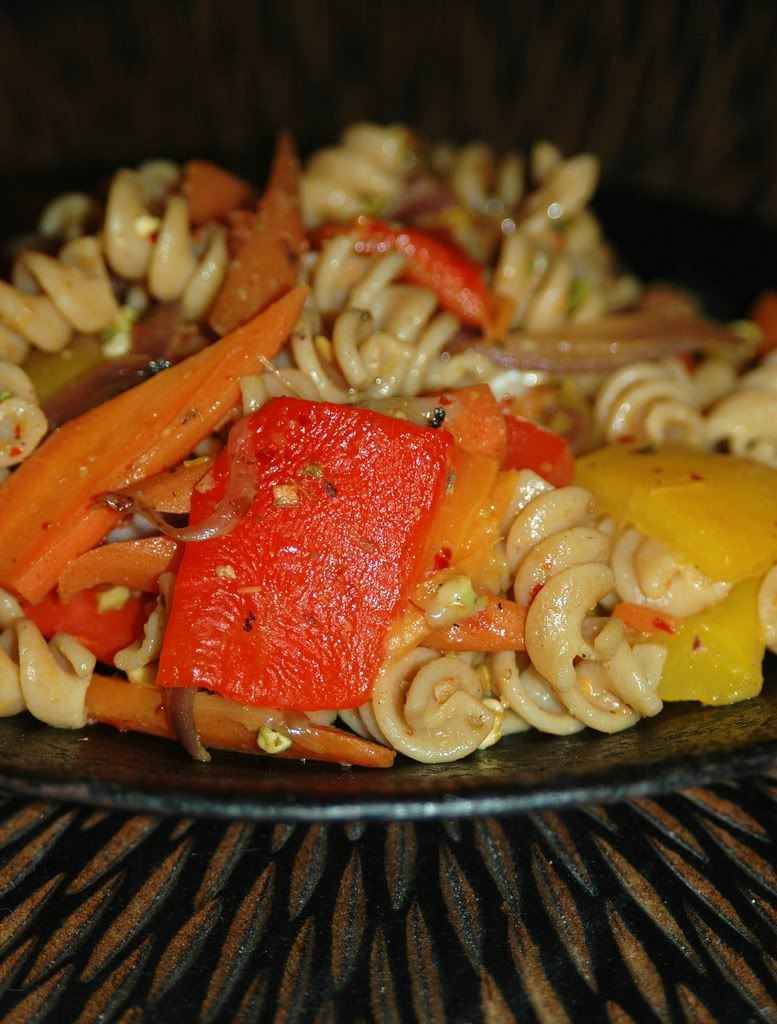
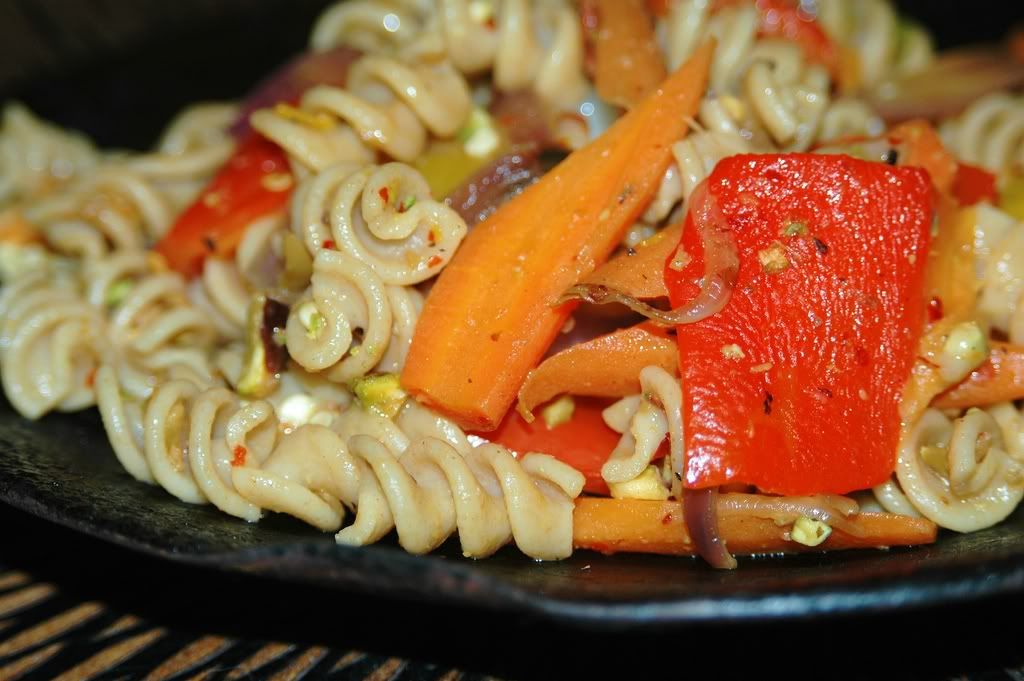
Fusilli with Peppers, Carrots and Onions
Damn, that corkscrew pasta tastes good! :)

Servings: 4

1 lb red and yellow bell peppers
3 T olive oil
1 large red onion - thinly sliced
8-10 baby carrots - cut into long chunks
4 cloves garlic - minced
1 lb whole wheat fusilli
salt, freshly ground black pepper
freshly grated Parmesan cheese
3 T finely chopped fresh parsley


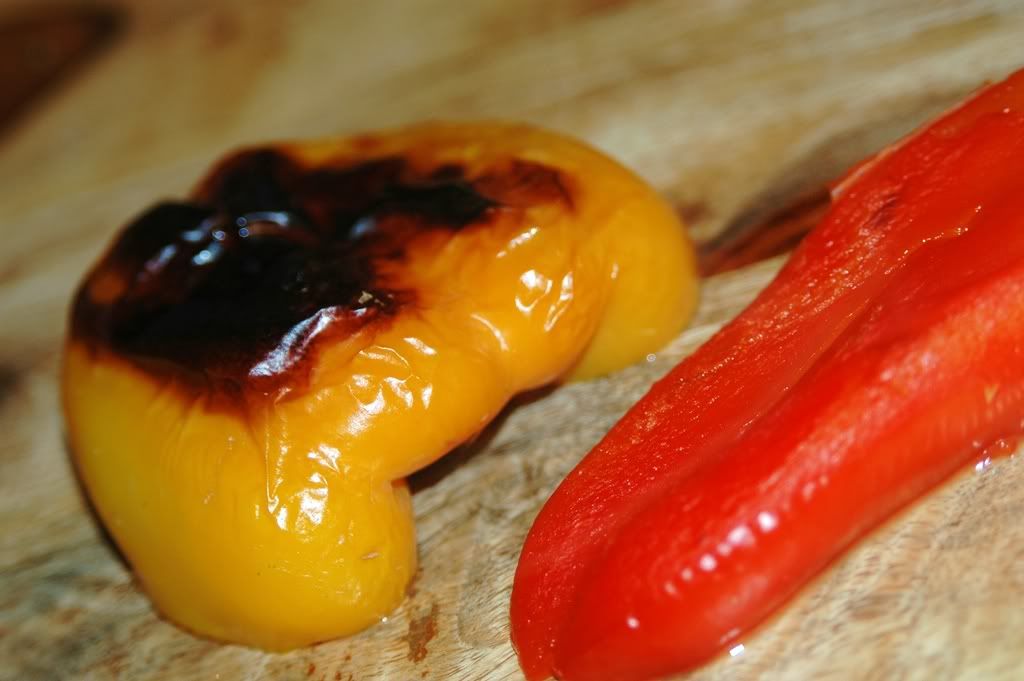
Place the peppers under a hot broiler and turn occasionally until they're blackened on all sides. Turn off the broiler and let the peppers sit for 5-10 minutes.
Peel the peppers, cut them into chunks and remove the stems. Most recipes ask for the seeds to be discarded, but we like the pungent zing of the seeds, so we usually incorporate them in our recipes.
Bring a large pot of water to a boil. Add salt and the pasta to the boiling water and cook until the pasta is just al dente.
Heat the oil in a large frying pan. Add the onions and cook over moderate heat till translucent (about 5-8 minutes).
Stir in the garlic and cook for another couple of minutes.
Now, add the carrot chunks and saute for 3-4 minutes.
Throw in the peppers and mix together gently.
Stir in about 3-4 T of the pasta water and continue to stir.
Season with salt and pepper, and stir in the parsley.
Drain the pasta and tip it into the pan with the vegetables.
Cook over moderate heat for 2-3 minutes, stirring constantly to mix the pasta into the sauce.

Serve topped with Parmesan.

****

Those who forget the pasta are condemned to reheat it.
~Author Unknown


Opinion?

Simple, flavourful, insanely quick! And honestly, being condemned to reheat the pasta sounds like a pretty good option to me :)

A certified candidate for Ruth's Presto Pasta Nights!

Saturday, April 5, 2008

I'm red but not embarassed ...

I'm hot for you, baby
I'm a big old beet
I'm red but not embarassed
and I'm good with meat
Of course, I make an excellent borscht
and I'm hot for you, baby!

The Hot Beet Song from the Brak Show :)

No meat or borscht today. But we're definitely talking about a red beet, red enough to stain our penne :) We're pretty big fans of penne - always seems like the perfect length for pasta, thick and chewy and lately, there seem to be a plethora of varieties that are insanely tasty - like the fabulous whole wheat and flax version carried by TJs.

This recipe was a quick'n'easy thrown together on one of thost post-workout nights when one craves carbs - the healthy kind, made all the better when tosses with an abundance of vegetables. We settled for a whole wheat penne, tossed with marinated beets and a few other vegetables. The killer flavour though was the dry curds we added as an afterthought!

If you haven't tried Sunshine Ithe most common brand of dry curds) as yet, I would strongly recommend it. It is a little hard to find, we've only consistently found it at Whole Foods. These dry curds make for a great substitute for cottage cheese - drier, chunkier, WAY less sodium, tons of protein and they absorb flavours incredibly well. We've used them with pastas, in salads, even in purees for sauces - every single option has worked outstandingly well. And when you're in training and trying to load up on protein, it makes for incredible nutrition, especially for someone who is predominantly vegetarian!

*****


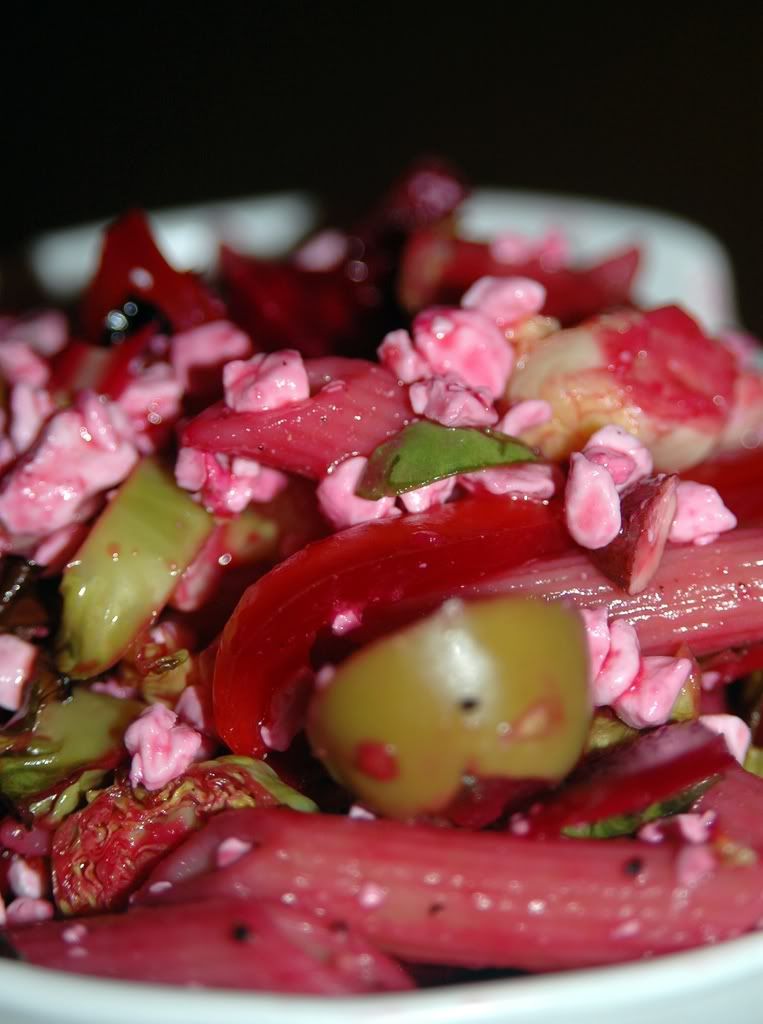
Beet-stained Penne + vegetables
I'm definitely red, but not embarassed :)

Servings: 2

3 cups of whole wheat penne - cooked al dente
1/2 vidalia onion - sliced long
1 red beet -diced
2 T balsamic vinegar
2 T olive oil
8-10 large green olives (pitted)
1 cup Sunshine dry curds
8-10 brussel sprouts - sliced thick
salt, red pepper flakes
1 T dried marjoram

Mix 1 T of olive oil and the balsamic vinegar and toss with the diced beets.
Let the beet bits marinate for about 1/2 hour.

Heat the remaining 1T of olive oil and saute the onions till browned.
Add the sliced brussel sprouts and saute for 3-4 minutes.
If the olives are marinated in brine, wipe them clean and slice them.
Add the olive, salt and marjoram and saute for 1-2 minutes.
Add the cooked penne and toss till all ingredients are well mixed.
Add the dry curds and saute for another minute or 2 on low.
Take off the heat and toss with the beets, add the marinade into the pasta too.
Season with red pepper flakes (and salt) as needed.

*****


Opinion?

Simple and really tasty - we kind of achieved the optimal blend of sweet and tart flavours accentuated with a touch of spice. And the dry curds totally absorbed the juices, making for a succulent addition to the pasta!

Quick? Definitely! Pasta? Hell Yes! Off this goes to Ruth of Once Upon a Feast for Presto Pasta Night. :)

Tuesday, April 1, 2008

Dare to bake a mini cake? :)


Ok, it is time to stop being so damn tardy. No more last minute bakeoffs. No more late posts.

I'm s.e.r.i.o.u.s.

I'll admit that I was initially disappointed when I found March's DB Challenge to be a party cake. Hmm ... I was craving savoury. *grumble* *grumble*. And then the baker kicked in :) Yay! A party cake! And tomorrow is Monte's b'day. Perfect. Wait ... more than perfect! That even gives me an excuse for this delayed post!

Morven picked Dorie Greenspan's Perfect Party Cake from her insanely droolworthy book Baking: From My Home To Yours. If you haven't checked out this book, now is the time to get it. Dorie's recipes are really well written out and she had a fabulous collection in this book.

The really neat thing about Morven's pick was that it gave us a lot of liberty in playing with the flavour and filling of the cake. Sweet! All I needed to do was channel my zen to inflate my cake and then I could totally party with it! Dorie suggested a raspberry filling, but I had this stash of wild boreal blueberries sitting in my fridge, so I decided to use that instead. Also, I went in for a mini-cake - I didn't have tiny "cakelet" pans, so I baked a regular layer cake and used a wide cup for cutting out the mini cakes. Worked pretty well!

I decided to take the plunge and veer away from the buttercream and coconut toppings. Instead, for the filling, I went with a lightly sweetened and buttered bluberry filling. And for the topping, I went in for a "fake" bitter chocolate ganache. Ok, no cringing allowed here - I made a ganache with chocolate and silken tofu and chilled it before slathering it all over the cakes. It turned out surprisingly good, the 72% dark totally rocked here. And I have no qualms indulging in this "tofanache" if I feel like going light!

This recipe was insanely easier than expected. Then again, with Dorie behind it, I shouldn't have been surprised! Thanks Morven, for the fine pick :)

***


***

The Perfect Party Cake
(adapted from Dorie Greenspan's Baking: From My Home To Yours)

For the Cake

2 1/4 cups cake flour
1 tablespoon baking powder
½ teaspoon salt
1 ¼ cups whole milk or buttermilk (I prefer buttermilk with the lemon)
4 large egg whites
1 ½ cups sugar
2 teaspoons grated lemon zest
1 stick (8 tablespoons or 4 ounces) unsalted butter, at room temperature
½ teaspoon pure lemon extract

For the Buttercream

1 cup sugar
4 large egg whites
3 sticks (12 ounces) unsalted butter, at room temperature
¼ cup fresh lemon juice (from 2 large lemons)
1 teaspoon pure vanilla extract

For Finishing

2/3 cup seedless raspberry preserves stirred vigorously or warmed gently until spreadable

About 1 ½ cups sweetened shredded coconut

Getting Ready

Centre a rack in the oven and preheat the oven to 350 degrees F. Butter two 9 x 2 inch round cake pans and line the bottom of each pan with a round of buttered parchment or wax paper. Put the pans on a baking sheet.


To Make the Cake

Sift together the flour, baking powder and salt.
Whisk together the milk and egg whites in a medium bowl.
Put the sugar and lemon zest in a mixer bowl or another large bowl and rub them together with your fingers until the sugar is moist and fragrant.
Add the butter and working with the paddle or whisk attachment, or with a hand mixer, beat at medium speed for a full 3 minutes, until the butter and sugar are very light.
Beat in the extract, then add one third of the flour mixture, still beating on medium speed.
Beat in half of the milk-egg mixture, then beat in half of the remaining dry ingredients until incorporated.
Add the rest of the milk and eggs beating until the batter is homogeneous, then add the last of the dry ingredients.
Finally, give the batter a good 2- minute beating to ensure that it is thoroughly mixed and well aerated.
Divide the batter between the two pans and smooth the tops with a rubber spatula.
Bake for 30-35 minutes, or until the cakes are well risen and springy to the touch – a thin knife inserted into the centers should come out clean
Transfer the cakes to cooling racks and cool for about 5 minutes, then run a knife around the sides of the cakes, unfold them and peel off the paper liners.
Invert and cool to room temperature, right side up (the cooled cake layers can be wrapped airtight and stored at room temperature overnight or frozen for up to two months).

To Make the Buttercream

Put the sugar and egg whites in a mixer bowl or another large heatproof bowl, fit the bowl over a plan of simmering water and whisk constantly, keeping the mixture over the heat, until it feels hot to the touch, about 3 minutes.
The sugar should be dissolved, and the mixture will look like shiny marshmallow cream.
Remove the bowl from the heat.
Working with the whisk attachment or with a hand mixer, beat the meringue on medium speed until it is cool, about 5 minutes.
Switch to the paddle attachment if you have one, and add the butter a stick at a time, beating until smooth.
Once all the butter is in, beat in the buttercream on medium-high speed until it is thick and very smooth, 6-10 minutes.
During this time the buttercream may curdle or separate – just keep beating and it will come together again.
On medium speed, gradually beat in the lemon juice, waiting until each addition is absorbed before adding more, and then the vanilla.
You should have a shiny smooth, velvety, pristine white buttercream. Press a piece of plastic against the surface of the buttercream and set aside briefly.

To Assemble the Cake

Using a sharp serrated knife and a gentle sawing motion, slice each layer horizontally in half.

Put one layer cut side up on a cardboard cake round or a cake plate protected by strips of wax or parchment paper.
Spread it with one third of the preserves.
Cover the jam evenly with about one quarter of the buttercream.
Top with another layer, spread with preserves and buttercream and then do the same with a third layer (you’ll have used all the jam and have buttercream leftover).
Place the last layer cut side down on top of the cake and use the remaining buttercream to frost the sides and top.
Press the coconut into the frosting, patting it gently all over the sides and top.

Serving

The cake is ready to serve as soon as it is assembled, but I think it’s best to let it sit and set for a couple of hours in a cool room – not the refrigerator. Whether you wait or slice and enjoy it immediately, the cake should be served at room temperature; it loses all its subtlety when it’s cold. Depending on your audience you can serve the cake with just about anything from milk to sweet or bubbly wine.


Storing

The cake is best the day it is made, but you can refrigerate it, well covered, for up to two days. Bring it to room temperature before serving. If you want to freeze the cake, slide it into the freezer to set, then wrap it really well – it will keep for up to 2 months in the freezer; defrost it, still wrapped overnight in the refrigerator.


Playing Around

Since lemon is such a friendly flavour, feel free to make changes in the preserves: other red preserves – cherry or strawberry – look especially nice, but you can even use plum or blueberry jam.


Fresh Berry Cake

If you will be serving the cake the day it is made, cover each layer of buttercream with fresh berries – use whole raspberries, sliced or halved strawberries or whole blackberries, and match the preserves to the fruit. You can replace the coconut on top of the cake with a crown of berries, or use both coconut and berries. You can also replace the buttercream between the layers with fairly firmly whipped sweetened cream and then either frost the cake with buttercream (the contrast between the lighter whipped cream and the firmer buttercream is nice) or finish it with more whipped cream. If you use whipped cream, you’ll have to store the cake the in the refrigerator – let it sit for about 20 minutes at room temperature before serving.


***
Additional Notes

If you want to bake mini-cakes, either use smaller cake pans or bake a regular 9" layer cake and cut out smaller cakes from it using cake rings or a sharp-rimmed cup.

***

Opinion?

The cake rose perfectly. I can only credit that to my sis (the real baker) who insisted that I pound the cake pan a zillion times till all the air bubbles are released, which I did, to Vodka's utter consternation! Slicing the cake to make layers was ... a piece of cake! The lemon flavours (I skipped the extract and went with lemon juice and zest) were outstanding. The boreal berries were divine, like always - they're much smaller than regular blueberries, not as sweet, but have a fabulous earthy flavour that makes for a fine topping on most desserts. And the "tofanache" made me quite happy. It isn't meant for everything - there are times when nothing but the real ganache would suffice, but in this case, it did a pretty good job.

***


Is this going to be a repeat?

I would totally bake this cake again - maybe I'll even use some buttercream next time around! Besides, I have a ton of leftovers from the cake that I can't wait to work with - that's often the fun part, isn't it?

Thanks Morven, for this insanely fun pick and even more for letting us exercise our creative license. Picking and choosing fillings and toppings was a party in itself!

And now I'm off to finally spend some time checking out all the other fabulous Daring Bakers' creations!