Showing posts with label recipes. Show all posts

Monday, June 23, 2008

Coming back from the dark side ...

Are we blogging again? Huh??


Wow! I was almost convinced this blog was a goner!!! Work, work, work. No time to breathe, let alone blog. Pretty tragic, huh? As much as I love my work, I doubt if even I can survive another bout of being slammed like this! Seriously, something is quite wrong when the pictures just keep piling up ... to the point where I randomly stare at them and begin to wonder "When did I make that?? And how the hell do I make it again?!"

Yeeeeessshhhhh.

But life is creeping back to normalcy again. And it seems like I don't quite have writer's block - *phew*! Such a relief! I was kind of freaked out about not knowing how to quite start writing again. Absolutely abhor this feeling of being left behind - like the rest of the food blog world has moved on, you know? And I'm sitting here with my (proverbial) pen in hand, slowly emerging from work insanity, struggling to phrase a sentence or three.

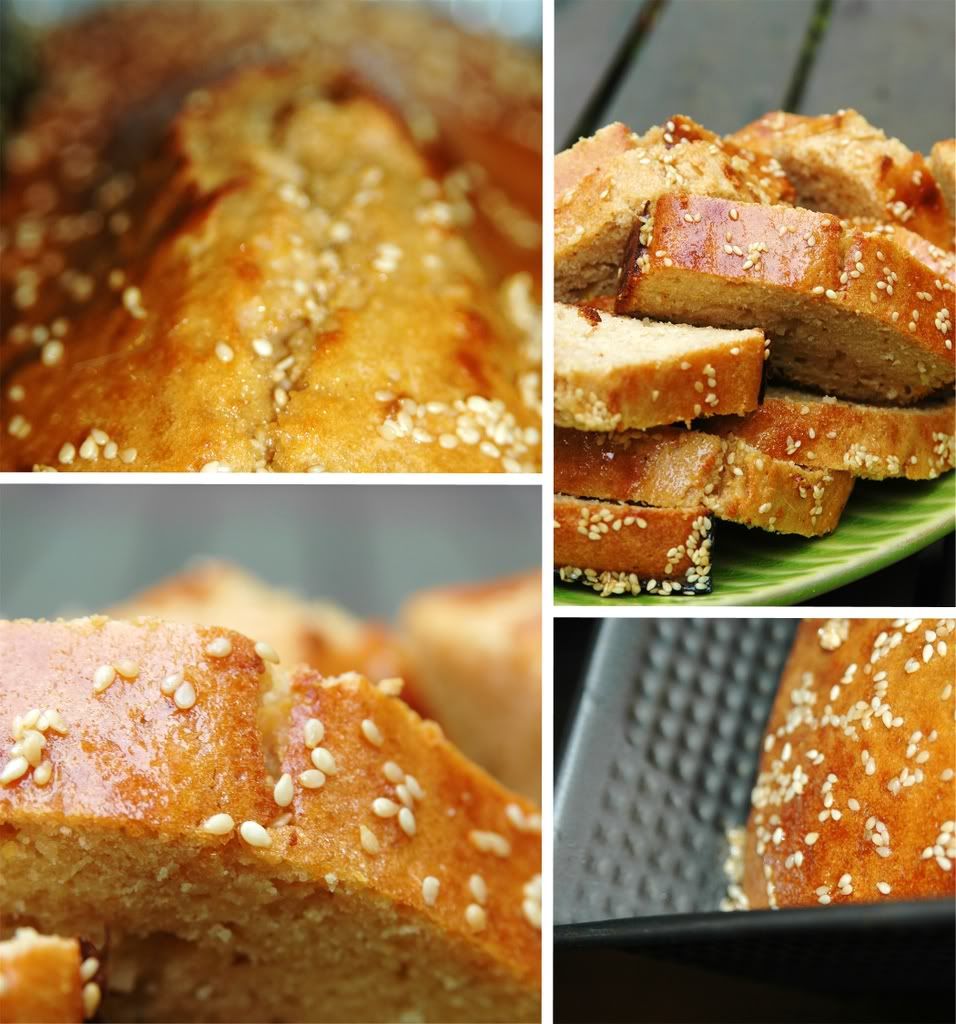
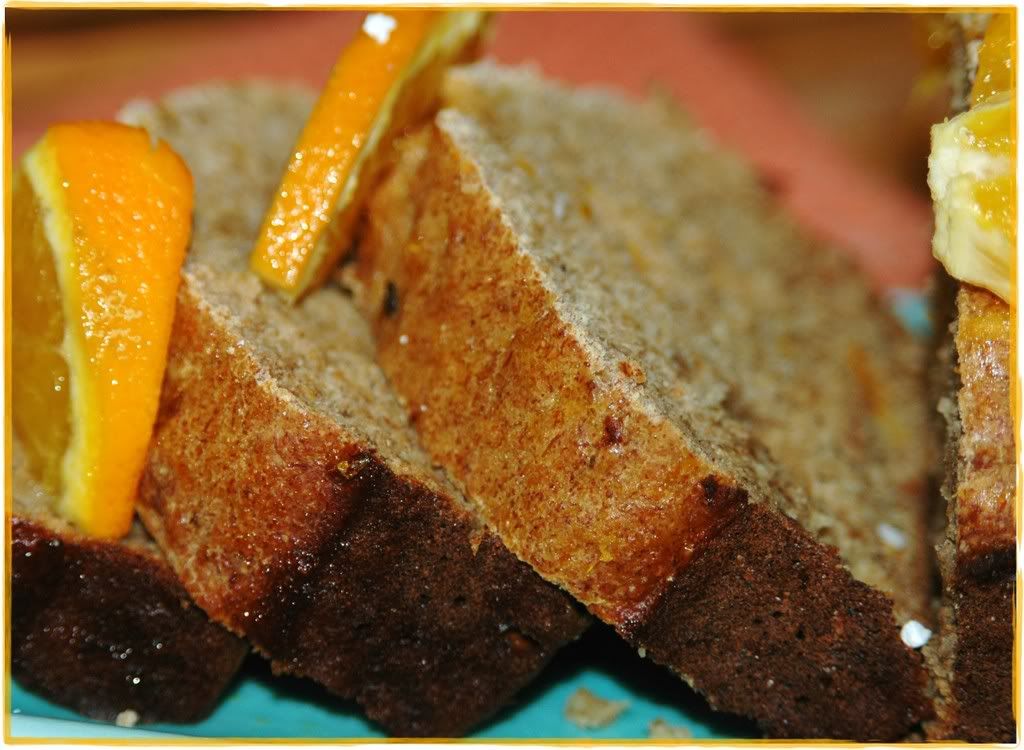
Well, over three sentences have been phrased. Yay! So, we can safely move onto a reasonably fit recipe to celebrate a safe return from the dark side :) - a simple, light and delicious banana-orange loaf. I just mentioned this recipe to Srivalli and she went "Oh man! Another dessert! Wow!" Well, she's right! Apparently, I hanker for breads and desserts a lot more than I realize! Yet, I don't seem to write about these as often as I'd like to ... wait! Guess that's probably because I'm not quite posting as often as I'd like to :)

********

Ok, back to this celebratory loaf - I based this on a pretty straight-forward recipe from Rosemary Wilkinson's The Ultimate Desserts Cookbook. Like always, I spent several minutes drooling over the pictures before embarking on baking it :)
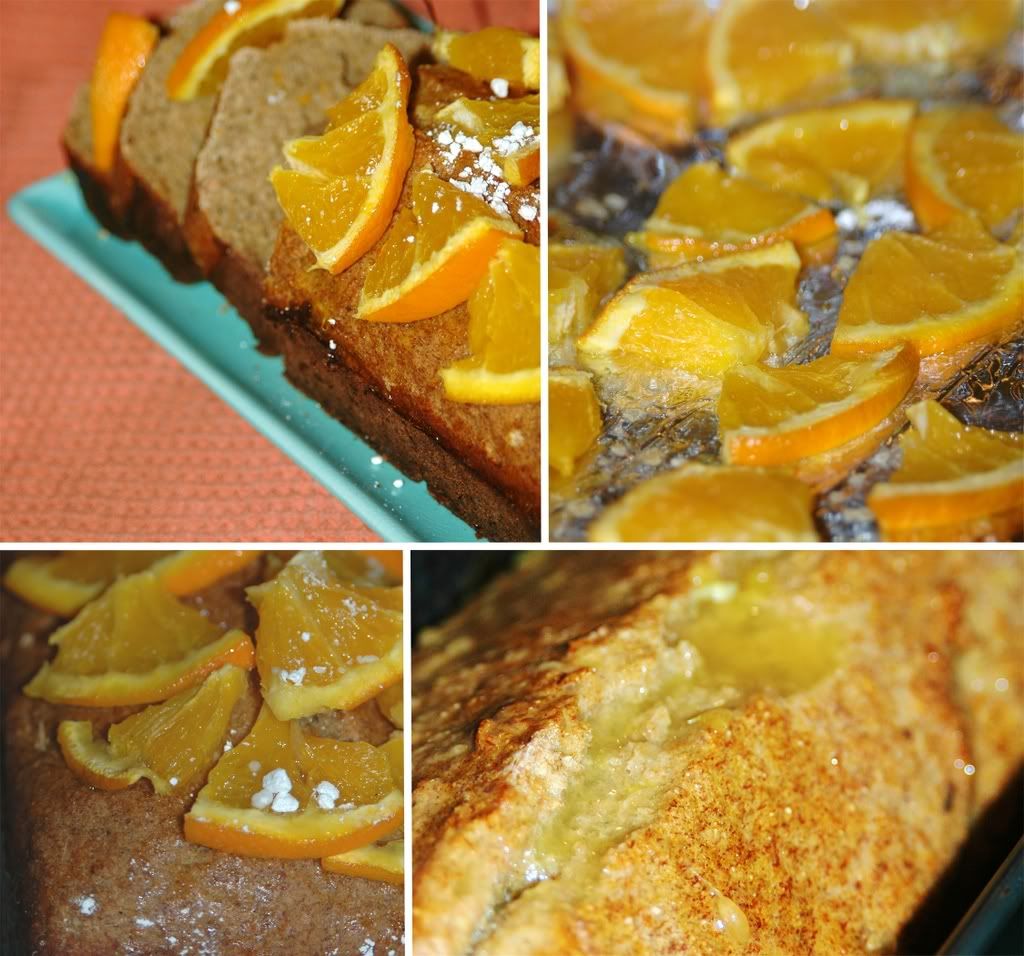


Banana Orange Loaf
Light, simple, oozing banana and citrus flavours!

Serving size: 1 loaf

3/4 cup whole wheat flour
3/4 cup unbleached flour
1 t baking powder
1 t ground mixed spices (allspice, cinnamon, nutmeg)
2 large overripe bananas
1 egg
2 T sunflower oil
2 T clear honey
finely grated rind and juice of one small orange
4 orange slices - quartered
2 t icing sugar

Preheat the oven to 350 F. Brush a loaf tin with sunflower oil and line the base with non-stick baking/wax paper.
Sift the flours with baking powder and the spices into a bowl.

Peel the bananas and mash them in a medium bowl. Beat in the egg, oil, honey, orange rind and orange juice. Fold this mixture into the dry ingredients.

Spoon this mixture into the baking tin and smooth the top. Bake for 40 minutes or till firm and golden brown on top, and an inserted toothpick comes out clean. Turn out and cool the cake on a wire rack.

Now comes the fun part :)

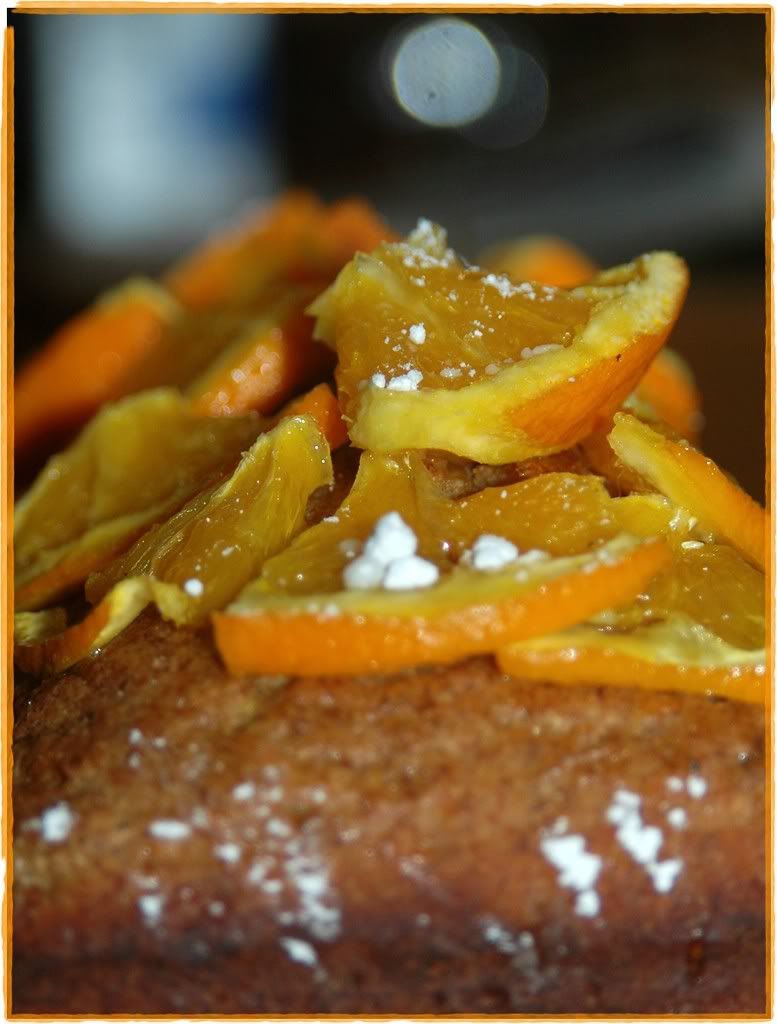
Sprinkle the orange slices with icing sugar and grill until golden and you get a funky baked citrus smell. Actually, I should amend the recipe here - grill double the number of slices mentioned in this recipe - only half the orange bits will end up on the cake. The other half? ... I guarantee those will go straight into your mouth :)

Decorate the cake with the orange slices (or whatever is left of them) :)

*********

Opinion?

Yum! Perfect back-to-blogging celebration. This recipe is light on fat - all of 2 T of oil for the entire loaf! You could even skip the egg and use just egg whites - though I would throw in a spoon of applesauce to go with it.
The banana+orange flavours are delightful, I even doused my slice with a couple of spoons of orange juice before digging in. Also, the overripe bananas kicked ass - nothing like super moist banana flavour to warm the soul :)

**********
More such recipes:

And now I'm off to catch up on the zillion blog posts that I've missed over the last couple of weeks! And yes, I need to start responding to all those emails too!

***********

IMPORTANT REMINDER:

:)

Don't forget to send in your Think Spice, Think Wasabi entries!

That's definitely my next post - a very offbeat nasal passage-scorching wasabi dish :)

And feel free to use this really neat logo that Sunita came up with. Sorry dear S, I meant to post about it earlier, but all this work mania threw me off kilter.


Sunday, June 1, 2008

Start Thinking ... now!


Remember that insanely irritating Budweiser ad? Well, apparently, I'm bent on bringing that sticky memory back! :)

Sunita was crazy enough to let me host Think Spice this month. And I warned her that the theme would probably be non-traditional. And it is ... *drumroll* please ...

Wasabi
!

And yes, it is a spice. Atleast the root is. In terms of the traditional definition of a spice!


A spice is a dried seed, fruit, root, bark or vegetative substance used in nutritionally insignificant quantities as a food additive for the purpose of flavouring, and indirectly for the purpose of killing and preventing growth of pathogenic bacteria.


licensed under Creative Commons Attribution 2.0 License

Ever since I got hooked on sushi, life has been a wasabi romance all along. Until I *just* discovered some vital facts:

Rude Shock #1:
Often, wasabi that we encounter in restaurants is not the real thing! And the stuff that comes in tubes is horseradish+mustard+food colouring.

Rude Shock #2:
What?! So, horseradish is not wasabi? *sigh*
Oh well, whatever. I'll eat it anyway. And I insist on calling it wasabi. Maybe wa-sah-bih. Maybe even wa-saaaab-beeeeee.

[This is what I love about Think Spice - it is often a botany-lesson-in-session. By the end of the month, I often feel like I could write a couple of essays about the spice of the month! :)]

From that fabulous Wikipedia:

Wasabi (Japanese: わさび,ワサビ , 山葵 (originally written 和佐比); Wasabia japonica, Cochlearia wasabi, or Eutrema japonica) is a member of the Brassicaceae family, which includes cabbages, horseradish and mustard. Known as "Japanese horseradish", its root is used as a spice and has an extremely strong flavor. Its hotness is more akin to that of a hot mustard than the capsaicin in a chili pepper, producing vapors that irritate the nasal passages more than the tongue. The plant grows naturally along stream beds in mountain river valleys in Japan. There are also other species used, such as W. koreana, and W. tetsuigi. The two main cultivars in the marketplace are W. japonica var. Daruma and Mazuma, but there are many others.

So, time to dig through those cookbooks, surf the web, ping your friends and neighbours ... we need some wasabi recipes and we need them now! :)

Rules of the month:
Hit those asian stores, buy up all the wasabi you can lay your hands on and whip up some insanely pungent recipes that'll set the food blogosphere afire!

Obviously, you can go all gourmet and buy the wasabi root, grate it and work your mojo! Or you can buy the stuff in a tube or a bottle or a jar (even the not-so-authentic version) and whip up your recipes. Whatever works, as long as you have fun doing it :)

Share your nuggets of knowledge with the rest of us, any crazy wasabi stories? Or do you have video to share - maybe you snorted some wasabi sometime? Or ate a whole ball of it without knowing what it was?

Include a link back to this post in your write-up, a logo should be available here later today in case you want to use that along with your post.

Email the following information with your entry on or before June 25th to
cookingfromatoz [at] gmail [dot] com:

* Use the subject 'Think Spice - Think Wasabi'
* Your name
* Name and Url of your blog
* Name of your recipe
* Url of the post on your blog
* A pic of your dish (250 px wide, height does not matter) if any

Non-bloggers are welcome too, email your recipe (and a pic, if applicable) to me and I'll post it as part of the round-up.

Weeeee! Now I'm excited thinking about all the crazy experimenting that this theme is going to induce!

Tuesday, April 22, 2008

Trying to get wasted on drunken noodles ...


Pad Kee Mao.

Three magic words that can make me skip around in circles. Easily my favourite Thai food, I'm pretty much the informal PKM taster of the city. In fact, there are so many joints that dish up a killer PKM that I've hardly felt the need for attempting a recreation at home.

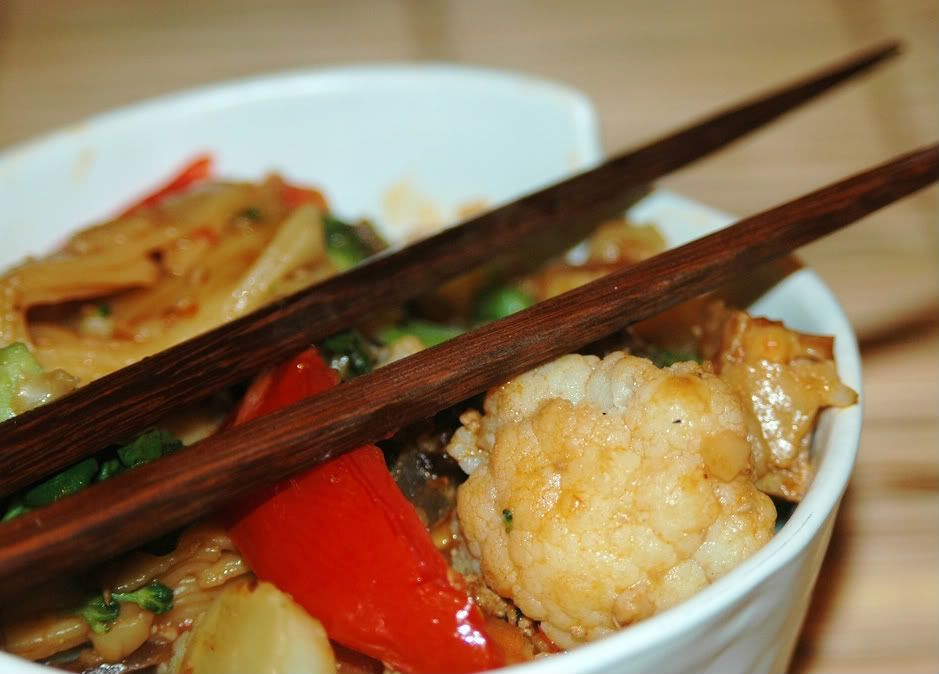
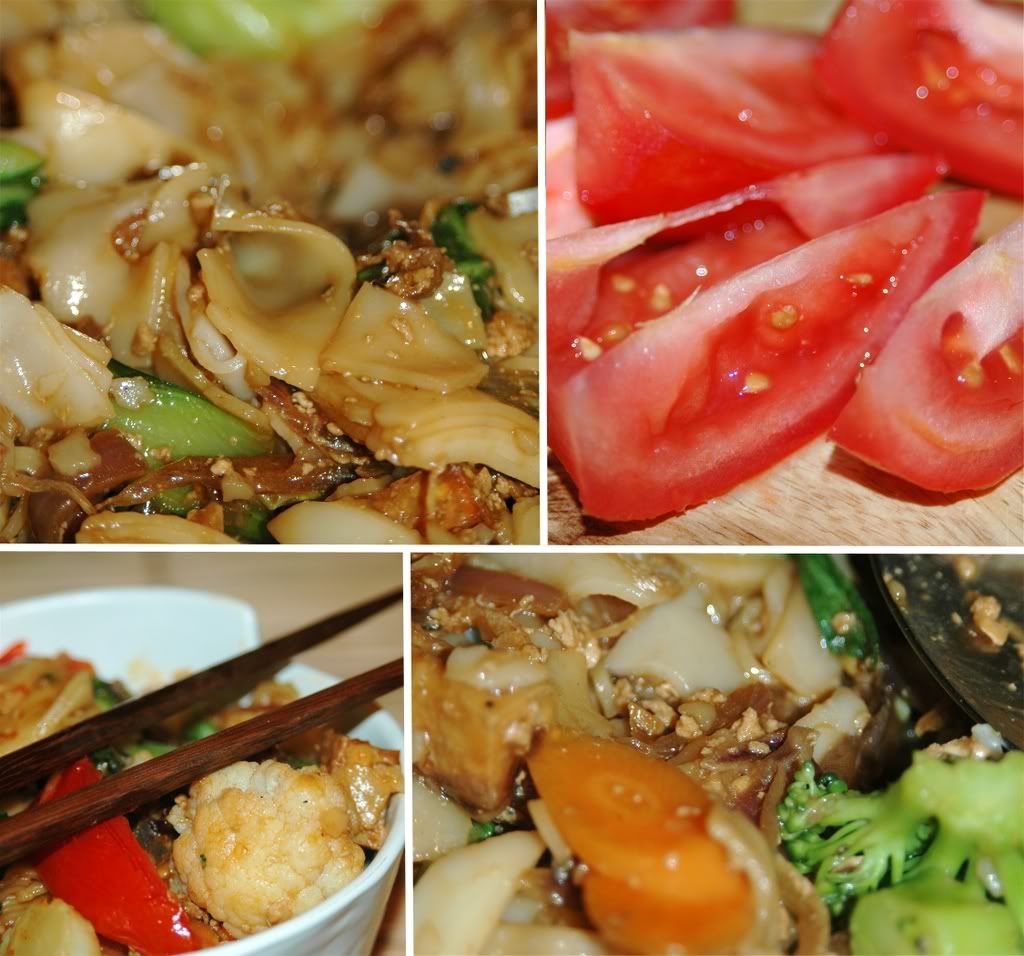
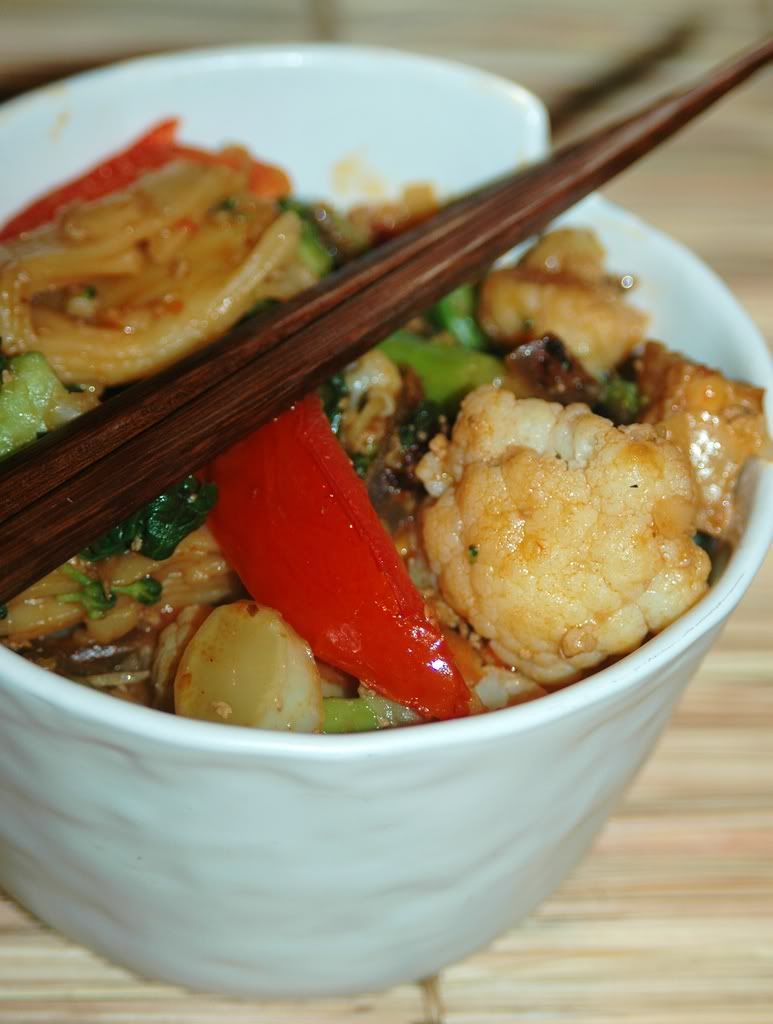
Until today. We had this hankering for chef-fin' it out. We wanted to be the masters of our own Pad Kee Mao destiny. For some reason, hitting Typhoon or Thin Pan just did not seem enough. So, we embarked on this PKM journey. It was our first time working with those crazy wide rice noodles. When we first saw this dense package in the refrigerated section of Uwajimaya, we weren't quite sure if that was what we wanted - where were the ribbons or pieces of noodles? This just looked like a giant brick! Well, guess we'd have to figure it out. We loaded up on thai basil, a slew of vegetables and sauces and got to work! :)

The insanely delicious drunken noodles is a multi-step dish - with a fascinating assortment of sauces and spice - tamari, soy sauce, oyster sauce, white soy sauce (or fish sauce), red chillies, thai bird chillies, the list goes on!

So, we have to talk about our pitfalls upfront here. For some bizarre reason, we decided to try some additional seasoning here and went for a spoon of chili bean paste. *bad* idea. Don't even try it. I mean, this might work well with other szechuan dishes, but it is not a thai flavour by any means. And the bean bits add a weird flavour to drunken noodles. So, don't do it. Don't.

(Which is why I've excluded it from the recipe.)


Pad Kee Mao
*hic*

Servings: 4

7-8 oz wide rice noodles (sen-yai)
1/2 cup firm tofu - cubed
3 cloves garlic - finely chopped
1 small onion - sliced long
3 T white rice vinegar
3 T white soy sauce (See-yew Khaaw)
4 T palm sugar
3 T lime juice
2 T tamari
4-5 T vegetarian oyster sauce
2 T ground dried red chillies
2 green jalapenos - finely chopped
1 small thai chilli - chopped (Prik Kee Nuu Suan)
7-8 broccoli florets
7-8 cauliflower florets
2 small carrots - sliced
1 tomato - cut into eighths
1 baby bok choy - chopped
1 cup fresh thai basil leaves
2 T peanut oil
1/2 cup egg whites

Soak sen-yai noodles in water for 15 mins. Place soaking sen-yai noodles on the stove and bring to very slow boil, removing the sen-yai noodles while they are still firm (after about 10 minutes). Drain with cold water and set aside.

Spray the tofu chunks with oil spray and stick them under a broiler till browned.

Blanch the broccoli, cauliflower and carrots in a pot of boiling water for 3-4 minutes till al dente.

Heat the oil in a wok and saute the garlic till it starts to brown.
Throw in the onions along with the jalapenos and saute briefly.
Add the scrambled egg whites and saute a bit longer.
Now throw in the rice vinegar, dried chillies, lime juice, sugar and white soy sauce
Turn the heat to high and let the sauce thicken.
Once the sauce reduces, add the thai basil leaves along with bok choy, oyster sauce and tamari.
Saute for a couple more minutes before adding the blanched vegetables.
Add the cooked noodles and tofu and saute for 4-5 minutes on medium heat. Keep tossing the ingredients to mix the sauce completely with the noodles and vegetables.

Top with the tomatoes and cilantro before serving. Maybe even garnish with sliced green onions or chopped garlic or jalapenos.


Opinion?

*mediocre*. Firstly, we killed the drunken high by adding that damn chili bean paste. That was a serious mistake. It'll never happen again! But the main issue here was that we're so damn stuffed from the flu that plagued us for the past week that our sense of smell is still on vacation. And that in turn is still greatly hampering our taste buds. *grr*. Even a nice dose of spicy thai chillies couldn't quite fix it! Another thing we did, as odd as it may sound - we used too many vegetables! Next time around, we're only going with broccoli and some carrots, no cauliflower - that's a bit of an overkill in our PKM.

So, we didn't end up being the Iron Chef of PKM. We barely got drunk on our noodles! But we learned our lessons. And the PKM flame burns bright now - we're itching to try it again :)

Wednesday, April 9, 2008

Honey honey, how you thrill me ...


I'm quite sure ABBA didn't have food on the mind while penning this song. But I usually do when I'm humming it :) A spoonful of honey is often enough to make me burst into song, if we're talking about a recipe centered on honey - that can just send me into raptures!

Ultimate Dessert Cookbook by Rosemary Wilkinson - I *love* this book. Almost as much as I love honey :) And I've been hoping to work through pretty much all the recipes in this book - maybe within the next 10 years? I don't often quest to work through a cookbook, I enjoy picking and discarding recipes, but this book is different. Every picture makes me drool. ,Every time I think I don't have a sweet tooth, this book makes me think again :)

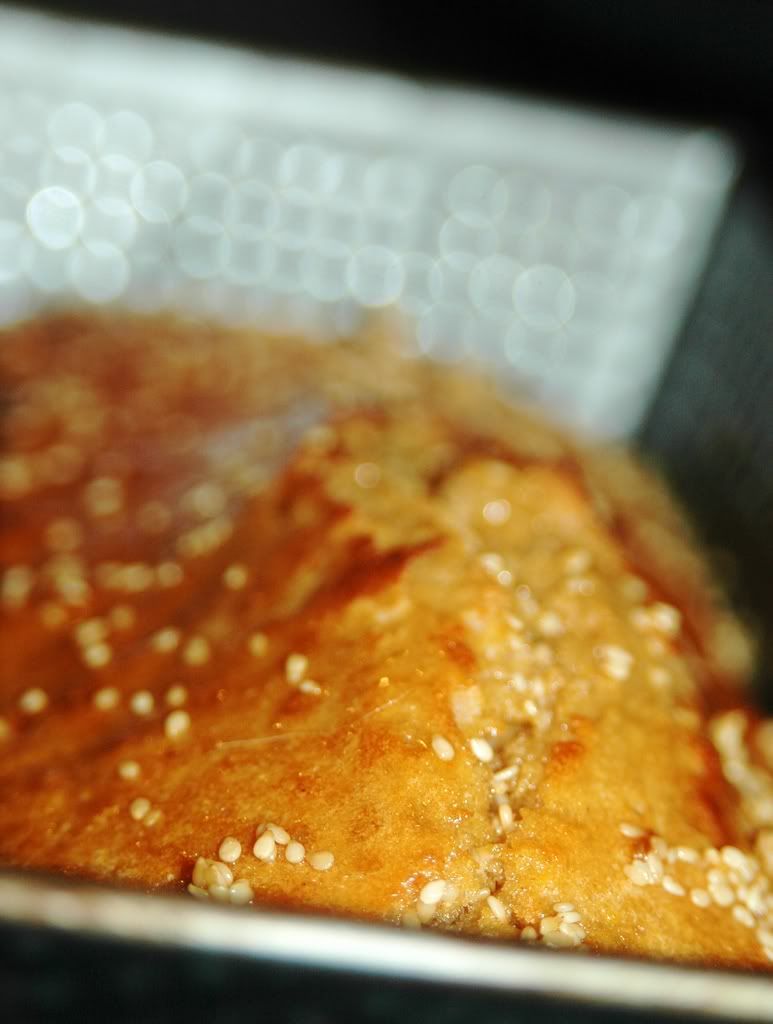
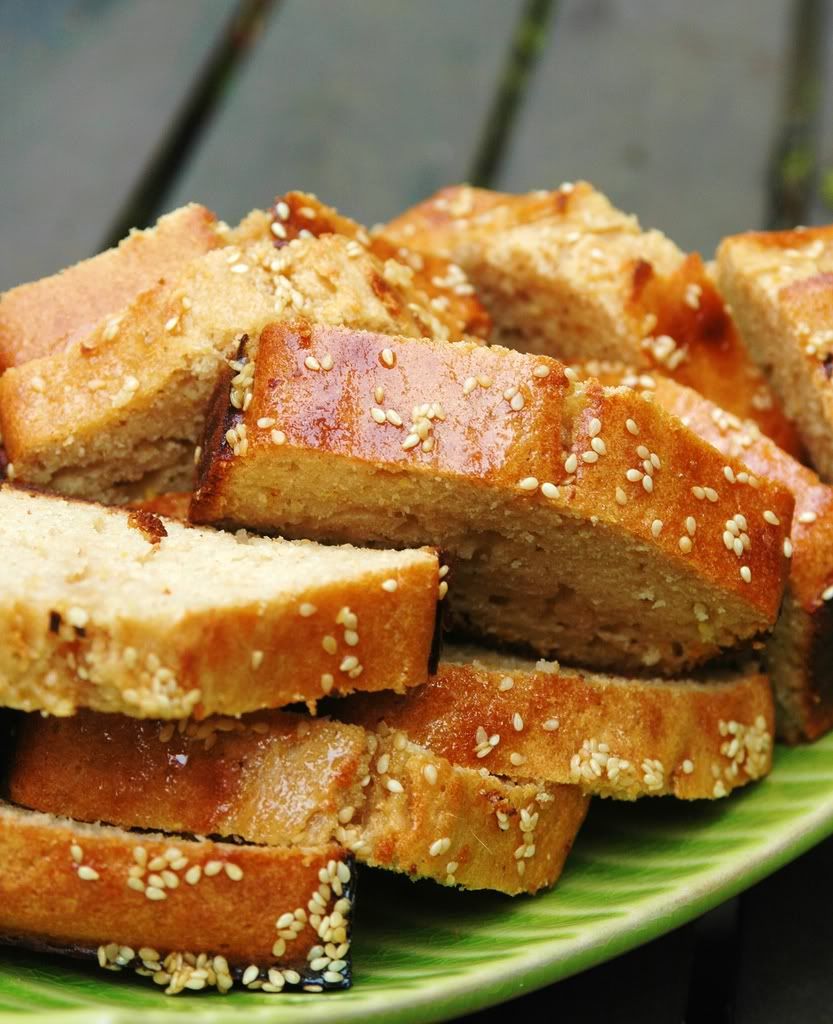
So, one afternoon, while on aunt duty, I was flipping through this book and stumbled upon a recipe for a greek honey and lemon cake. Greek dessert? Honey?? Lemon??? Oh my! My curiosity and taste buds were totally piqued! Plus, it seemed like something the niece and nephew would totally enjoy. A whole litany of excuses to start baking! W00t!

The recipe called for a mix of semolina and all-purpose flour. I replaced the all-purpose flour with white whole wheat flour - chewy is usually good :) Also, I went for a moister cake by increasing the honey-lemon drizzle - can't quite go wrong with that!


"The only reason for being a bee that I know of is making honey....and the only reason for making honey is so I can eat it."
Winnie the Pooh in A.A. Milne's 'The House at Pooh Corner'


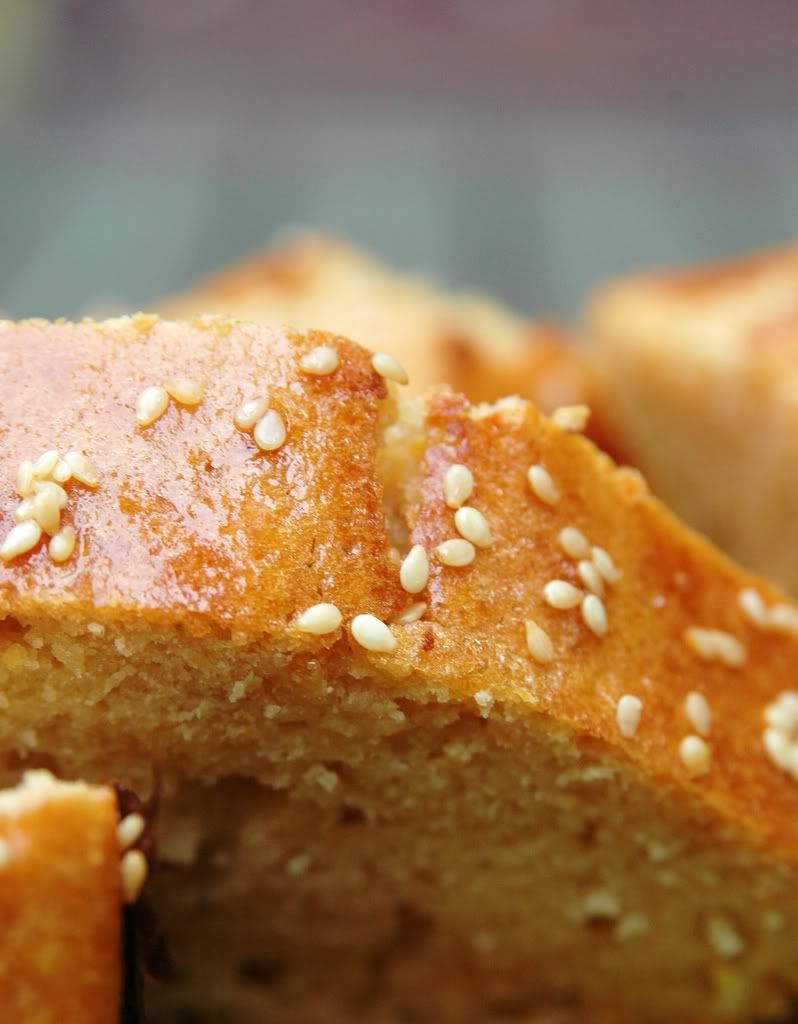
Greek Honey Lemon Cake
Oh! So thrilling! :)

Servings: a standard loaf or an 8" square pan

3 T whipped spread (I went with Earth Balance)
3 T + 2 T honey
finely grated rind of 1 Meyer lemon
juice of 2 Meyer lemons
2/3 cup nonfat milk
1 1/4 cups of white whole wheat flour
1 1/2 t baking powder
1/2 t freshly grated nutmeg
1/3 cup fine semolina
2 egg whites
2 t sesame seeds

Preheat the oven to 400 F.
Grease a loaf pan and line the bottom with wax paper.
Place the margarine/whipped spread and 3 T of honey in a saucepan and heat gently till melted.
Reserve 2-3 T of lemon juice for the drizzle and add the rest of the juice to the honey mixture after taking it off the heat.
Stir in the lemon rind and milk till the mixture is smooth and blended.
Sift the flour with the baking powder and nutmeg before mixing in the semolina.
Beat the semolina mixture into to the honey mixture till completely blended.
Whisk the egg whites till they form soft peaks and fold evenly into the semolina mixture.
Spoon into the loaf or square pan and sprinkle with the sesame seeds.
Bake for 25-30 minutes till golden brown.
Mix the reserved honey and lemon juice and drizzle over the cake while it is still warm.
Cool in the pan before cutting into bars or slices to serve.


Opinion?

*sweet*! *tart*! *earthy*! Those greeks sure know how to make their desserts! The kids wolfed this down and so did the rest of us. A definite repeat!

Tuesday, February 19, 2008

Paanch Mishuli - Bengali Vegetable Medley

Rosogolla ... rasmalai ... sandesh ... mishti doi ... malpoa ... cham cham ... *drool* ... bengali sweets rock! I love making them, love eating them, love writing about them ... Wait! This blog doesn't have a bengali dessert post yet! That sucks!

Note to self:

Make some yummy rasmalai this week just so I can write about it!


Ok, so this post isn't about bengali sweets. Sorry! But it comes close. It does involve bengali spices and a multitude of vegetables, all goodness. I haven't cooked much bong food, so it was fun to pick up one of those simple postcard cookbooks - this time Bangla Ranna was my choice. It has a slew of bengali recipes - reasonably well written out. I particularly like the fact that the author Satarupa Banerjee dedicated this book to the countless housewives in Bengal who keep the tradition of Bengali cuisine alive. Got to love that :)


As I flipped the pages, page 75 caught my eye - Paanch Mishuli - a vegetable medley that uses a choice of vegetables that are in season. Hmm ... I could extend that to apply to the vegetables that are in season and available in my fridge, right? :)


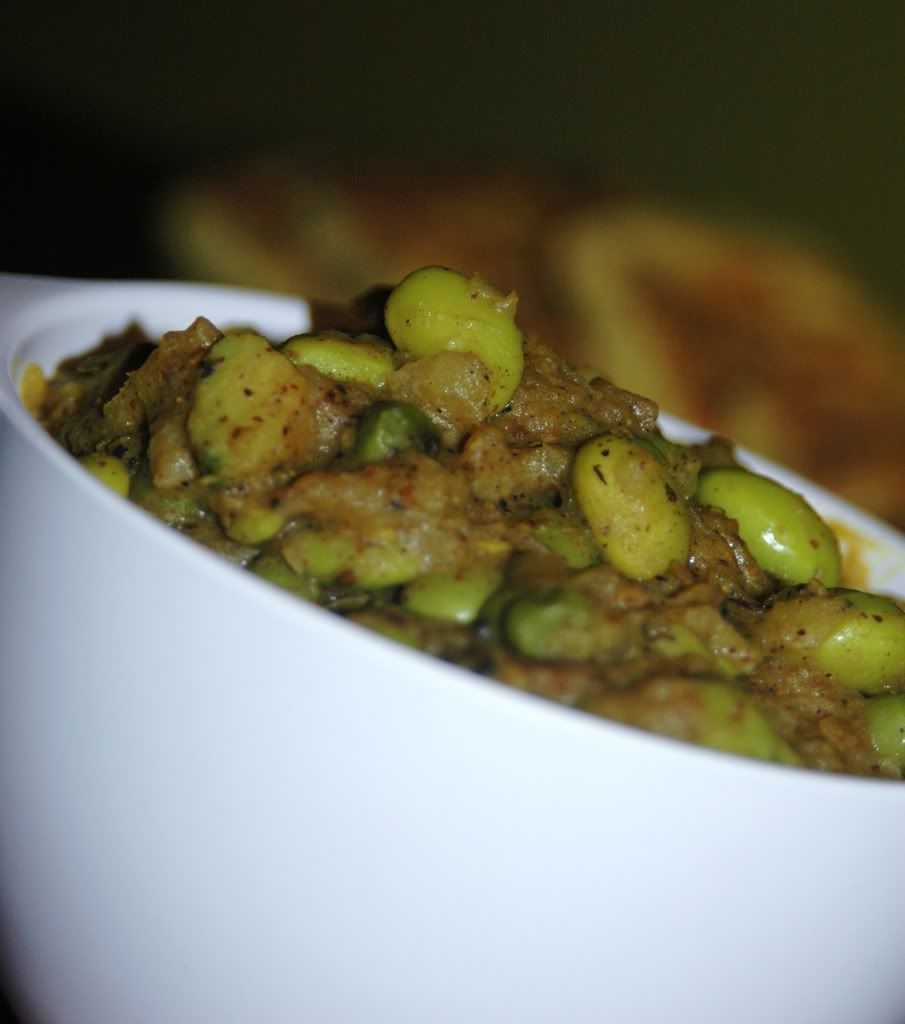
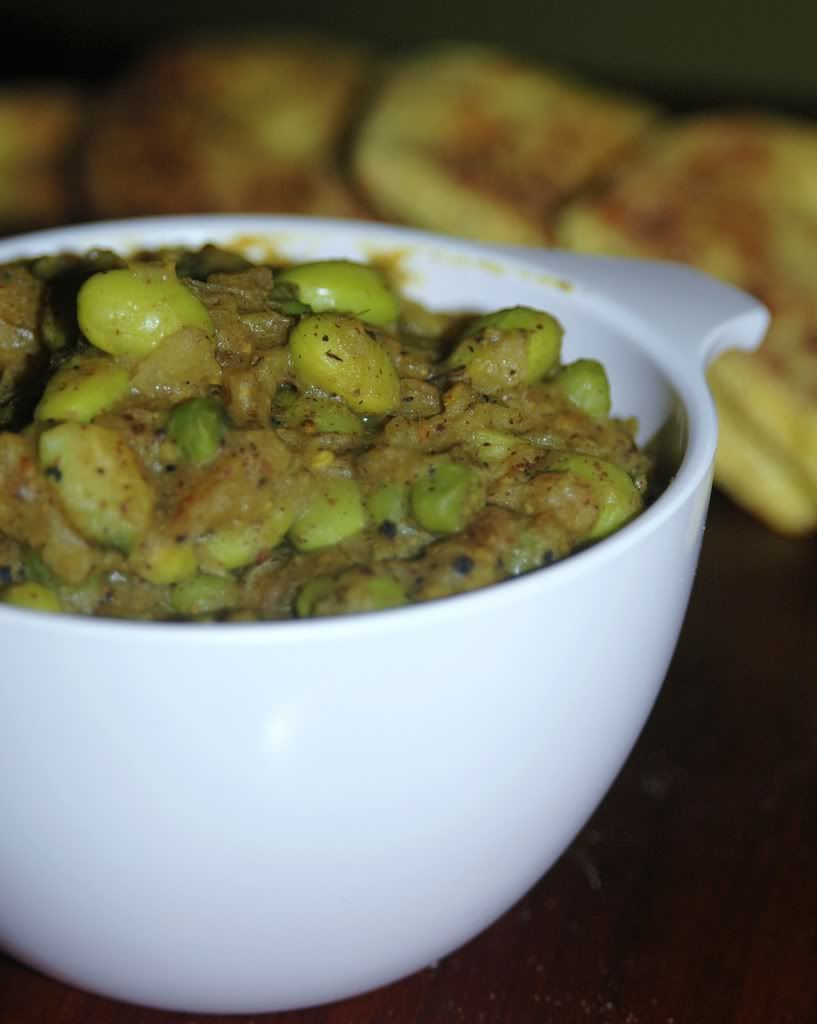
So, that's what we went with - a medley of acorn squash, plantain, bitter gourd, edamame, beans and snap peas - *lots* of green goodness!


Paanch Mishuli
Variation of the traditional vegetable medley

Servings: 2

1 acorn squash
1 bitter gourd - deseeded and chopped

1/4 lb green beans - chopped into 1" pieces

1 cup of shelled green peas

1 plantain - grated

1 cup edamame


a small ball of tamarind soaked in 1 cup of boiling water

2 t Paanch phoran (recipe below)

3 green chillies - sliced long

1 " ginger - ground into a paste
2 T mustard oil

1 t turmeric powder

1 T brown sugar

salt


Soak the bitter gourd pieces in the tamarind water for atleast 30 minutes.

Cut the acorn squash in half, place the cut faces down in a pan filled with 1/2" of water.
Bake the squash for 10 minutes at 400 F.
Once the squash is cooked, scoop out the meat with a spoon and discard the skin.
Heat the oil in a wok and toss in the paanch phoran.
Stir in the ginger paste.
Add the grated plantain and saute for 4-5 minutes.

Throw in the rest of the vegetables - beans, peas, edamame and bitter gourd (after discarding the water) and cook for another 4-5 minutes.
Now add the squash, salt, turmeric, sugar and green chillies.
Stir and cook covered on low till the vegetables are almost done.
Now, cook uncovered till most of the moisture evaporates - this should be a moist, but not runny curry.


This medley goes well with most indian breads or rice.


***


Paanch Phoran Recipe

This is usually a combination of 5 whole spices, though I've encountered a few variations.

1 t cumin
1 t kalo jeera

1 t mustard

1 t fennel
1 t fenugreek


Lightly roast the spices before grinding to a powder.


***


Opinion?

The paanch phoran flavours rock! I honestly don't know how the traditional mishuli is supposed to taste, but this medley with some garlic naan made for a terrific dinner!


I'm dedicating this post to Sandeepa, the awesome Bong Mom whose blog is inspiring me to try more Bengali recipes - we haven't seen her post in a while, I'm waiting for her to come back :)

Monday, February 11, 2008

Chocolate Love!


Mmm ... Death by Chocolate ... that sounds delectable :)

Chocolate is one of things that I've had dreams about. And woken up feeling super happy. And sometimes hungry :)


So, when Culinate announced this event, I started skipping around. It actually took me about 4 days to decide which of a zillion chocolate recipes I wanted to use. And then it took procrastinating till the last day before I baked one of my chocolate fantasies. Sad, but I really am this last-minute junkie!


Anyway, friday was the last day for submissions for DbC, but the Obama rally took precedence over sending in a timely submission. Guess I'll write about these anyway :)


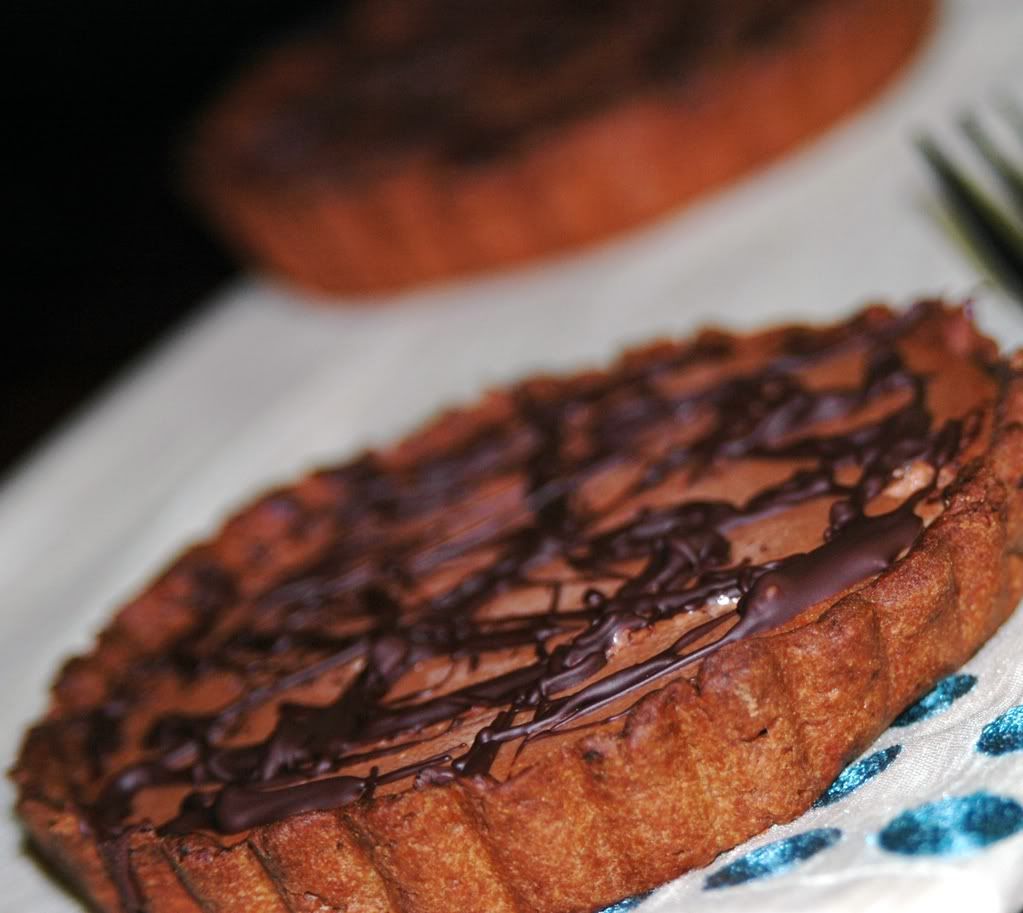
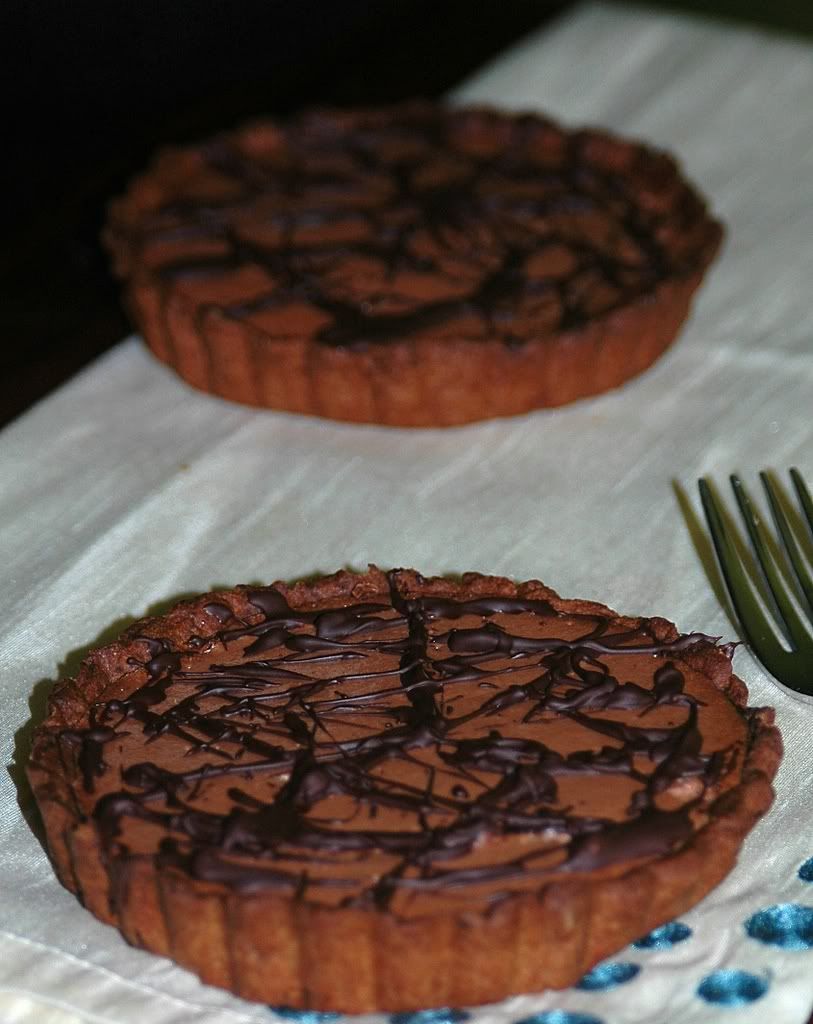
After dithering between various recipes like an intensely decadent gateau, a fabulous ganache cake topped with chocolate curls, bitter chocolate mousse, mocha pots and more ... I finally settled for baking these delicious chocolate mousse tartlets. I adapted a recipe from one of my favourite dessert books - The Ultimate Dessert Cookbook.

The original recipe called for white chocolate - for a cocoa freak like me, that is tantamount to sacrilege! But I finally gave in and mixed some white chocolate with 72% chocolate to create a mild creamy version - this turned out *good*!
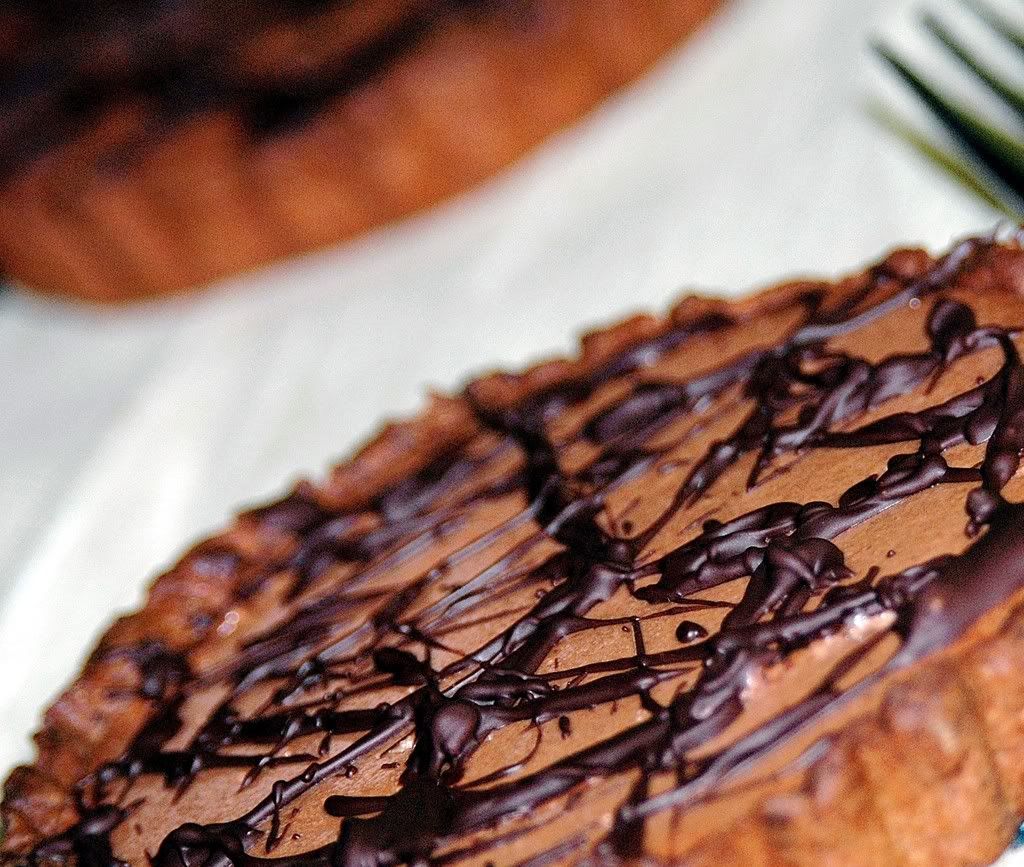
Also, I really wanted to add some zing to the tartlets, so I went with a dark chocolate drizzle mixed with some cayenne, nutmeg, cinnamon and vanilla - *like* it :)


Chocolate Mousse Tartlets with Greek yogurt
With a diablo touch :)

Servings: 6

Crust

1.5 cups pastry flour
2 T cocoa powder

2 T icing sugar
1/4 cup of butter

2 T whipped spread (I use Earth Balance)


Filling

2 oz white chocolate (squares or broken)

4 oz dark chocolate (squares or broken)

1/2 cup of nonfat milk

2 t pectin or agar (you could use gelatine too)

2 T caster sugar
1 t vanilla essence

2 eggs separated

1 generous cup of greek style yogurt (I used nonfat)

Drizzle


melted chocolate

1 t cayenne powder
1/4 t nutmeg powder

1/4 t cinnamon


Making the tartlet shells

Preheat the oven to 375 F.

Sift the flour, cocoa and icing sugar into a bowl.

Place the butter and whipped spread in a pan along with 4 T of water and heat gently until just melted.

Once cooled, stir in the flour to make a firm dough.

Chill the dough for atleast 30 minutes, preferably an hour.
Roll out the pastry and line 6 10 cm tartlet pans (I used the loose-based flan tins).
Prick the base of each tart shell with a fork before lining with parchment paper and weighing down with baking beans.
Bake for 10 minutes.

Remove the beans and parchment and bake for 15 more minutes till the pastry is firm.

Let the tartlet shells cool in the tins.

Making the filling


Melt the chocolate (white and dark) in a heatproof bowl over hot water.
In the meantime, pour the milk into a saucepan and heat on low.
Add the pectin slowly,stirring constantly until dissolved completely.

Remove the milk mixture from heat and stir in the chocolate.
Whisk the sugar, vanilla and egg yolks in a large bowl.
Add the chocolate mixture and beat till blended.

Now, beat in the greek yogurt till evenly mixed.
Whisk the egg whites in a clean bowl till stiff (peaks should form and stay in place).

Fold the egg whites into the chocolate mixture gently till mixed completely.
Divide the chocolate mixture across all the pastry shells and chill to set.
Add the cinnamon, nutmeg and cayenne to the melted chocolate and drizzle it over the tartlets to decorate.


Opinion?

*love* it! Obviously, I need to get more opinions here, since I'm a certified chocolate freak :) But I think this turned out great! And I love the cayenne touch - it leaves a gentle after-spice on the tongue - spicy chocolate after taste, spicy chocolate after breath!!!


Mmm ... think I'll just curl up on the couch with my current read and dig into a yummy chocolate mousse tartlet - life can't get much better than that! :)

Wait, chocolate is an aphrodisia
c!

'In most countries chocolate is associated with romance, and with good reason, it was thought by the Aztec's to have aphrodisiac qualities, invigorating men and making women less inhibited. So when it was first introduced to Europe, it's small wonder that chocolate quickly became the ideal gift for a man to bestow on a loved one.'

Obviously, there was no dearth of info about chocolate and its ostensible turn-on strength :) Read more here and here and here ... or maybe you know all this already!

So, guess if chocolate has any aphrodisiac properties at all, it is probably well-contained in these tartlets that have 71% cocoa in them! I used the Valrhona Le Noir Amer in my tartlets (yes, I'm a serious chocolate snob) - the flavours truly seemed to stick around forever!

And as much as I don't care for V'day and think of it as this consumer-driven day of red, I can't pass up on a food event! So, this goes off to Pooja's My Creative Ideas for her Theme of the week - Valentine's day. This definitely celebrates the love for chocolate - that counts, right? :)

Hold please! I can even send this off to The Mini Pie Revolution - these are sweet tarts! Yay!

Tuesday, January 8, 2008

Care for some kohlrabi?

I know I've eaten kohlrabi in some form earlier in my lifetime, but I remember nothing about it. Every once in a while, I think about it, wonder why I haven't done much it and then move on. But it was a different story last week - I was trolling PCC wearing my find-new-vegetables hat and I sighted bunches of pretty purple kohlrabis sitting around. I grabbed a bunch right away and got all excited about what I could do with it - saute? bake? gratin of some kind? *so* many options!


I love cabbage. I like turnips too. In fact, I love most of those rugged green vegetables - brussel sprouts, collard, cauliflower, broccoli ... pretty likely that I'll like these cabbage cultivar. Whoa! Apparently, kohlrabi actually means cabbage+turnip - clever? (not!) :)

As I was browsing one of my vegetarian cookbooks, I came across a recipe for a traditional caponata - it usually contained eggplants, tomatoes, olives, maybe some wine and some turbinado sugar to cut the tartness of the tomatoes. Well, I kind of started off thinking I would replace the eggplant with kohlrabi, but I ended up going much further - skipping the tomato seemed like a good idea, I ended up using some sumac instead. And things just got cooking from there.


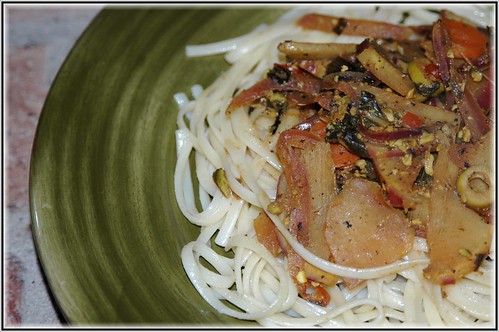
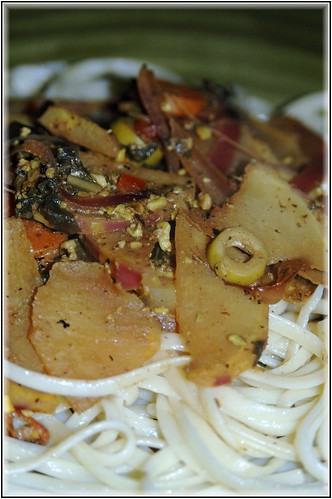
Kohlrabi Caponata (of sorts!)
"Cabbage+turnip" over pasta?!!


Servings: 2

2 kohlrabis - peeled and sliced
1/2 red onion - sliced long

1/2 carrot - diced

10-12 gren olives

10-12 capers
3 cloves garlic - smashed

1/4 cup red wine

1 T turbinado sugar

1 t balsamic vinegar
1 T extra virgin olive oil

kosher salt

freshly ground pepper
a couple of drops of truffle oil
cooked spaghetti to serve with the caponata


Heat the oil in a wok and saute the onions till they start to brown.

Add the smashed garlic along with the kohlrabi and carrots and simmer covered for about 6-7 minutes.

Toss in the red wine and simmer for another 3-4 minutes till the liquid reduces to 1/4 of the original quantity.

Add the olives, capers, sugar and vinegar and saute a li'l more.

Finally season with the salt and pepper, maybe even some red pepper flakes.

Top the pasta with the caponata or toss them all together, your choice! :)


Any good?
It was fabulous! The earthy and peppery flavours of the kohlrabi blended with the sweet-sour sauce and danced on our palates. *so* good! I can't wait to dig into that kohlrabi again.

Oooo ... new vegetable - this means I need to ship this off to Vani for Weekend Herb Blogging!