Sunday, July 13, 2008

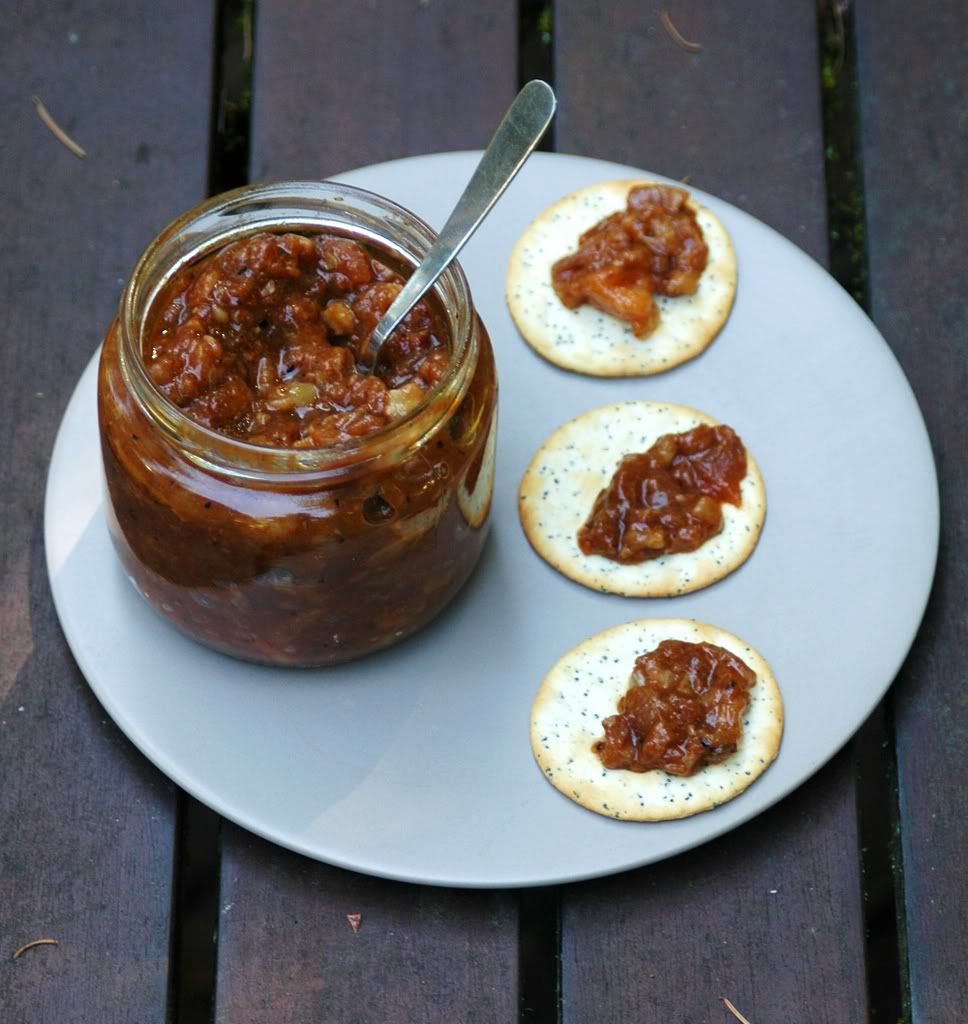
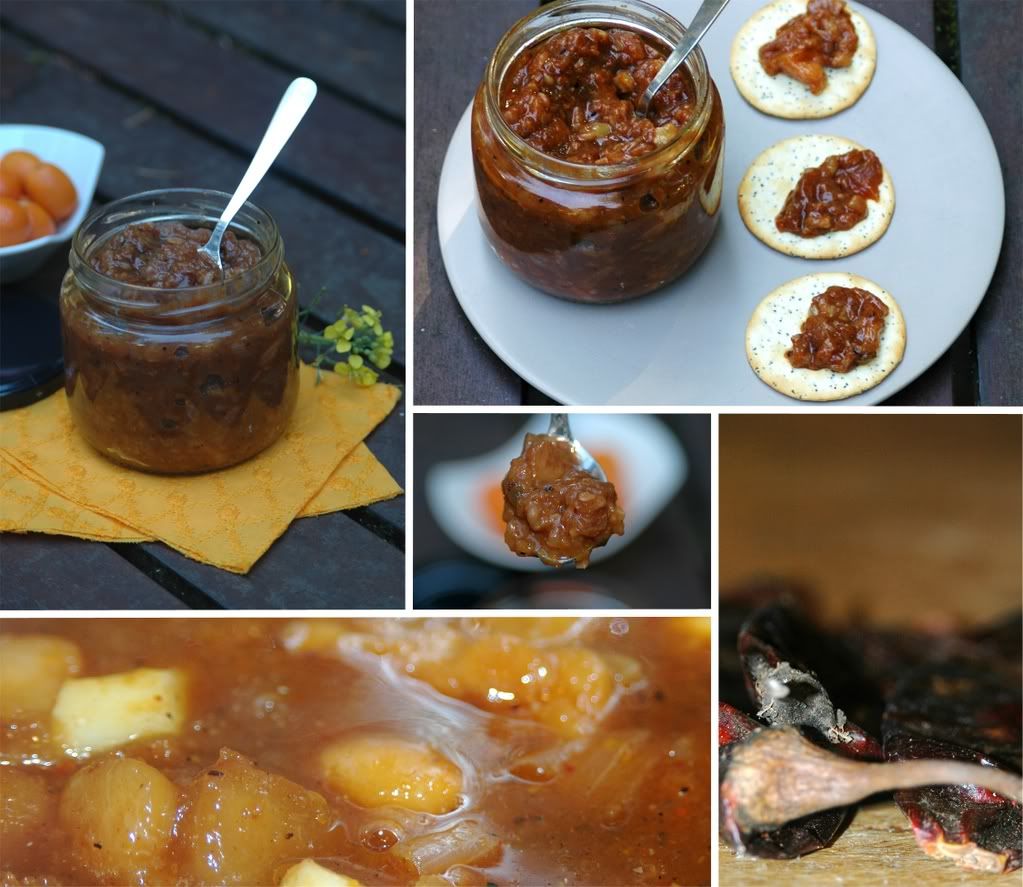
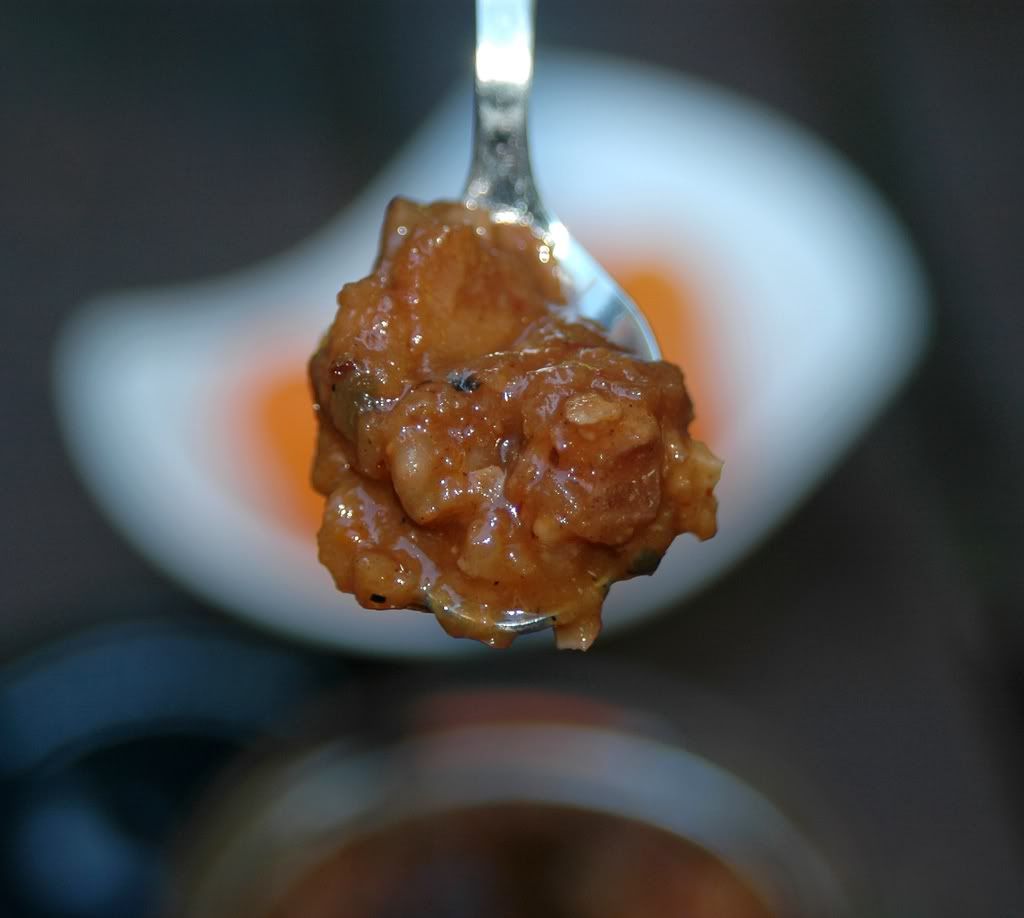
Nutty Pear Kumquat Chutney


Today was blisteringly hot here ... so much so that one of my first thoughts of the day was of a thick, creamy, icy milkshake! And yet, I spent large parts of the day cooking - which actually ended being a fabulously cathartic experience - making up for all those insane work days that kept me away from cooking and blogging :)

A long, long time ago I promised to make a surprise chutney for our friend Daria - she's the one of the walnut ranch fame, we're still living off her awesome Franquette and Hartley walnuts that she brought back from California a few months ago. Poking around 400 sauces, dips, dresssings, blaahhh, blaahh, blaahhhh ... unearthed a pear and walnut chutney recipe that I figured Daria would be pretty happy with :)

"There are only ten minutes in the life of a pear when it is perfect to eat."
~ Ralph Waldo Emerson

The original recipe asked for firm windfall pears that I substituted with some firm, green D'Anjou pears. I also chose to throw in a gala apple and a handful of kumquats - the latter was a great substitute for the orange juice that the original recipe called for - not only did it add a refreshing citrus bent to the chutney, but totally added to the texture too.


Nutty Pear Kumquat Chutney
Chunky, funky and chockful of flavours! :)

Servings: Makes about 1 lb

3 firm D'Anjou pears
1 gala apple
1/2 sweet yellow onion
10-12 kumquats
1/2 cup white balsamic vinegar
1/2 cup dry sherry
1/2 cup cheap, old red wine :)
1/4 cup brown sugar
1/3 cup succanat (you could just use more brown sugar or go with demerara or muscovado instead)
1 cup walnuts - chopped
1 t ground cinnamon
1 t salt
1 guajillo chilli

Peel and core the fruit and chop them into 1" chunks. Peel and quarter the onions, then chop them up into 1cm bits.

Place the chopped onion and fruit in a preserving pan with the vinegar, sherry and wine.

Slowly bring the ingredients to a boil, then reduce the heat and simmer for 30+ minutes, until the apples, pears and onions are tender, stirring the mixture occasionally.

Brown the guajillo chilli over open fire till blackened. Grind up the kumquats along with the chilli to a coarse puree.

Add this puree along with the sugar to the simmering mixture. Gently heat till the sugar is dissolved, then simmer for about 30 minutes till the chutney is thick and no excess liquid remains. Stir frequently towards the end of cooking to prevent the chutney from sticking to the bottom of the pan.

*sigh*! I know! Lots of simmering here, but trust me, it'll all work out well :)

Gently toast the walnuts for a few minutes until they get a warm brown colour. Stir the nuts into the chutney along with the cinnamon.

Spoon the chutney into warmed canning jars, cover and seal. Store in a cool, dark place and leave to mature for atleast a couple of weeks.

Hmm ... somehow, we decided a couple of hours was about as good as a couple of weeks and dug into this today itself :) Totally worth it!!!


********************

Opinion?
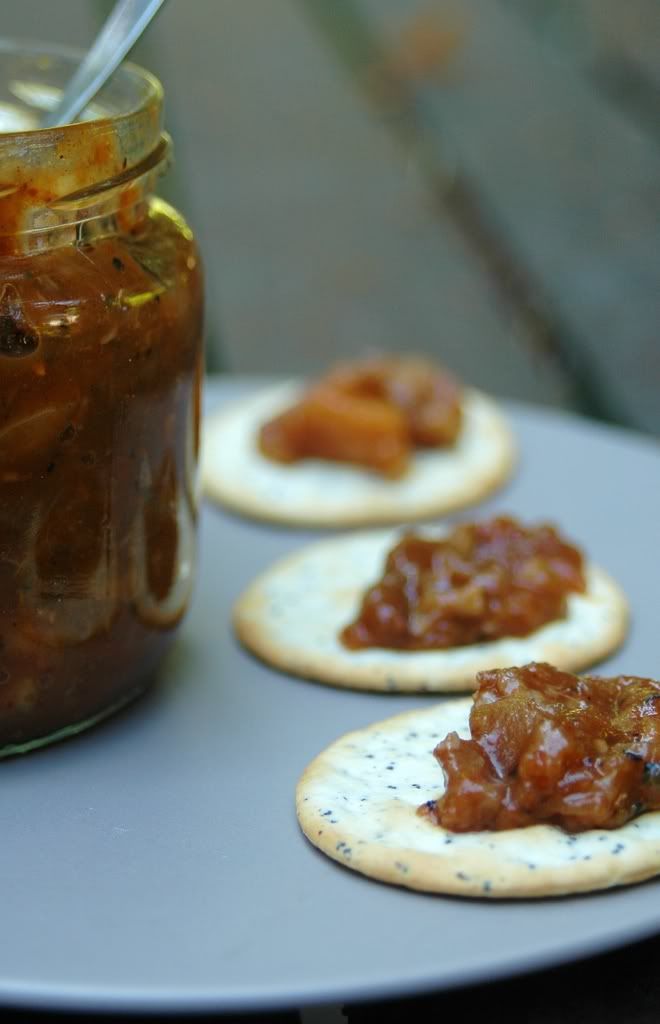
Sweet, spicy, tart ... an awesome olio of flavours -felt like it hit every taste bud and exuded a great aroma too! Obviously, the chutney was great on crackers, but I can't wait to try this with some pilaf or tabbouleh.


***********************

Related posts and recipes:

Thursday, July 10, 2008

Enchilada heaven ...


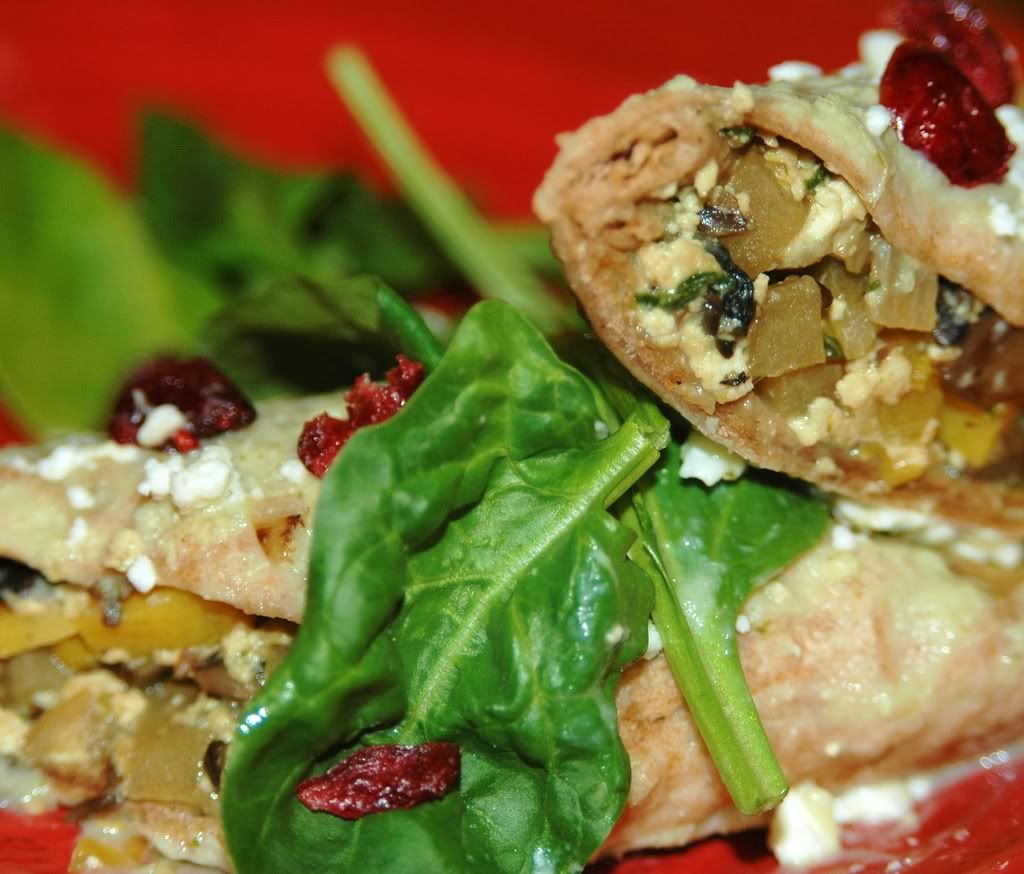
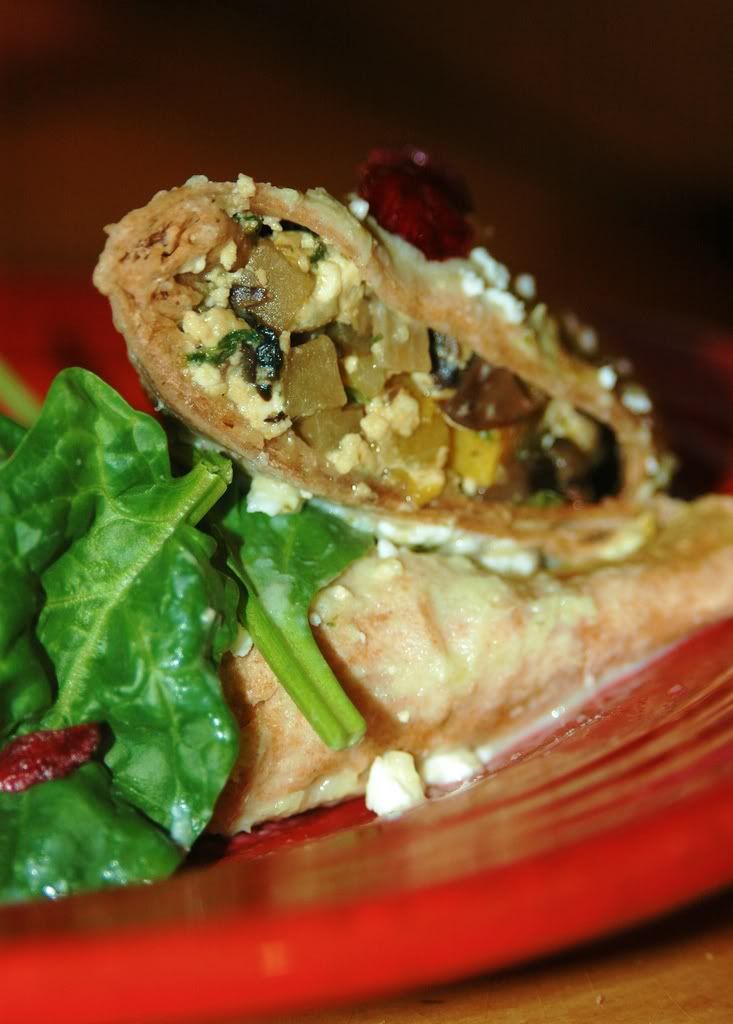
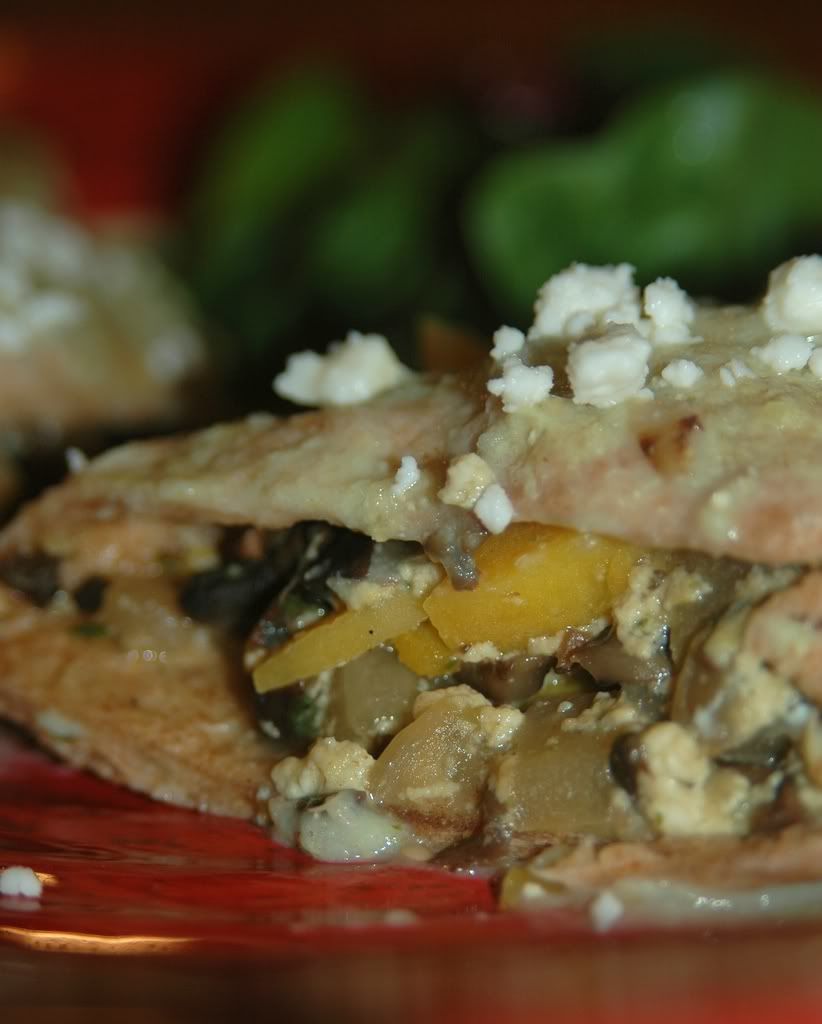
... is such a happy place to be in. Warm, crispy-edged tortillas filled with all sorts of goodies, drizzled with pungent sauces, topped with cheese ... I could just pack up my bags and move there!

Atleast that's how I felt after experimenting with a couple of enchilada recipes from Deborah Madison's Vegetarian Cooking for Everyone. This book truly seems to have something for everyone - fresh, inviting salads, comforting soups, delicious stews and gratins, many a stir-fry ... the list goes on.

This is a recipe from yestermonth, I originally attempted to post it on June 5th, didn't quite happen. I tried to finish writing it on the 11th ... hmm, another failed attempt! And no, I don't really remember all my incomplete posts, just peeked into my drafts folder :)

So, here we are ... and I'm truly hoping I can remember how I reworked this recipe! The original recipe called for a variety of mushrooms and some squash. We were pretty low on mushrooms and loathe to head towards the store, so it was just time to improvise. Besides, we had a couple of acorn squashes waiting to be used up, can't quite go wrong with those! We finally settled on
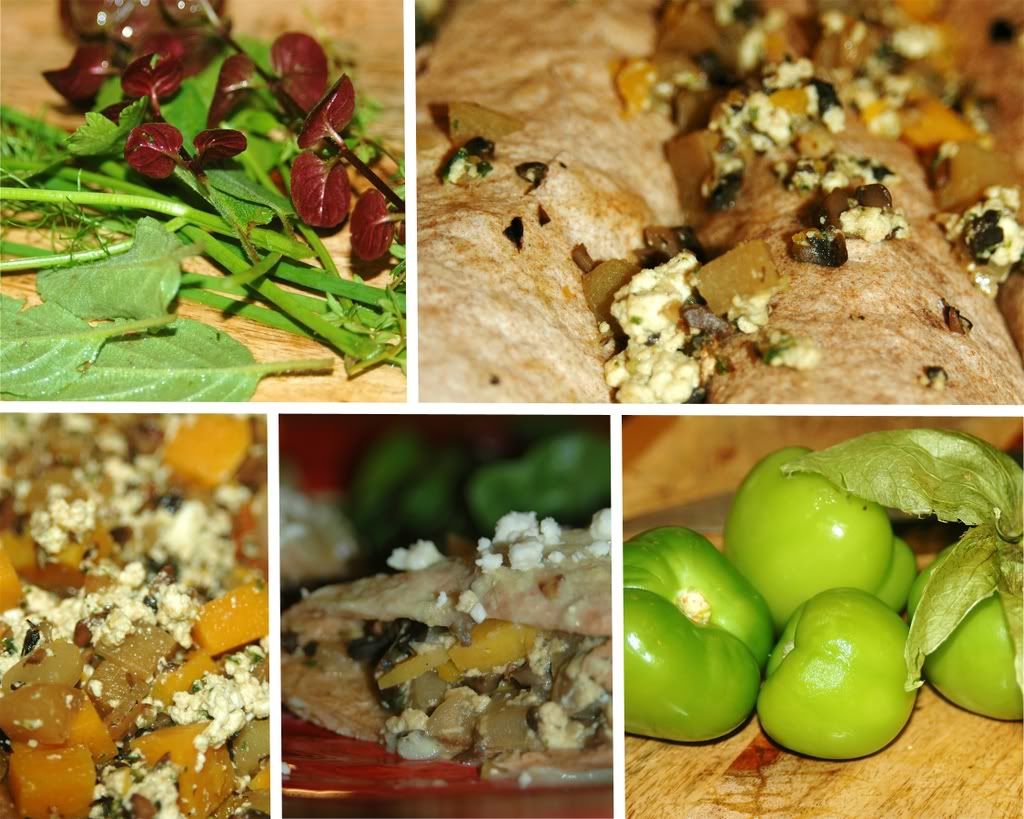
a medley of lightly caramelized onions, mushrooms, diced acorn squash, crumbled home-made paneer and a slew of herbs from the garden. The paneer was actually more like chenna and not the usually firm kind, I chose to let it stay crumbled with a wee bit of extra moisture instead of forming a firm slab. Worked out perfect for this recipe.

The herbs that we threw into these enchiladas really kicked up the flavours - mildly sweet cinnamon basil, bergamot-scented orange mint, pungent chives, fennel - a whole bunch of goodness!

The metaphoric icing on the cake was the tomatillo sauce. We dithered a bit between a smoky adobo chilli sauce and a fresher green sauce, but finally settled on using a bunch of tomatillos that had been sitting in the fridge.

*********************


Squash'n'Paneer Enchiladas
With some sauteed mushrooms and caramelized onions to keep everyone happy!

Servings: 8-10

1 packet of whole grain tortillas (medium sized)
1 acorn squash - peeled and diced
1/2 red onion - chopped (not too fine)
3 cloves of garlic - minced
1.5 cups of crumbled paneer
1/2 cup of chopped crimini mushrooms
8-10 leaves of cinnamon basil
6-7 leaves of orange mint
a handful of chives leaves - chopped
4-5 sprigs of fennel leaves - chopped
a handful of italian parsley - chopped
1 T olive oil
1 t brown sugar
1 T cayenne pepper powder

Preheat the oven to 350 F.

Heat the oil in a wok and saute the onions till they start to get translucent.
Throw in the brown sugar and saute a bit more (4-5 minutes) till the onions are caramelized.
Add the squash and mushrooms and saute for about 3-4 minutes.
Add a few tablespoons of water and simmer covered for another 2-3 minutes till the squash is partially cooked.
Take off the stove before adding the paneer bits along with the herbs, cayenne powder and salt.

Take a dollop of this veggie mixture and roll it in a tortilla. Make sure that you roll it really tight and fold the edges in if needed.
Place this in a greased baking tray.
Roll and fill the rest of the tortillas and stack them alongside one another in the baking tray.

*******************


Tomatillo-Cilantro Sauce

Servings: 2 cups

5-6 chubby tomatillos - husks removed and quartered
1/2 vidalia onion - chopped
1 cup cilantro leaves
1 t grated lime zest
1 jalapeno pepper - chopped

Bring a couple of cups of water to boil in a saucepan.
Add the onions, tomatillo and jalapeno to the saucepan.
Simmer for 10-15 minutes, until you basically kill the bright green colour of the tomatillos.
Transfer the vegetables to a food processor or blender, add the cilantro and puree.
Stir in the lime zest and season with salt.

Pour the sauce over the rolled enchiladas.
Sprinkle any remaining veggie filling over the enchiladas.
Set the baking pan in the oven for about 8-10 minutes.

*********************

NOTE:
Watch out! It is hot! Don't scald your tongue trying to gobble up the enchiladas! :)


*********************


Opinion?

Fabulous. Truly. I think I dreamed of attending Deborah Madison's cooking classes the night I made these! Yummy squash'n'paneer filling, delicate herb flavours, tangy-spicy tomatillo sauce, what more could one ask for?

***************

Similar recipes here and beyond

* Spicy Nutty Enchiladas
* Bean-Chilli Enchiladas @ One Hot Stove
* Paneer and Mushroom Enchiladas @ Sunita's World

***************

Off this goes to Andrea for her awesome Grow Your Own event - every herb that went into this recipe came from my garden. W00t!

Wednesday, July 2, 2008

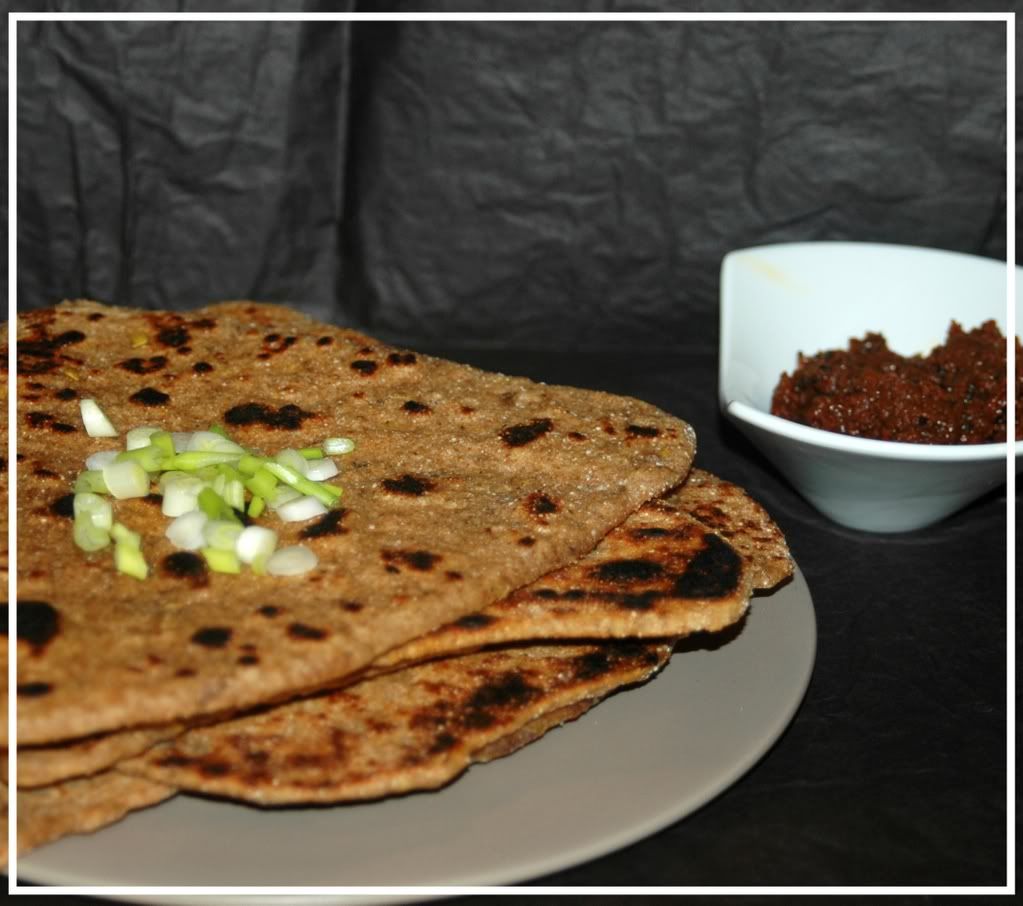
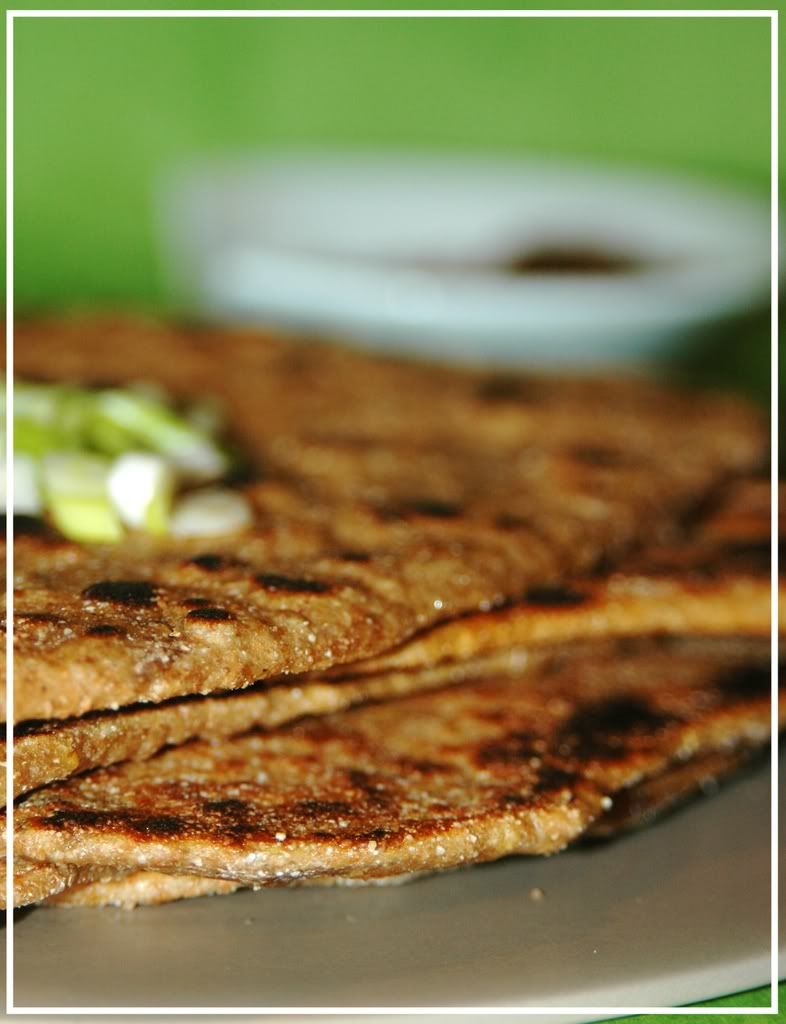
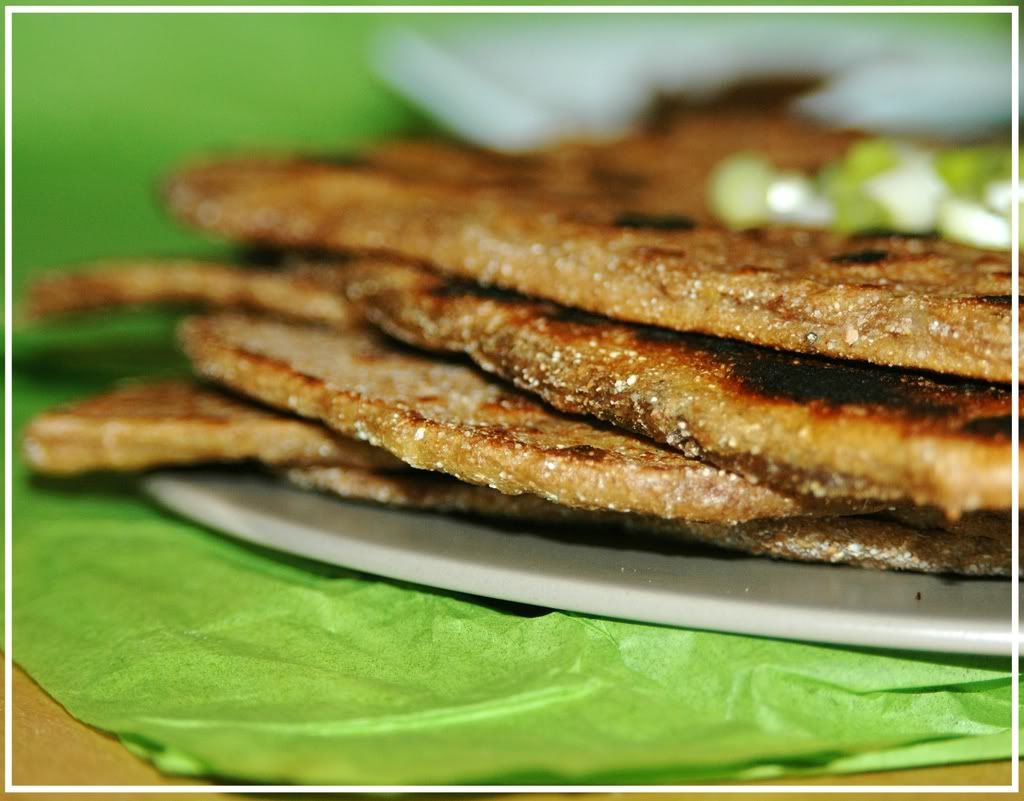
Squash parathas to celebrate ...

a return to blogging?

a manic work life finally easing up?

a fabulous weekend?

summer finally coming to life?

life, in general?

All of the above, I guess! And here's hoping to get through the mountains of recipes waiting to make it out here!


Tonight warranted simple comfort food - something healthy, quick to throw together? Something with desi flavours ... After poking around a bit, I settled on making some parathas. It has been a while since I handled that rolling pin, and I've been missing the cathartic experience of kneading the dough, making those balls, patting them out, rolling them, folding them, rolling them ... *so* relaxing!

Experimenting with stuffings in parathas is always exciting, we often play around with a variety of greens, cheese curds, tomatoes, onions, the works. But a squash variant was a first. I initially contemplated stuffing the parathas with a squash filling, but finally settled for just kneading it into the dough - definitely easier to work with, plus the bread turned out much softer! Also, instead of boiling/cooking the vegetables, I chose to grate the squash, mix it up with some spices and knead it into the dough instead.

I also wanted to play around with the dough a bit - so I threw in some coarse whole wheat pastry flour along with a 1/4 cup of corn flour add some earthiness and texture to the dough - always fun to get that chewy undertone!

“If thou tastest a crust of bread, thou tastest all the stars and all the heavens.”
Robert Browning (1812-1889) English poet


Squash Parathas
Moist, chewy goodness!

Servings: 8-10 parathas

2 cups fine whole wheat flour
1/2 cup coarse whole wheat pastry flour
1/4 cup corn flour
2 T olive oil
1/2 cup buttermilk
warm water as needed for kneading the dough
2 yellow squashes - grated (medium)
salt to taste
1 T ancho chilli powder
1 T sumac powder

Mix the flours in a bowl along with the buttermilk, salt, spices and grated squash.
Start kneading it, adding warm water as needed.
Knead it.
Knead it some more.
And when you think you're done, add the olive oil.
And knead for a few more minutes or till your arm is ready to fall off :)

Cover the bowl with a wet towel and let it sit for atleast 20 minutes.

When your arm has recovered and you're ready to roll out some rotis ...

Take a large ball of dough (about enough to fill your palm), pat it down and roll it out using flour as needed.
Fold the circular roti into a quarter and roll it out again in case you want some funky triangular parathas.

[NOTE]: Every once in a while, I get a hole in my head and forget to complete my thoughts :) Guess that's why I forgot to finish talking about how to make these parathas! Thanks for all the comments remind me to finish my damn sentences :)

Once you've rolled the paratha out, put it onto a greased pan and cook. Once the bottom is mostly cooked, rub the surface with either a bit of butter or some oil (I tend to use grapeseed or sesame oil) and flip over. Grease the other side and cook till somewhat crispy and browned/blackened.

[I tend to store the cooked parathas covered till they're ready to be noshed on.]

Serve with homemade yoghurt and pickles - my choice for tonight was a spicy tomato pickle.


Opinion?
Simple, flavourful, chewy, earthy, very very happy! Adding the corn flour was a killer idea!

*burp*

***********

I know, I know, I'm super late in posting the roundup for Think Spice - Think Wasabi. What can I say, I'm a super lame duck :( But the dust from a manic work life is finally settling, so hopefully I can do justice to this in the next day or two.


***********

Whhoooaaaaa!!! Serious thunder and lightning out here! Very exciting :)

Tuesday, June 24, 2008

Hope springs eternal ... in the garden

Gardening requires lots of water - most of it in the form of perspiration.
~Lou Erickson


It also requires a slew of expletives directed at those slugs and weeds and other obstacles standing in the way of my vegetables' happiness :)

In spite of the vagaries of the weather this year, the abysmal lack of spring and warmth, my veggies have managed to survive. Really well, I might add. And yes, it takes some work to build those beds, plant those starters and tend to them every couple of days. But none of this would've happened without those fabulous saplings to start off with! This year's crop comes with starters from these places:
  • Molbaks - the king of nurseries out here in the greater seattle area. Somewhat pricey, but their quality remains blemishless.
  • Seattle Tilth - a fabulous local non-profit dedicated to urban gardening. Their organic techniques, demonstrations and classes are truly fantastic!
  • Seattle area farmers' markets - Life doesn't quite function without the CSAs and organic gardeners who populate these markets - their seeds, starters and crops are the best, the very best!
So, without further ado, I present a partial snapshot of the vegetable garden as of this evening :)


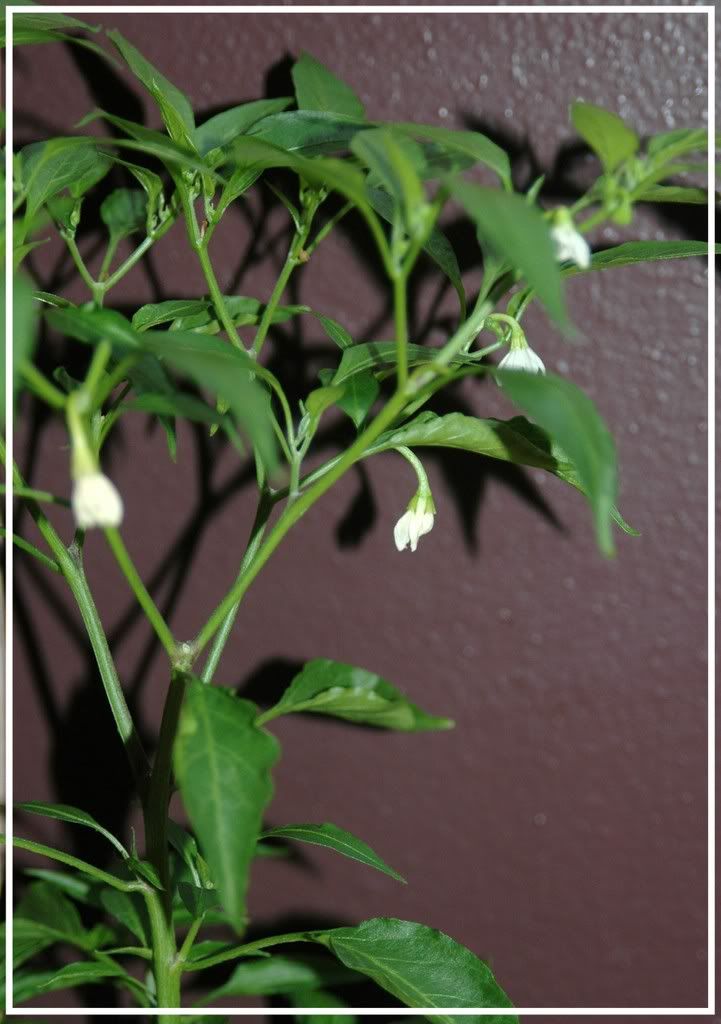
Thai Chilli Pepper


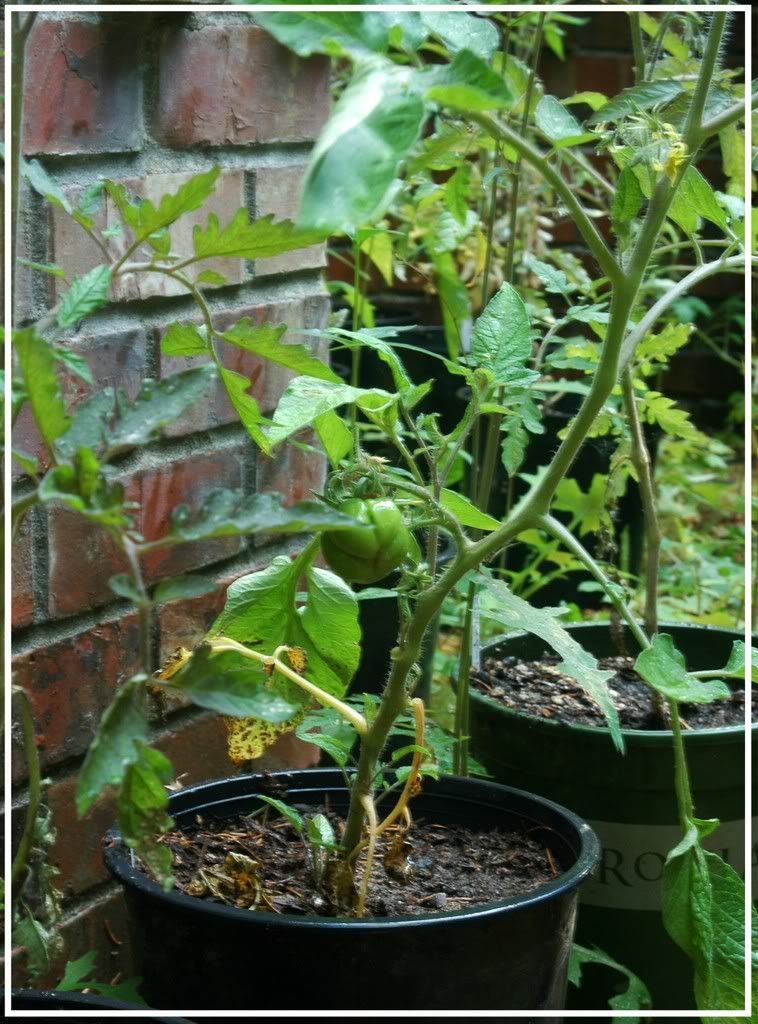
A few of the zillion tomatoes (heirlooms, sweet million, cherry, plum, roma)


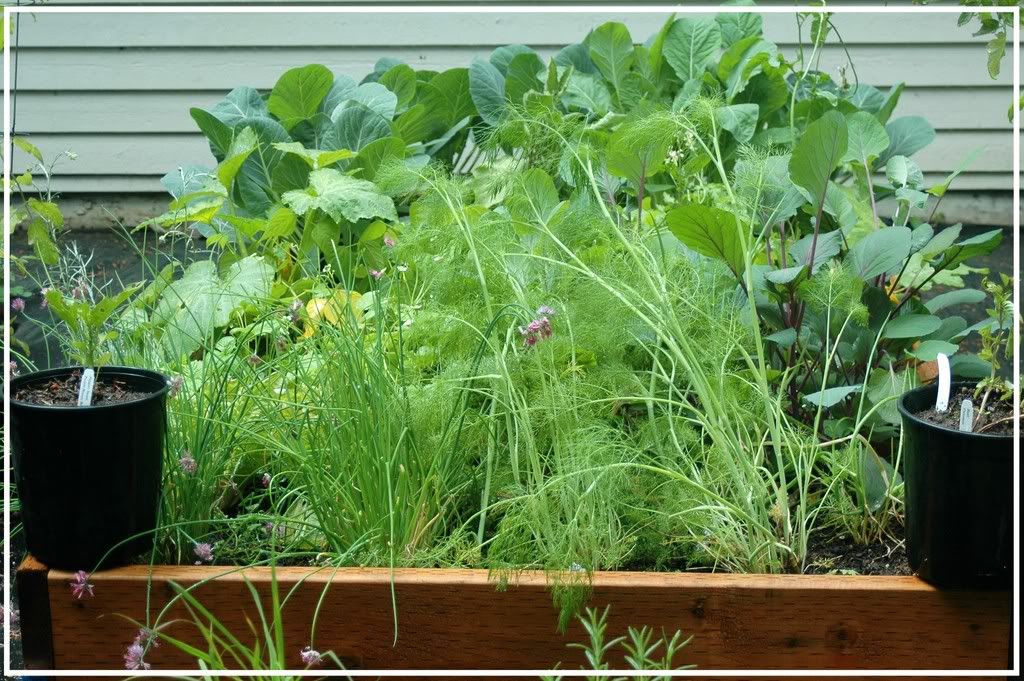
One of the veggie beds, the plants in front are chives, garlic, fennel and basil


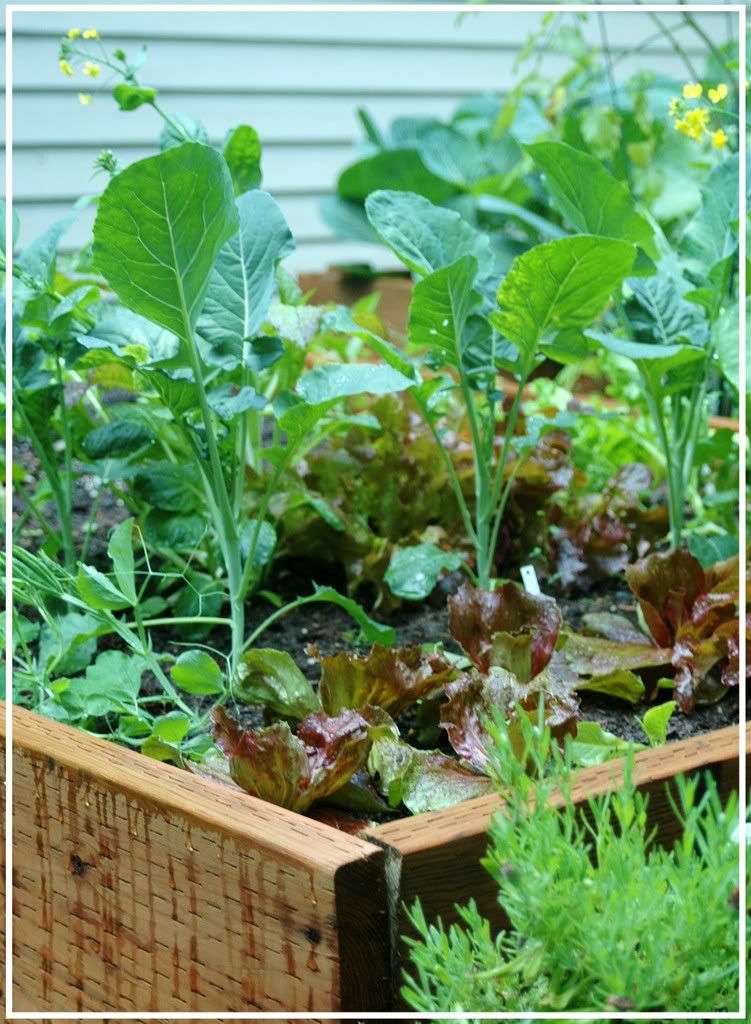
Greens - radicchio, braising greens, arugula, butter lettuce ...


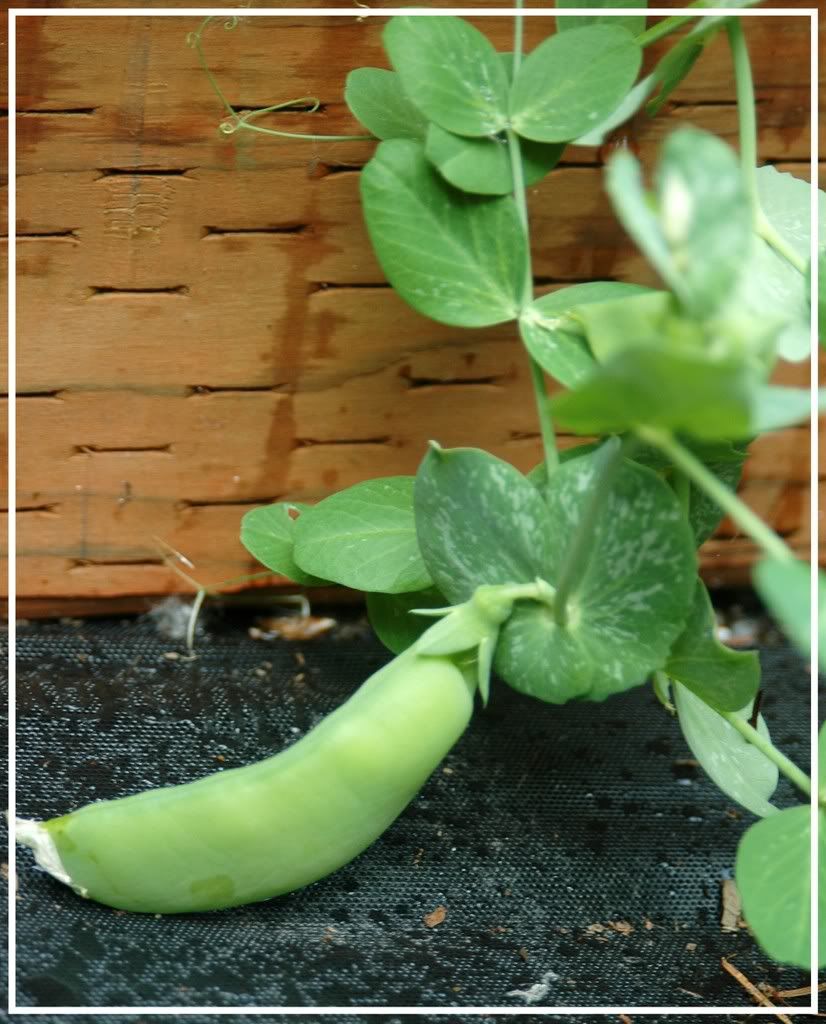
First snap pea of the season!


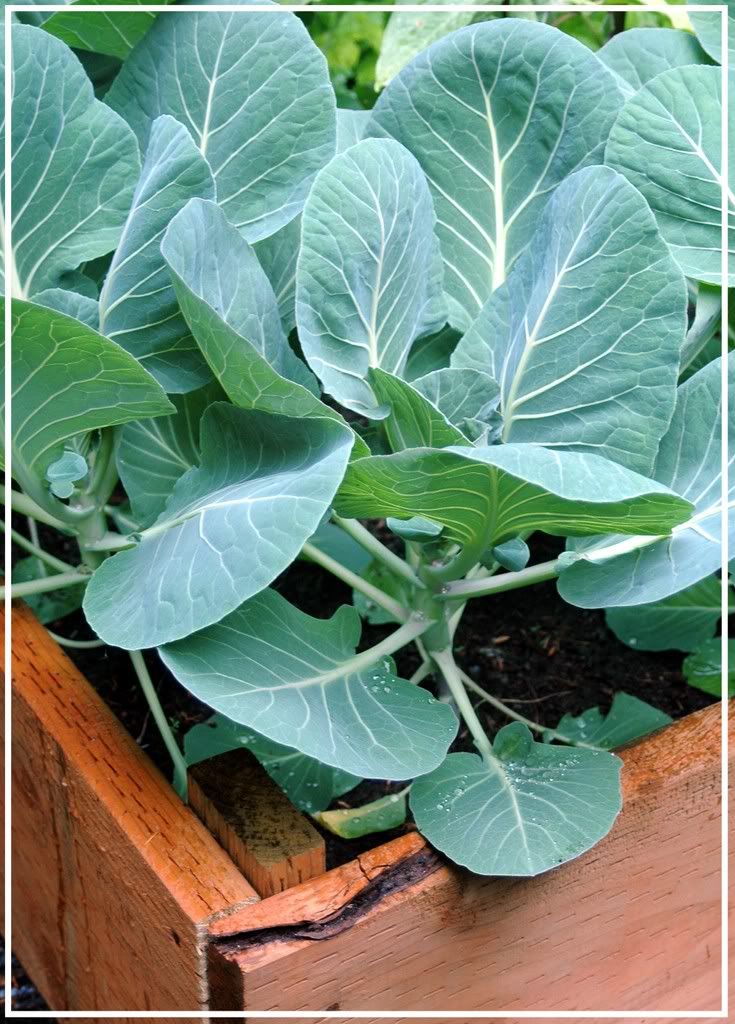
Broccoli, cauliflower, brussel sprouts and other leafy green things!


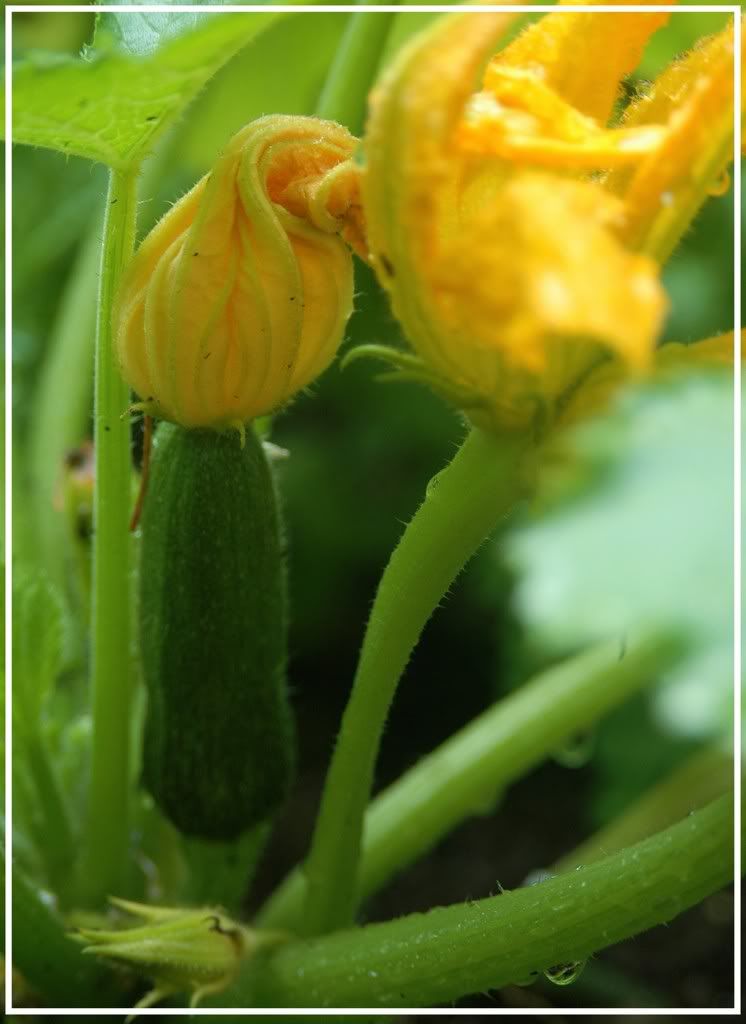
Yellow squash


Zucchini


Italian Parsley


Rapini flower

These rapini flowers have been a fabulous discovery this season - we stumbled upon them at the Madrona farmers' market and have been hooked on them since. Fragile-looking, but intensely flavourful and refreshing - they remind me of Bri. The incredibly strong and resilient Bri - we're all thinking of you and rooting for you.

Hope does spring eternal.

Monday, June 23, 2008

Coming back from the dark side ...

Are we blogging again? Huh??


Wow! I was almost convinced this blog was a goner!!! Work, work, work. No time to breathe, let alone blog. Pretty tragic, huh? As much as I love my work, I doubt if even I can survive another bout of being slammed like this! Seriously, something is quite wrong when the pictures just keep piling up ... to the point where I randomly stare at them and begin to wonder "When did I make that?? And how the hell do I make it again?!"

Yeeeeessshhhhh.

But life is creeping back to normalcy again. And it seems like I don't quite have writer's block - *phew*! Such a relief! I was kind of freaked out about not knowing how to quite start writing again. Absolutely abhor this feeling of being left behind - like the rest of the food blog world has moved on, you know? And I'm sitting here with my (proverbial) pen in hand, slowly emerging from work insanity, struggling to phrase a sentence or three.

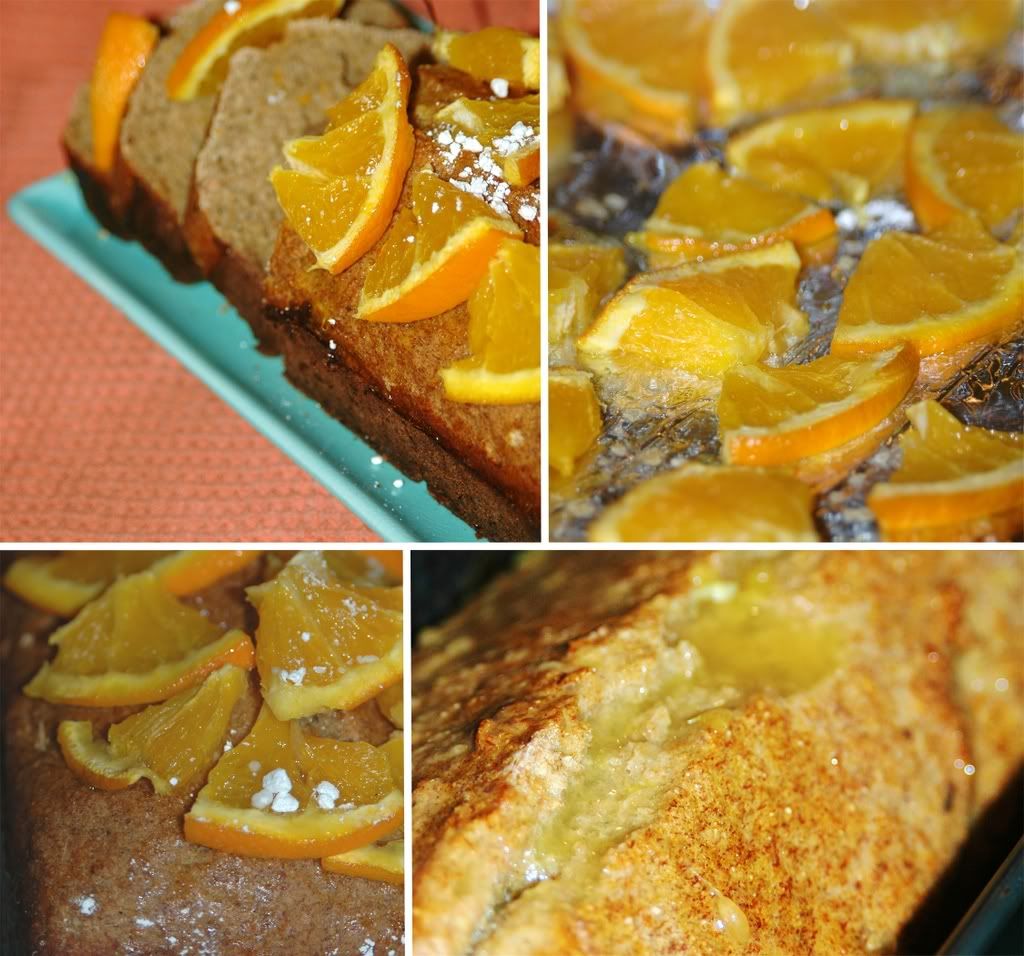
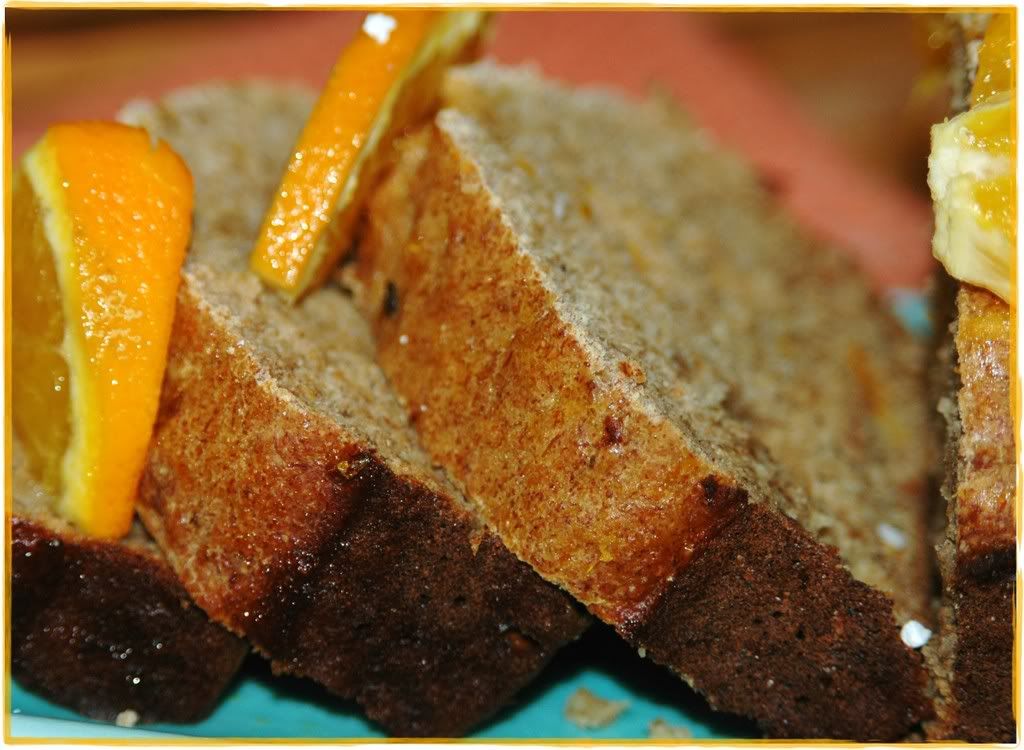
Well, over three sentences have been phrased. Yay! So, we can safely move onto a reasonably fit recipe to celebrate a safe return from the dark side :) - a simple, light and delicious banana-orange loaf. I just mentioned this recipe to Srivalli and she went "Oh man! Another dessert! Wow!" Well, she's right! Apparently, I hanker for breads and desserts a lot more than I realize! Yet, I don't seem to write about these as often as I'd like to ... wait! Guess that's probably because I'm not quite posting as often as I'd like to :)

********

Ok, back to this celebratory loaf - I based this on a pretty straight-forward recipe from Rosemary Wilkinson's The Ultimate Desserts Cookbook. Like always, I spent several minutes drooling over the pictures before embarking on baking it :)


Banana Orange Loaf
Light, simple, oozing banana and citrus flavours!

Serving size: 1 loaf

3/4 cup whole wheat flour
3/4 cup unbleached flour
1 t baking powder
1 t ground mixed spices (allspice, cinnamon, nutmeg)
2 large overripe bananas
1 egg
2 T sunflower oil
2 T clear honey
finely grated rind and juice of one small orange
4 orange slices - quartered
2 t icing sugar

Preheat the oven to 350 F. Brush a loaf tin with sunflower oil and line the base with non-stick baking/wax paper.
Sift the flours with baking powder and the spices into a bowl.

Peel the bananas and mash them in a medium bowl. Beat in the egg, oil, honey, orange rind and orange juice. Fold this mixture into the dry ingredients.

Spoon this mixture into the baking tin and smooth the top. Bake for 40 minutes or till firm and golden brown on top, and an inserted toothpick comes out clean. Turn out and cool the cake on a wire rack.

Now comes the fun part :)

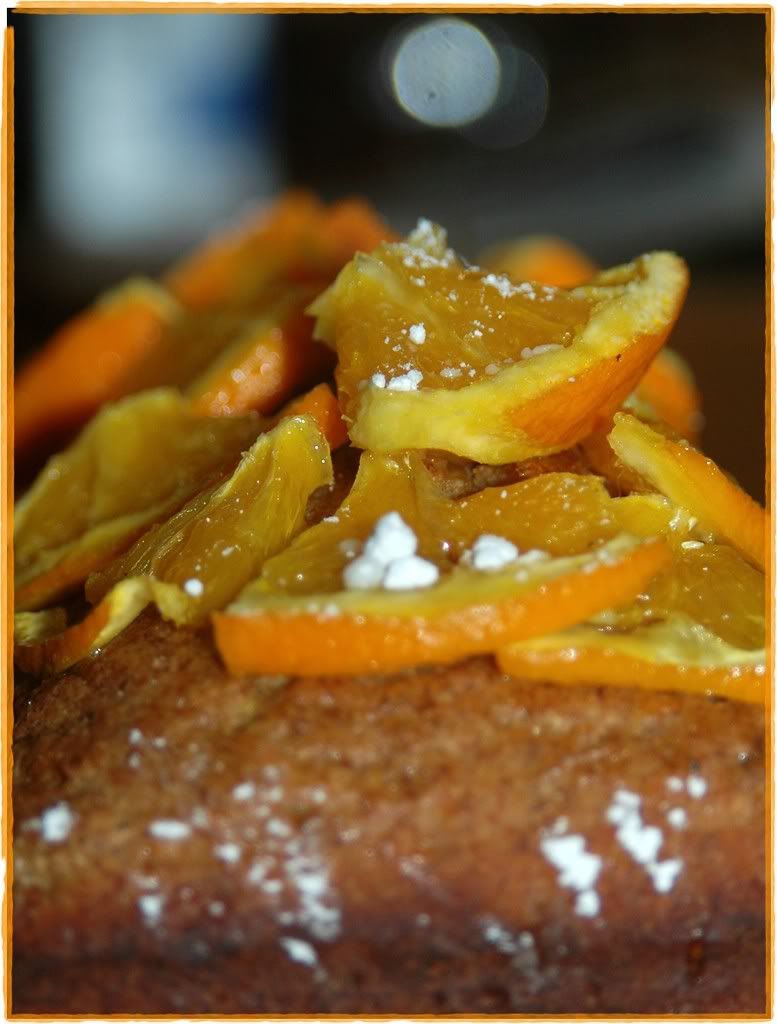
Sprinkle the orange slices with icing sugar and grill until golden and you get a funky baked citrus smell. Actually, I should amend the recipe here - grill double the number of slices mentioned in this recipe - only half the orange bits will end up on the cake. The other half? ... I guarantee those will go straight into your mouth :)

Decorate the cake with the orange slices (or whatever is left of them) :)

*********


Opinion?

Yum! Perfect back-to-blogging celebration. This recipe is light on fat - all of 2 T of oil for the entire loaf! You could even skip the egg and use just egg whites - though I would throw in a spoon of applesauce to go with it.
The banana+orange flavours are delightful, I even doused my slice with a couple of spoons of orange juice before digging in. Also, the overripe bananas kicked ass - nothing like super moist banana flavour to warm the soul :)

**********

More such recipes:

And now I'm off to catch up on the zillion blog posts that I've missed over the last couple of weeks! And yes, I need to start responding to all those emails too!

***********

IMPORTANT REMINDER:

:)

Don't forget to send in your Think Spice, Think Wasabi entries!

That's definitely my next post - a very offbeat nasal passage-scorching wasabi dish :)

And feel free to use this really neat logo that Sunita came up with. Sorry dear S, I meant to post about it earlier, but all this work mania threw me off kilter.


Monday, June 2, 2008

A whole new Click for life!

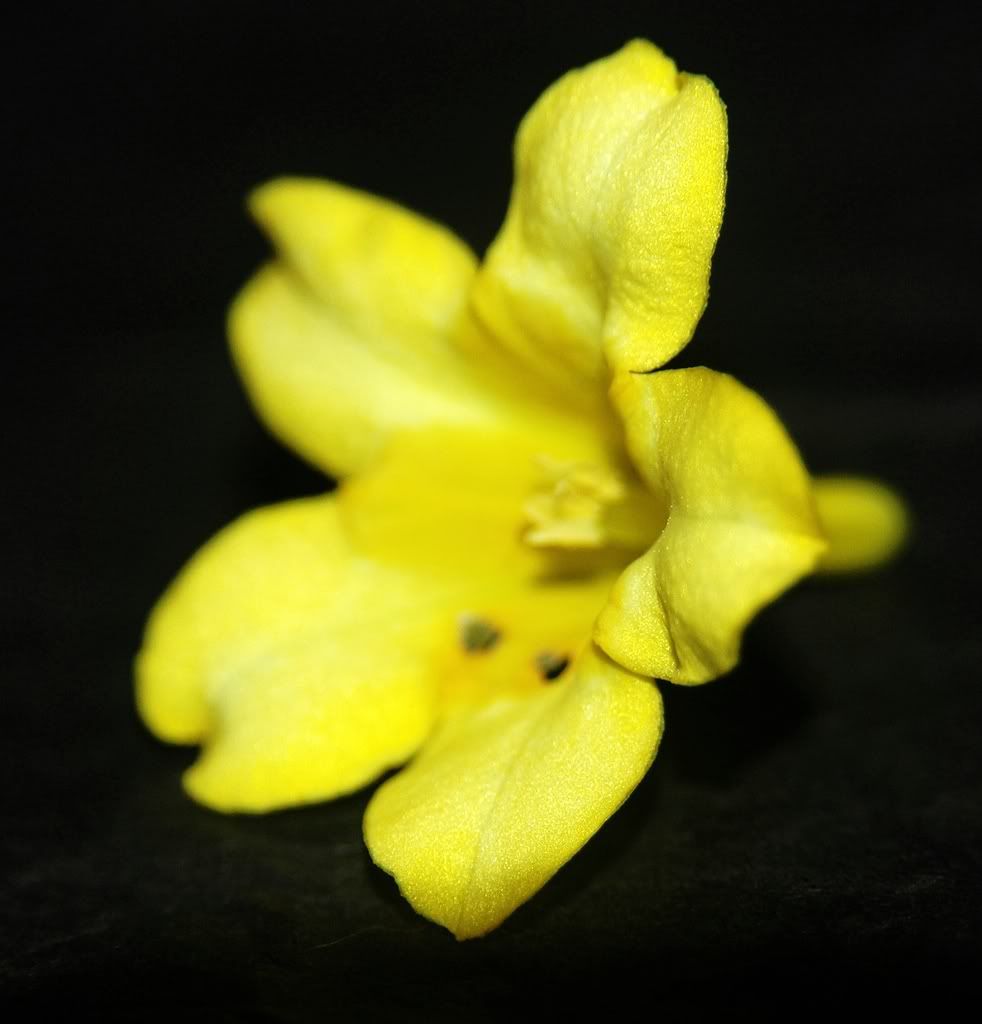
Carolina Jasmine (Gelsemium sempervirens)

Anyone who reads this blog probably knows how much I love Click - that crazy photo event started by those crazy Jugalbandits. It makes for entertaining posts, fabulous eye candy, last-minute photos and maybe even some improved photography (on my end!) :)

This month, Click comes with a whole new cause.

YELLOW for Bri.

To put it simply, Bri (Briana Brownlow) rocks. She's the personality behind FigsWithBri - a fabulous vegetarian food blog. I've spent many hours drooling over her fabulous green tea icecream and homemade truffles!

And Bri is one of the 5% of women diagnosed with breast cancer under the age of 30.

She was 28 and diagnosed with breast cancer two and a half years ago. After a round of intense treatment (mastectomy and chemotherapy), she bounced back and seemed to be doing pretty well over the last couple of years. Unfortunately, the cancer is back and metastasized to her lungs, lymph nodes and several regions of her bones. More about it here.

In addition to the emotional rollercoaster that a battle with cancer entails, the practical ramifications are enormous. The choice of treatment, the rote of dealing with it, the staggering medical bills .. all these are just pieces of the battle. This time around, Bri is choosing to fight the cancer from a holistic perspective, with a combination of herbs, extracts, an organic diet and more.


To help Bri and Mark deal with the financial implications of this battle, the June edition of Click has been set up as a fundraiser for Bri. A slew of bloggers have offered a variety of prizes that will be raffled off as part of this fundraiser.

You can make your donation HERE or by using the Chip-In button below.


[If the updated amount does not show on your screen, you may need to clear your cache.]


Check out the image gallery of the prizes to pick the items that you are interested in bidding on. You can enter your bid information on this Donation Page.

Your donation can be made securely through credit card or Pay Pal and goes directly to Bri’s account.

This month’s photo contest also has some prizes. Details HERE.

You can support this campaign by donating to the fundraiser, by participating in CLICK: the photo event, and by publicising this campaign.

Sunday, June 1, 2008

Start Thinking ... now!


Remember that insanely irritating Budweiser ad? Well, apparently, I'm bent on bringing that sticky memory back! :)

Sunita was crazy enough to let me host Think Spice this month. And I warned her that the theme would probably be non-traditional. And it is ... *drumroll* please ...

Wasabi
!

And yes, it is a spice. Atleast the root is. In terms of the traditional definition of a spice!


A spice is a dried seed, fruit, root, bark or vegetative substance used in nutritionally insignificant quantities as a food additive for the purpose of flavouring, and indirectly for the purpose of killing and preventing growth of pathogenic bacteria.


licensed under Creative Commons Attribution 2.0 License

Ever since I got hooked on sushi, life has been a wasabi romance all along. Until I *just* discovered some vital facts:

Rude Shock #1:
Often, wasabi that we encounter in restaurants is not the real thing! And the stuff that comes in tubes is horseradish+mustard+food colouring.

Rude Shock #2:
What?! So, horseradish is not wasabi? *sigh*
Oh well, whatever. I'll eat it anyway. And I insist on calling it wasabi. Maybe wa-sah-bih. Maybe even wa-saaaab-beeeeee.

[This is what I love about Think Spice - it is often a botany-lesson-in-session. By the end of the month, I often feel like I could write a couple of essays about the spice of the month! :)]

From that fabulous Wikipedia:

Wasabi (Japanese: わさび,ワサビ , 山葵 (originally written 和佐比); Wasabia japonica, Cochlearia wasabi, or Eutrema japonica) is a member of the Brassicaceae family, which includes cabbages, horseradish and mustard. Known as "Japanese horseradish", its root is used as a spice and has an extremely strong flavor. Its hotness is more akin to that of a hot mustard than the capsaicin in a chili pepper, producing vapors that irritate the nasal passages more than the tongue. The plant grows naturally along stream beds in mountain river valleys in Japan. There are also other species used, such as W. koreana, and W. tetsuigi. The two main cultivars in the marketplace are W. japonica var. Daruma and Mazuma, but there are many others.

So, time to dig through those cookbooks, surf the web, ping your friends and neighbours ... we need some wasabi recipes and we need them now! :)

Rules of the month:
Hit those asian stores, buy up all the wasabi you can lay your hands on and whip up some insanely pungent recipes that'll set the food blogosphere afire!

Obviously, you can go all gourmet and buy the wasabi root, grate it and work your mojo! Or you can buy the stuff in a tube or a bottle or a jar (even the not-so-authentic version) and whip up your recipes. Whatever works, as long as you have fun doing it :)

Share your nuggets of knowledge with the rest of us, any crazy wasabi stories? Or do you have video to share - maybe you snorted some wasabi sometime? Or ate a whole ball of it without knowing what it was?

Include a link back to this post in your write-up, a logo should be available here later today in case you want to use that along with your post.

Email the following information with your entry on or before June 25th to
cookingfromatoz [at] gmail [dot] com:

* Use the subject 'Think Spice - Think Wasabi'
* Your name
* Name and Url of your blog
* Name of your recipe
* Url of the post on your blog
* A pic of your dish (250 px wide, height does not matter) if any

Non-bloggers are welcome too, email your recipe (and a pic, if applicable) to me and I'll post it as part of the round-up.

Weeeee! Now I'm excited thinking about all the crazy experimenting that this theme is going to induce!